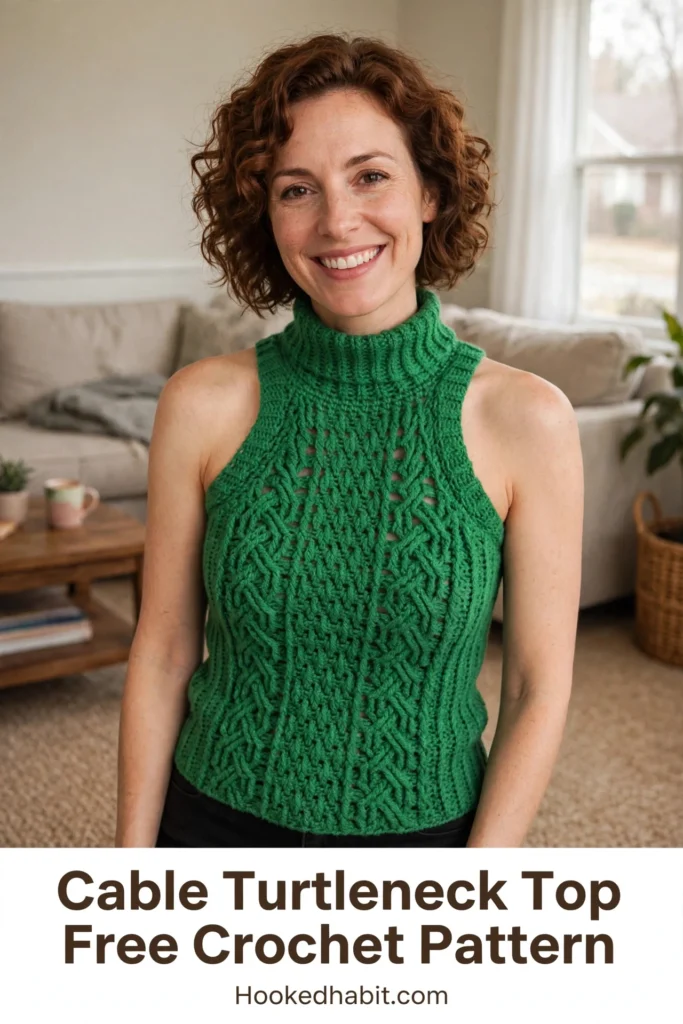
Every stitch of this design comes with a free video tutorial to guide you. But be warned, darling: once you see how those cables ripple and twine across the fabric, you’ll be utterly smitten.
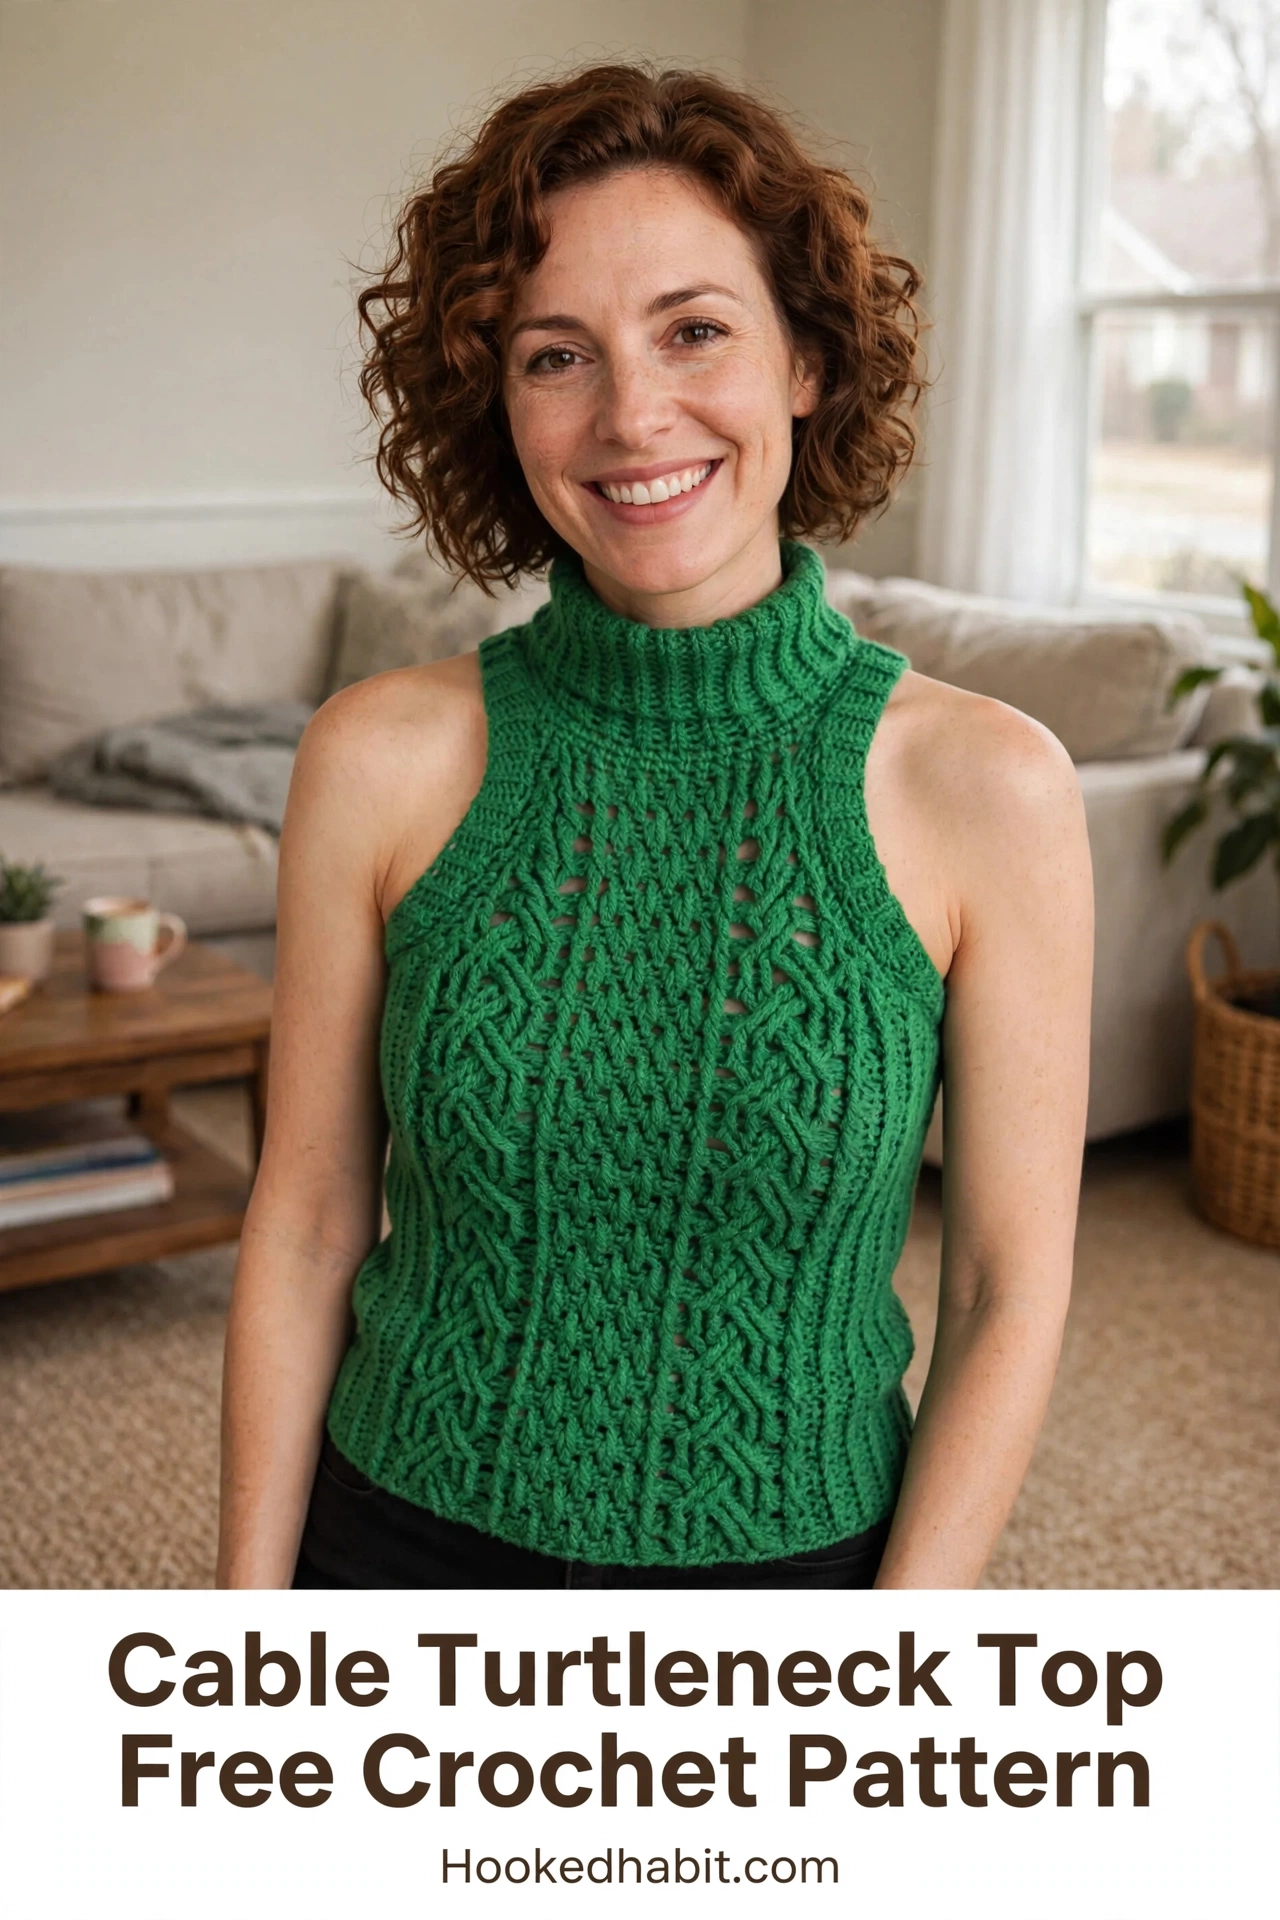
The Cable Turtleneck Top
Some pieces make you pause mid-scroll and set everything else gently down — this is one of them. Delicate but beautifully structured, it weaves open lacework between columns of tight cable, so the fabric carries gorgeous depth and real visual weight. A tall, soft turtleneck collar completes the look, drawing the eye gently upward toward your face. She’s made for the woman who wears her handmade wardrobe with pride — creating not from necessity, but from a quiet, devoted love of the craft.
Kelly green is the tutorial’s shade, and it sings: vivid against bare skin, or slipped over a crisp white long-sleeve beneath. Warm cream for romance, dusty terracotta for autumn, deep forest ink for drama — these same graceful lines tell a different story in every shade. It moves easily between seasons — linen shorts for summer, a midi skirt for spring days, wide-leg trousers for cool evenings.
Materials and Tools
Choose a worsted weight yarn with a whisper of sheen or a smooth twist — you want those cables to pop crisply, with no fuzz stealing the show. A natural fiber blend such as cotton, or a cotton-acrylic mix, breathes through warm weather yet holds its shape beautifully. A 5mm hook plus a firm hand will make those cables leap right off the fabric. A locking stitch marker earns its keep on this project, holding your place through every cable repeat — tuck one into your notions pouch.
Stitch by Stitch
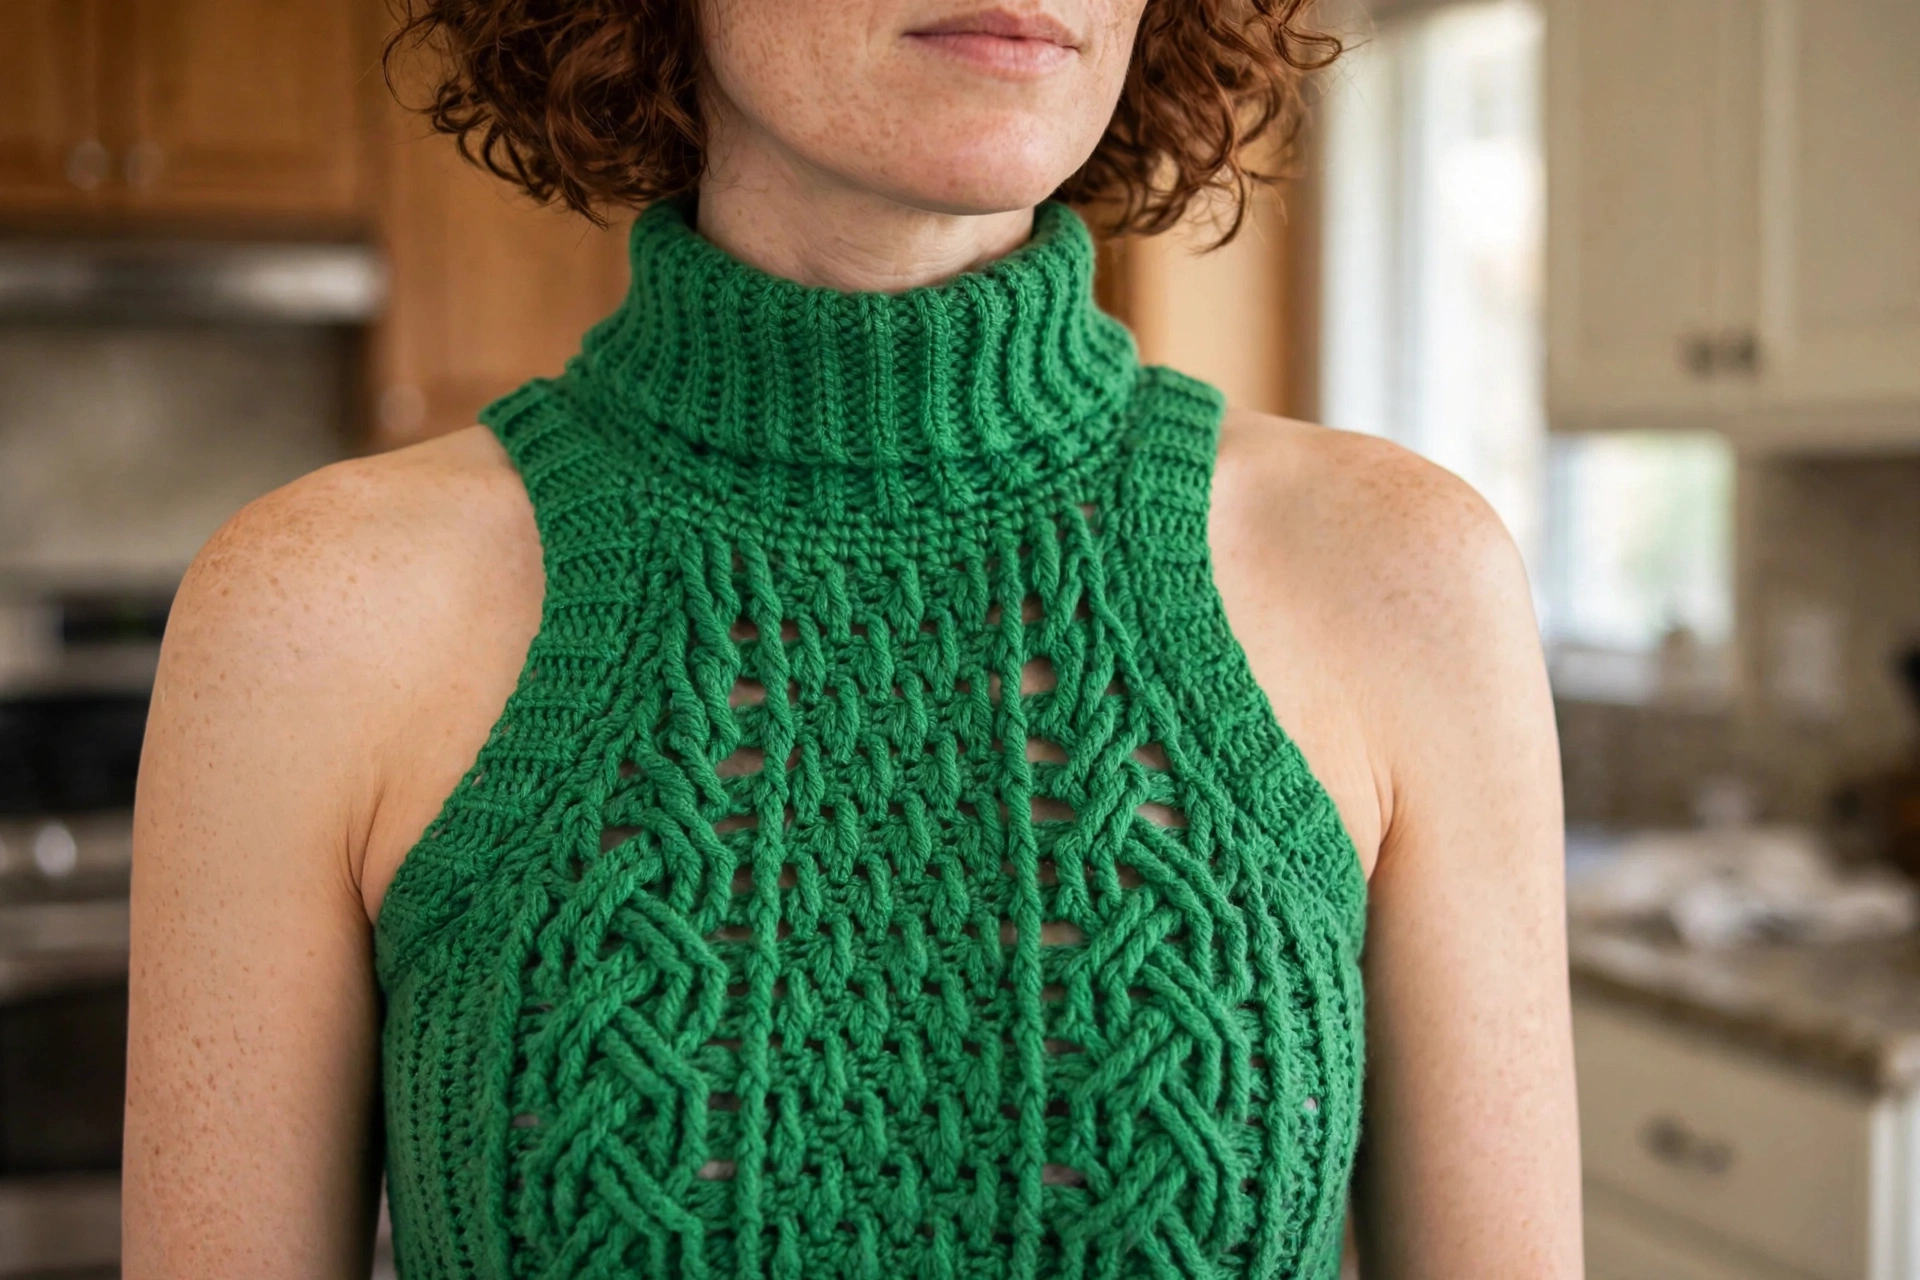
The stitch palette here is small but mighty, building the most wonderfully dimensional fabric.
- SC (Single Crochet): The foundational stitch used in the ribbed turtleneck section, worked through the back loop only to create that classic stretchy, knit-like rib.
- DC (Double Crochet): The primary stitch in the cable body, worked in front post and back post variations to push and pull texture forward and backward across the panel.
- FPdc (Front Post Double Crochet): The hero of the cable effect, wrapping the hook around the front of the post to draw stitches toward you and create raised ridges.
- BPdc (Back Post Double Crochet): The counterpart to FPdc, pushing stitches away to create the recessed channels that give the cables their sculptural depth.
There’s a rhythm to the cable repeat — push, pull, cross — like a little melody your hands learn by heart. Before you know it, the pattern lives in your fingers and whole hours simply melt away.
Construction
Panels first, seamed at the sides — a gentle, piece-by-piece approach that never asks you to wrestle one giant round. Only the front carries the full cable repeat — the back stays calmer. Soft armhole shaping on both pieces gives a clean, sleeveless line. For the turtleneck, work a separate band of stretchy single-crochet ribbing. Sew it to the neck edge and fold it down so it rests just below the chin. Such an easy tweak: work more or fewer rows before the armhole shaping begins.
Wearing Your Cable Turtleneck Top
This will become a true wardrobe darling — tucked into high-waisted wide-leg trousers for evenings out, or floating loose over a slip skirt for effortless layers. Weekend market or candlelit dinner — it fits right in wherever you wear it, which is the gift of a handmade treasure. Keep the image close as you work — your finished top, blocked and beautiful, waiting at the end of every row.
Keeping Your Cable Turtleneck Top Looking Its Best
Show your finished top some love with a gentle wet block: a cool-water soak, an ease into shape on a flat surface, then a full air dry. Blocking is simple: soak in cool water, and watch the stitches relax, the lace open, and the cables plump up. Freshen it with a gentle cool-water hand wash, and the cables stay crisp for years. When you put it away, fold it instead of hanging — the shoulders will thank you by keeping their lovely shape.