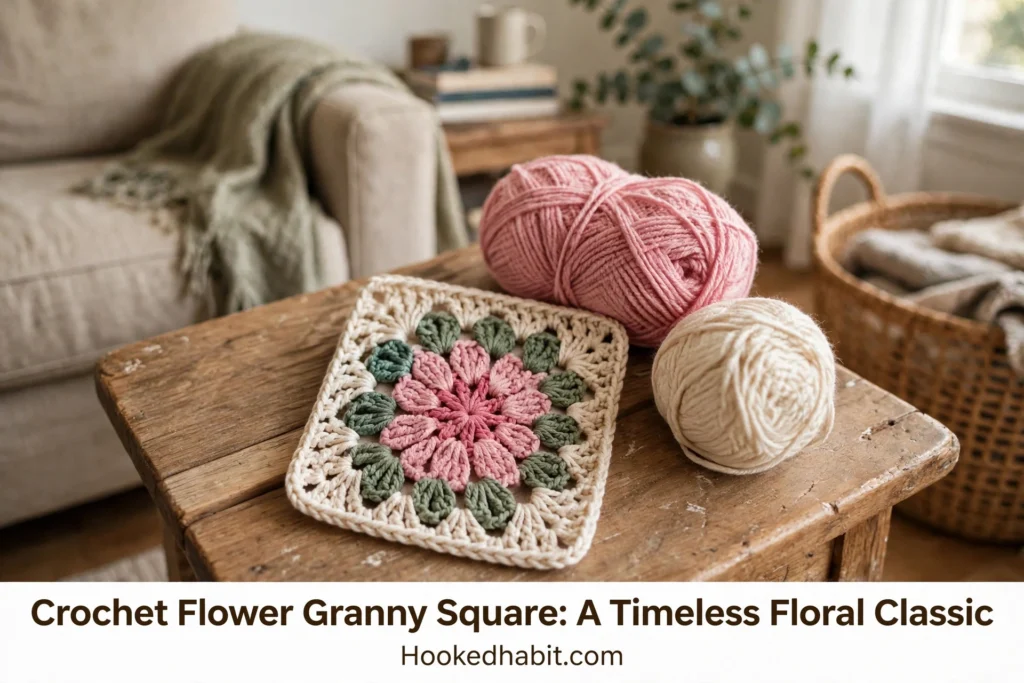
The way that full, petal-heavy bloom sits at the centre of a crisp geometric frame is the kind of detail that makes handmade objects feel irreplaceable. Here is my cheerful little tutorial for it.
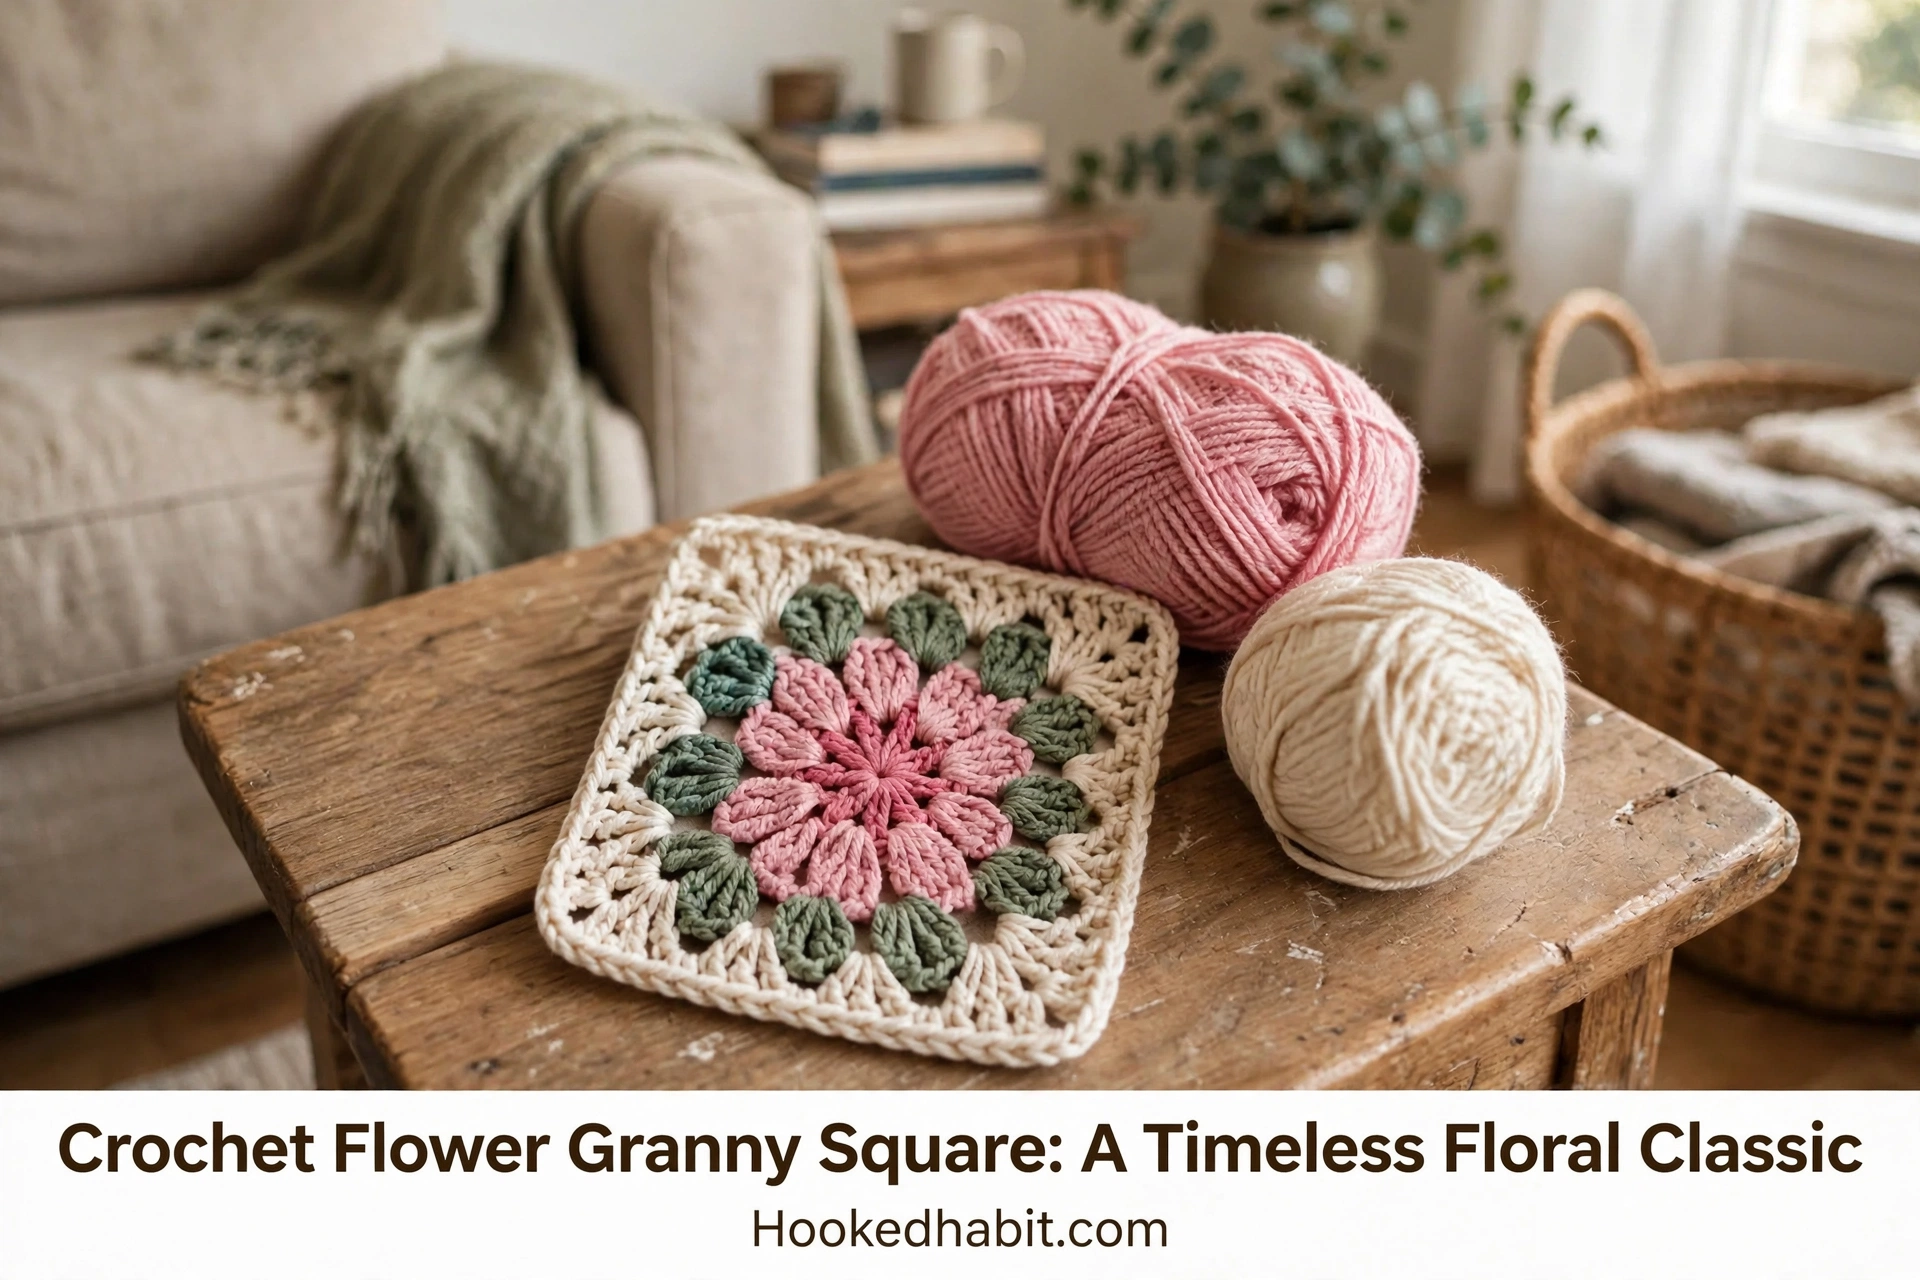
The Flower Granny Square
This square has something plain granny squares simply do not: a living centre, petalled and dimensional, that pulls your eye inward and then lets it travel out along the neat outer border. It is airy but structured, soft in its curves and confident in its geometry. Whether this is your third project or your thirtieth, it is the kind of make that feels thoughtful from the very first round. Run your fingers across the raised petals and you will feel the difference between something made and something crafted.
Granny Square Related Posts:
The colour palette shown here is a dream: warm blush pink for the flower, dusty sage for the middle rounds, and soft oat or cream for the outer border. That combination sits right between vintage and modern — as at home in a contemporary flat as in a cottage kitchen. You could swap the blush for terracotta and the sage for deep forest green for a cosy autumnal version, or go tonal with lavender and grey for something muted and sophisticated.
Materials and Tools
For a square with the weight and drape shown in the photos, reach for a worsted weight cotton or cotton-blend yarn. Cotton gives the petals a crisp, defined edge so each DC cluster reads clearly and the floral centre stays neat instead of muddy or compressed. A 4mm crochet hook is the right choice here — enough tension to hold the shape without making the fabric stiff. A wooden-handled hook, like the bamboo one visible in the tutorial, makes long sessions more comfortable, and a yarn needle for weaving in your colour-change ends is the only other tool you will genuinely need.
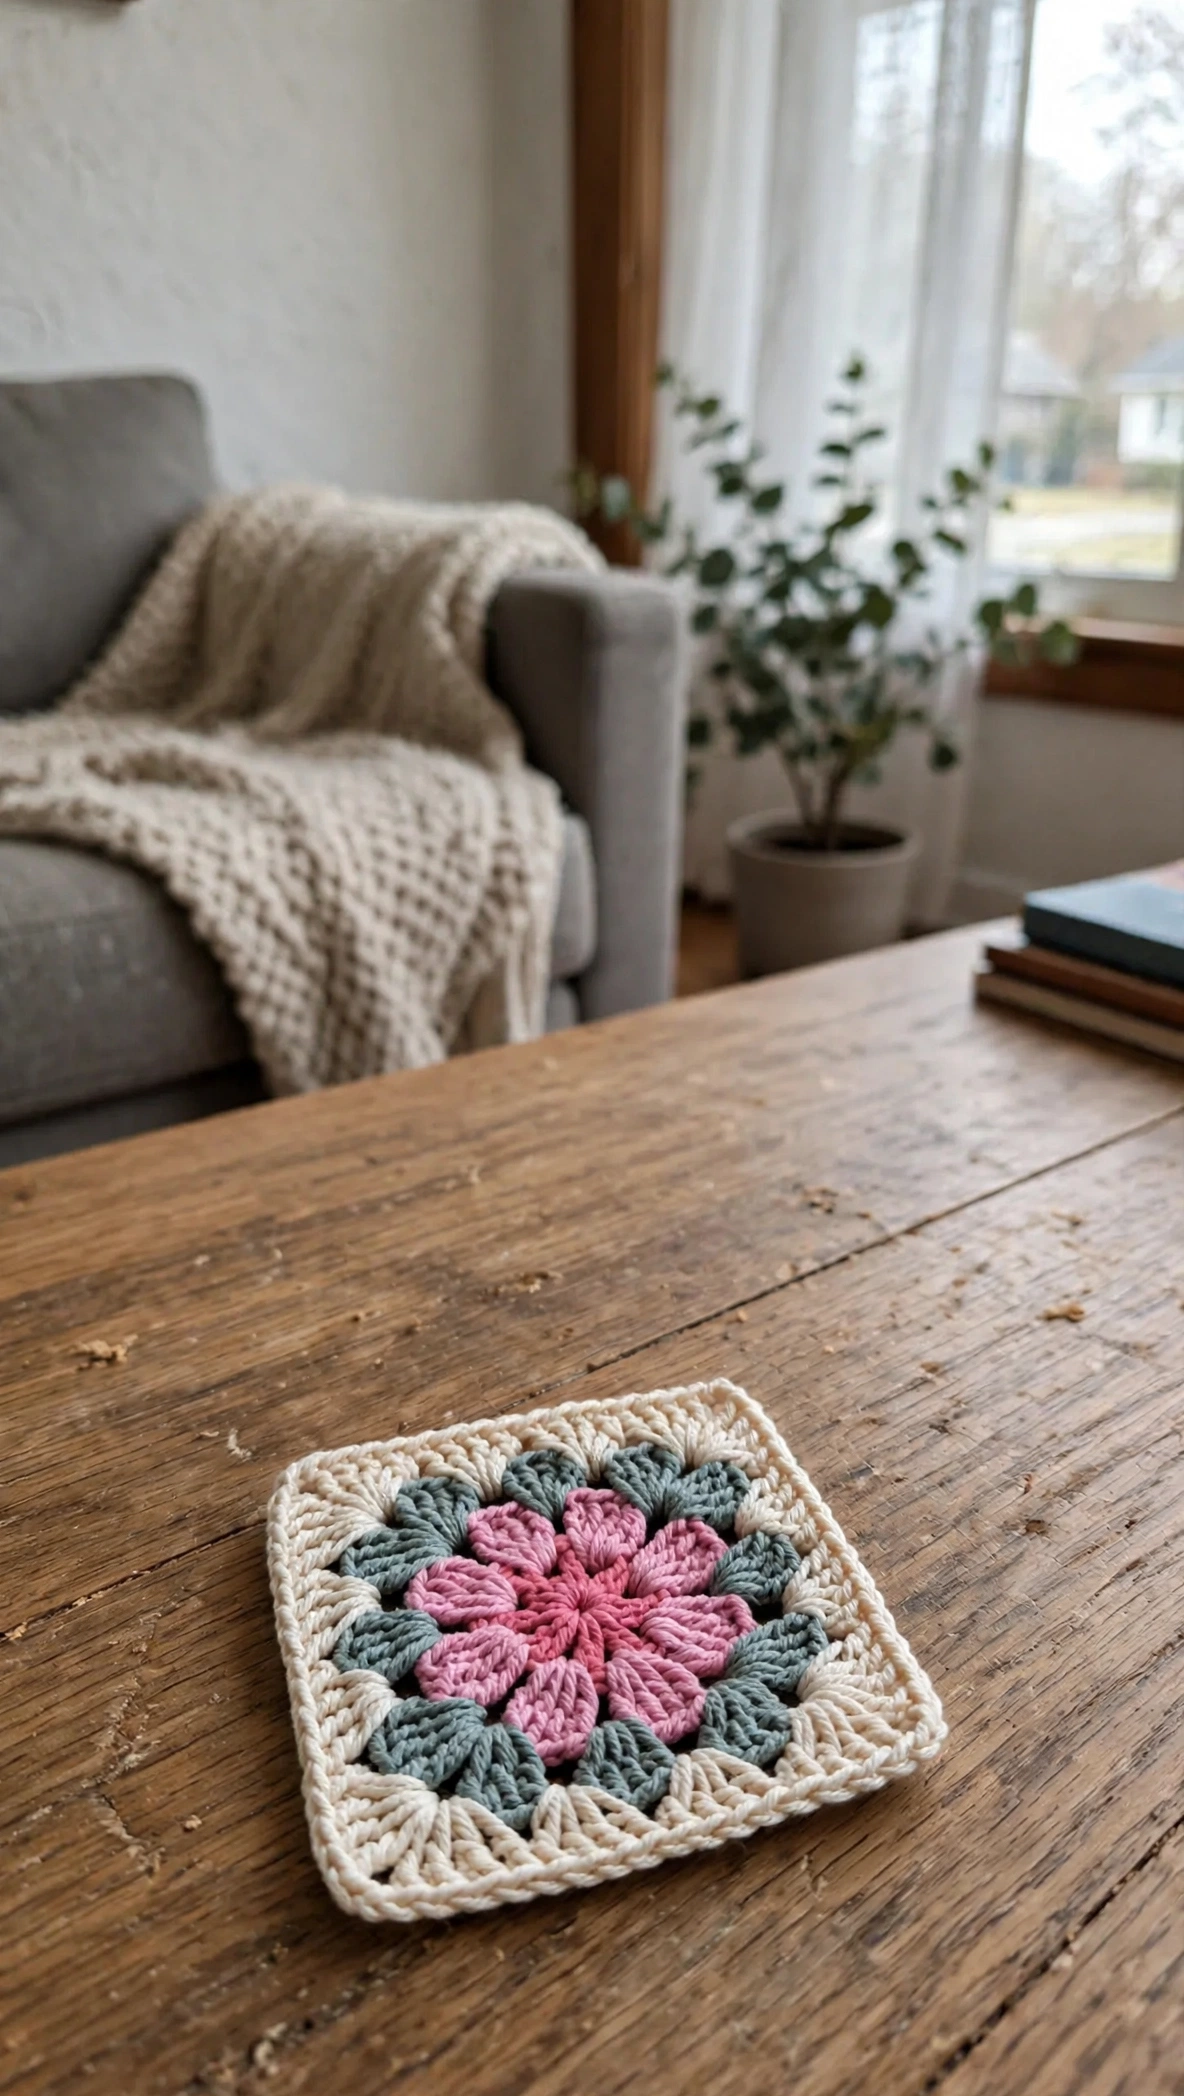
Stitch by Stitch
This pattern uses a small, satisfying vocabulary of stitches that layer beautifully on top of one another.
-
SC (Single Crochet): the foundational stitch that shows up in joining rounds and creates a clean, flat edge when you need one.
-
DC (Double Crochet): the workhorse of this square, building the cluster petals and the structured outer rounds.
-
CH (Chain): Creates the spacing between clusters and forms the corner arches that give the square its characteristic shape.
-
SL ST (Slip Stitch): the quiet connector that closes rounds and joins new yarn colours without bulk.
Once you settle into the rhythm of the DC clusters, the pattern gets wonderfully meditative. Each petal group repeats in a gentle, predictable wave that is perfect for crocheting along to music or a podcast.
Construction
The square is worked entirely in the round from the centre outward, beginning with a magic ring or a chain loop that anchors the first petal round. Each colour comes in at the start of a new round, so colour changes stay clean and the transitions between pink, sage, and cream feel intentional rather than abrupt. Because every round is complete before the next begins, this construction is genuinely forgiving for beginners. Want to customise the size? Simply add an extra round or two in your border colour before fastening off.
Wearing Your Flower Granny Square
One single square makes a beautiful coaster, a pocket panel on a linen tote, or the centrepiece of a framed textile piece for a nursery wall. Join several together with a flat SC seam and you have the building blocks of a blanket, a cushion cover, or a lightweight summer bag. There is something quietly motivating about a project where every square is its own small finish — perfect for makers who want visible, tangible progress.
Blocking and Caring for Your Granny Squares
Cotton and cotton-blend granny squares respond beautifully to wet blocking. Soak your finished square in cool water, gently press out the excess without wringing, then pin it to a foam blocking mat and ease the corners into true right angles before leaving it to dry flat. This step is what turns a slightly uneven square into something precise and gallery-worthy, and it only takes minutes. For washing finished projects made from joined squares, a cool gentle machine cycle in a mesh laundry bag works well, though hand washing is always kinder to the fibres. Store folded projects away from direct sunlight to protect those blush and sage tones from fading over time.
Every square you finish is a small, complete thing made entirely by your own hands, and that is worth pausing to appreciate. Head over to the Hookedhabit video tutorial for the full pattern walkthrough.
Tutorial by: Hookedhabit.