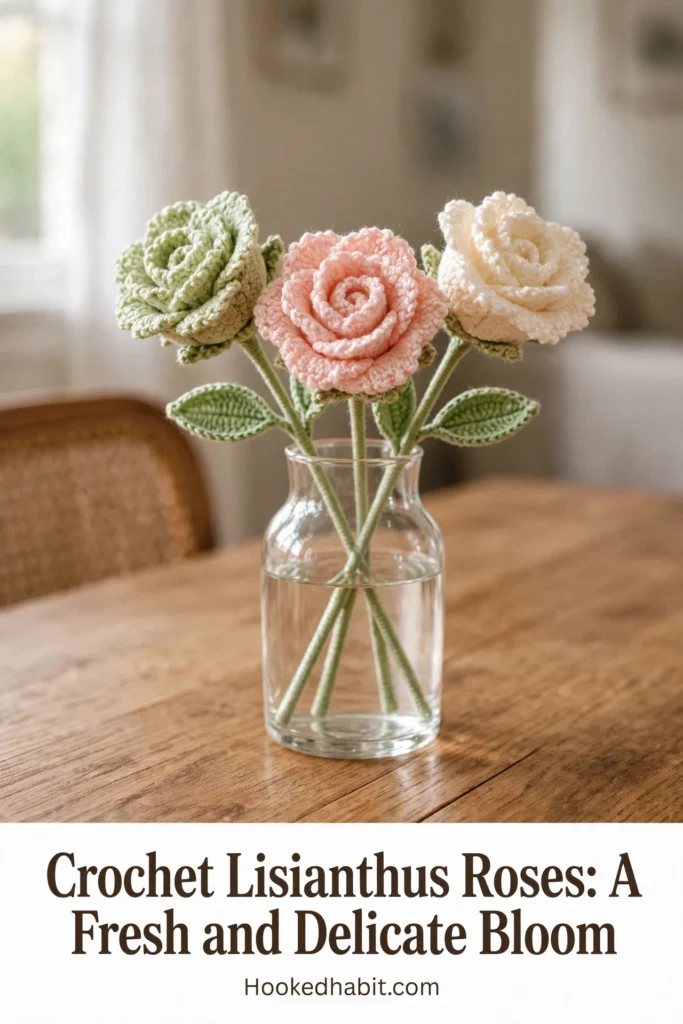
Fancy crocheting lisianthus roses and bringing their ruffled, layered grace into your home, your gifts, and your own hands? They shine as a handmade bouquet, a forever centerpiece, or a soft, romantic gift for someone dear to you.
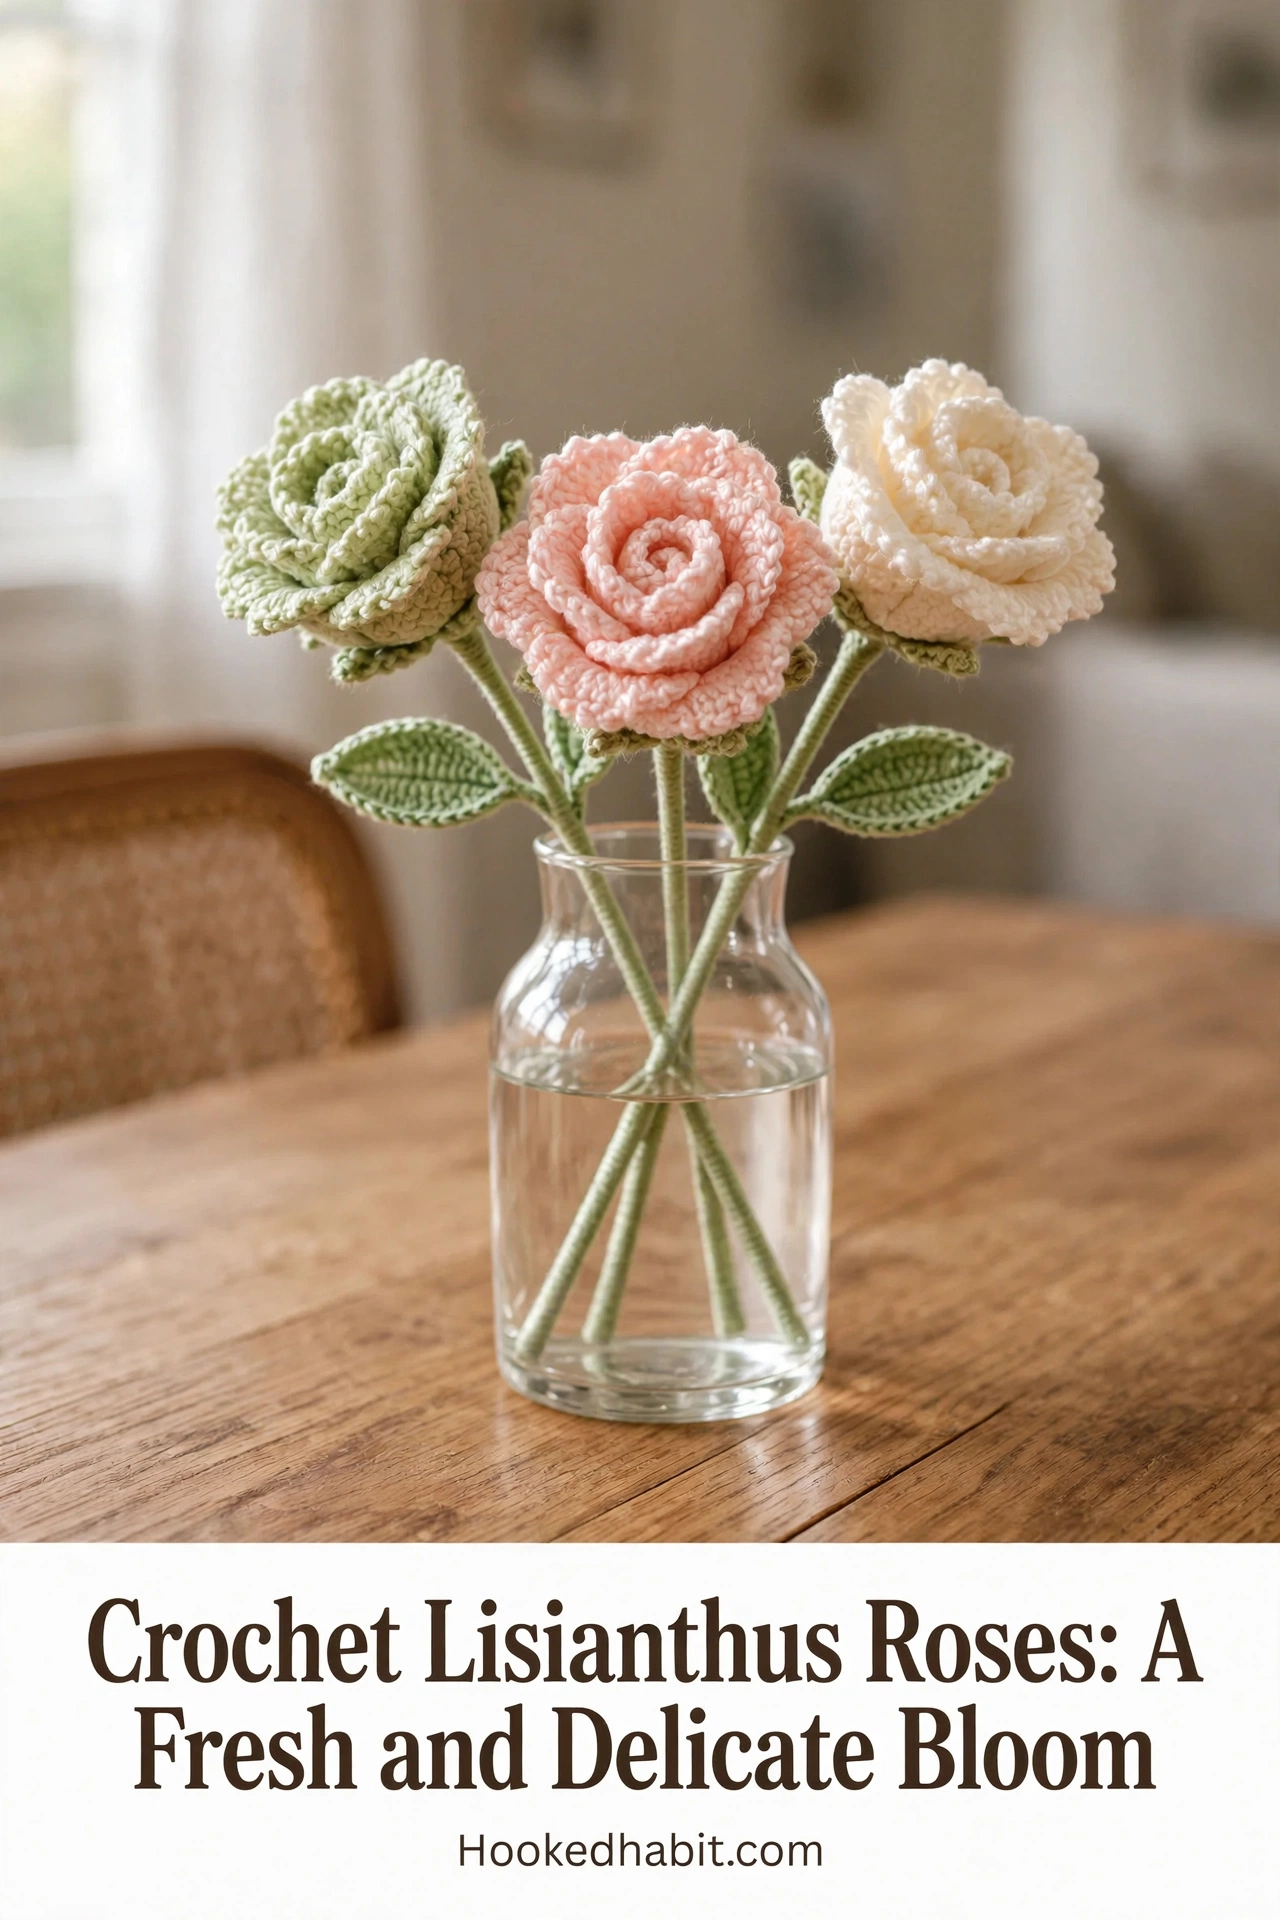
The Lisianthus Roses
Crochet lisianthus roses carry a quiet sophistication — familiar but rare, like a bloom that stops you mid-step at a florist’s window. Their layered petals spiral outward airy yet structured, balancing openness and enclosure in the sweetest way. If you adore texture and dimension and dream of makes that look too beautiful to be yarn, this pattern is for you. Whether floral crochet is new to you or you’re already comfy working in the round, these blooms will meet you with patience and reward you generously.
The color palette in the reference images whispers: sage green, blush pink, and warm cream, all together like a watercolor exhale. You could lean into that romantic trio — or go monochrome for a modern, sculptural display. For autumn warmth, try a deeper dusty rose or muted terracotta; for a bridal feel, go with pale lavender.
Materials and Tools
For that lush, textured surface that makes these roses look convincingly petal-soft, grab a DK weight yarn in a chenille or boucle blend. Chenille’s slight fuzziness blurs the stitch definition just enough to mimic the velvety feel of real lisianthus petals, while still holding the flower’s shape beautifully. A 3.5mm hook — the size used in the video tutorial — gives firm control over the petals without pulling the yarn too tight. You will also want a yarn needle for weaving ends — plus floral wire or a pipe cleaner in each stem, so your flowers stay poseable and upright.
Stitch by Stitch
Building these roses draws on a core set of stitches, from simple to satisfying.
- SC (Single Crochet): the foundational stitch for the stem and leaves, making a dense, smooth fabric that holds its form.
- DC (Double Crochet): adds height and fluid movement to the petals, giving each layer that open, ruffled edge.
- Magic Ring (MR): starts each circular petal disc and closes the center completely, no gap.
- Slip Stitch (SL ST): joins rounds seamlessly and makes the ridges that give the sepals and stem their structured, botanical texture.
These stitches fall into a meditative rhythm fast — especially the petal rounds, where the repeated DC clusters feel like a small ritual. Every finished round is a petal born, and that progress is immediate and deeply satisfying.
Construction
These roses come together from several parts: a circular petal base worked in the round, individual petal layers crocheted flat and then curved around the center, and elongated leaves worked back and forth in rows along the stem. The video tutorial walks through each part in order, so it is approachable even if floral crochet is new to you. The stem is a tight SC tube over a wire core, keeping everything upright and shapeable once assembled. For a custom touch, work two petal layers instead of three for a more closed bud effect, like the smaller blooms in the reference images.
Wearing Your Lisianthus Roses
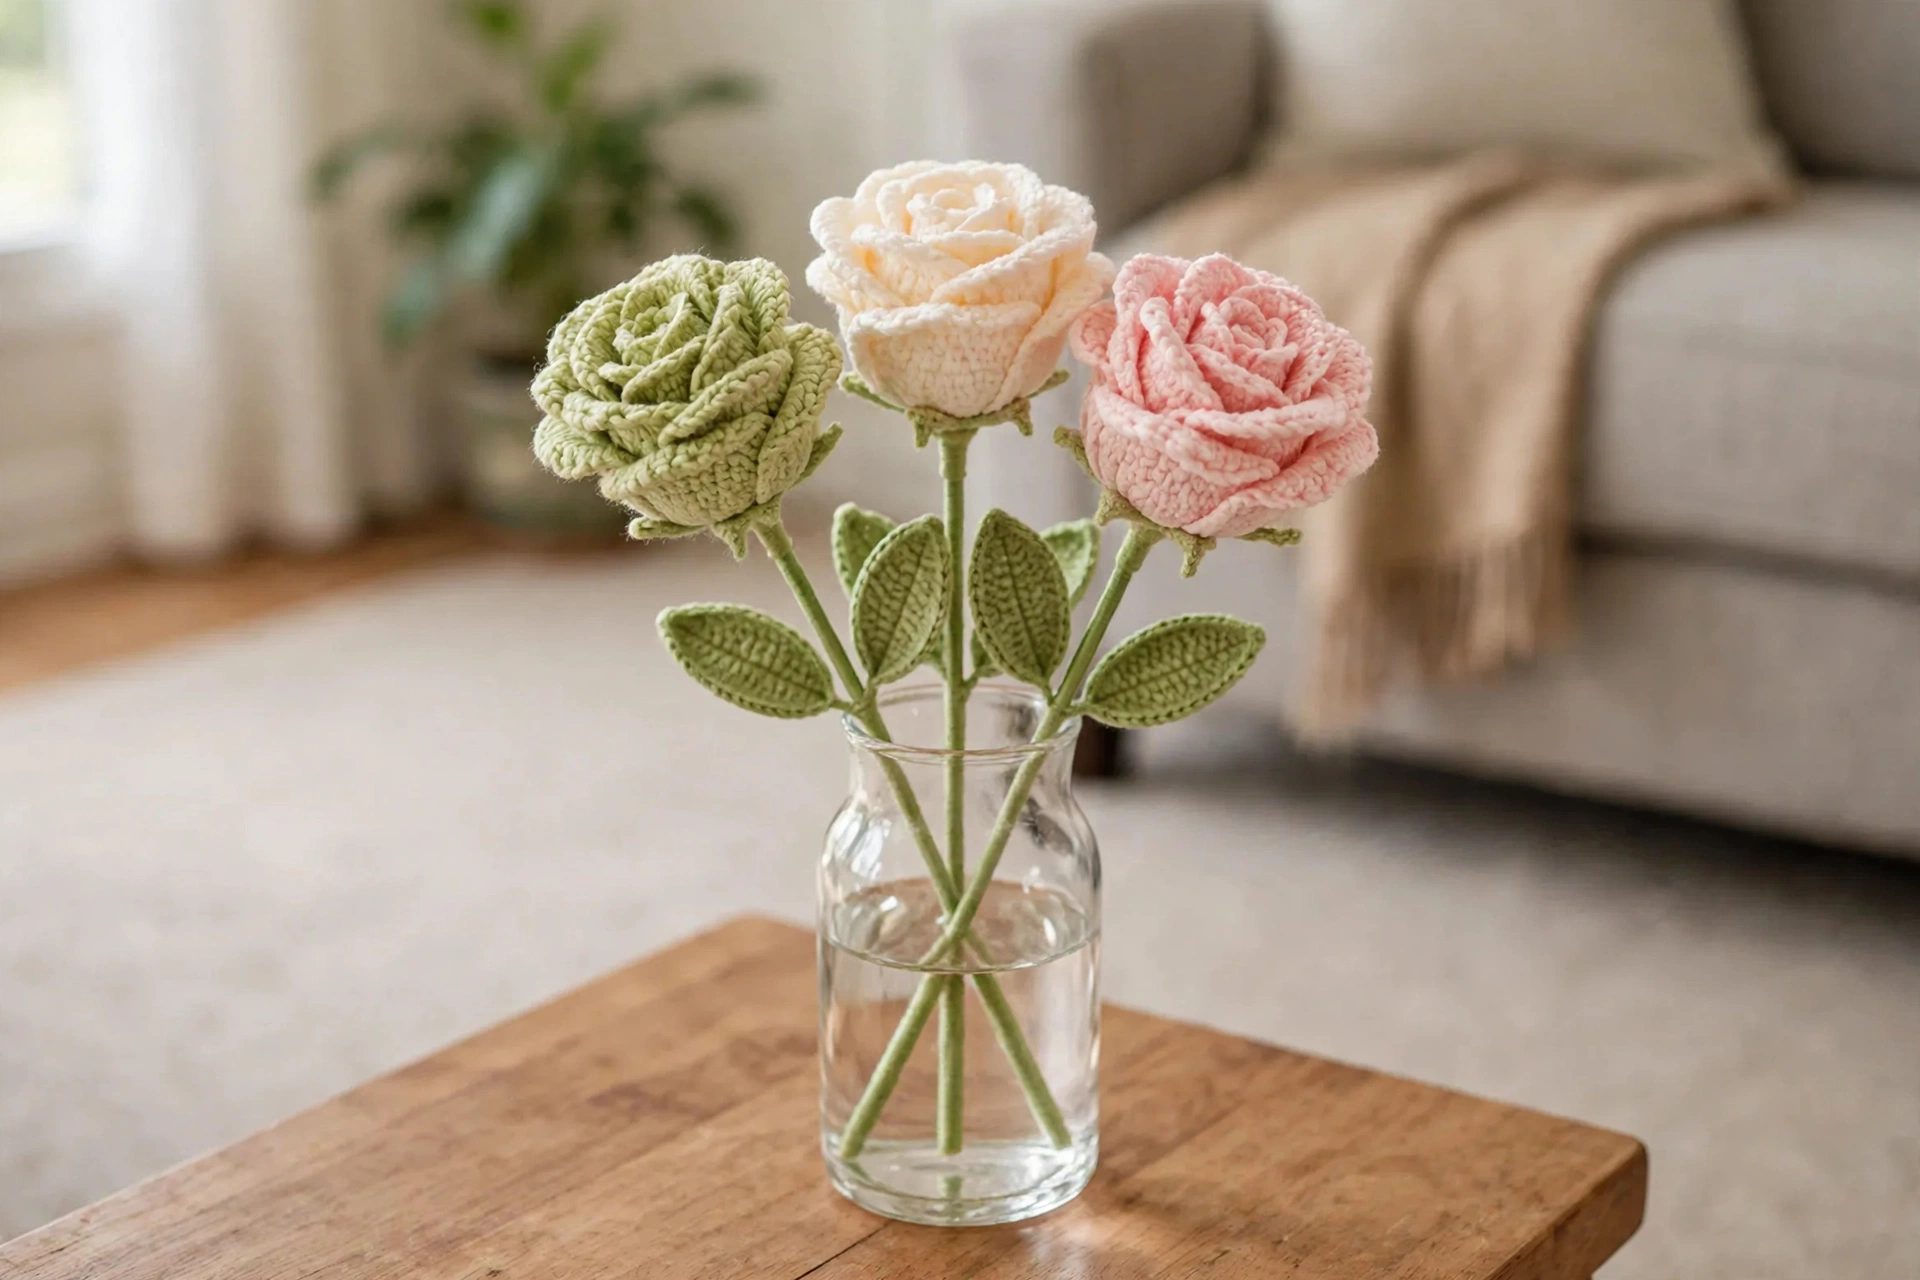
One finished stem in a simple glass vase becomes the thing guests ask about first. Group three stems in graduating heights, wrap in kraft paper, and you have a handmade gift that outlasts any real bouquet. Or tuck a single bloom into a wrapped gift, pin one to a tote bag, or clip a small bud as a bookmark.
Keeping Your Crochet Lisianthus Roses Looking Their Best
These flowers are decorative rather than wearable, so they won’t need frequent washing — though chenille does gather dust over time. A gentle puff of compressed air or a soft dry brush is usually enough to refresh the blooms without disturbing their shape. For a deeper clean, hand wash carefully in cool water with a drop of wool wash, reshape while damp, and air dry flat away from direct sunlight. Keep finished blooms standing in a vase, or wrapped loosely in tissue inside a box, so the petals don’t get pressed flat.
Every set you finish is a small act of making something enduring out of yarn and a hook — and that is worth celebrating. Pin this article to your crochet Pinterest board and show off your finished blooms so other makers can find their way here too.