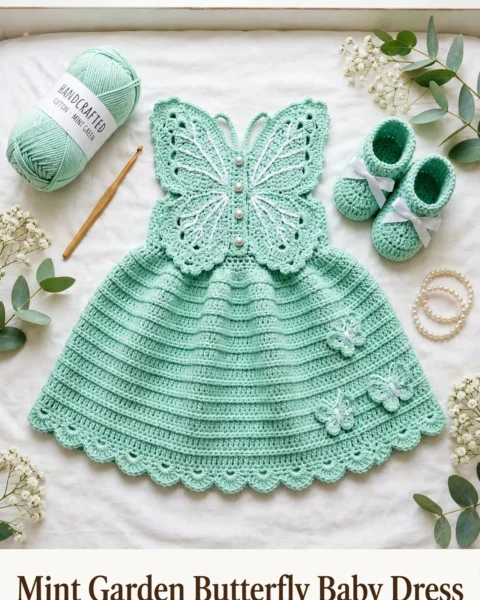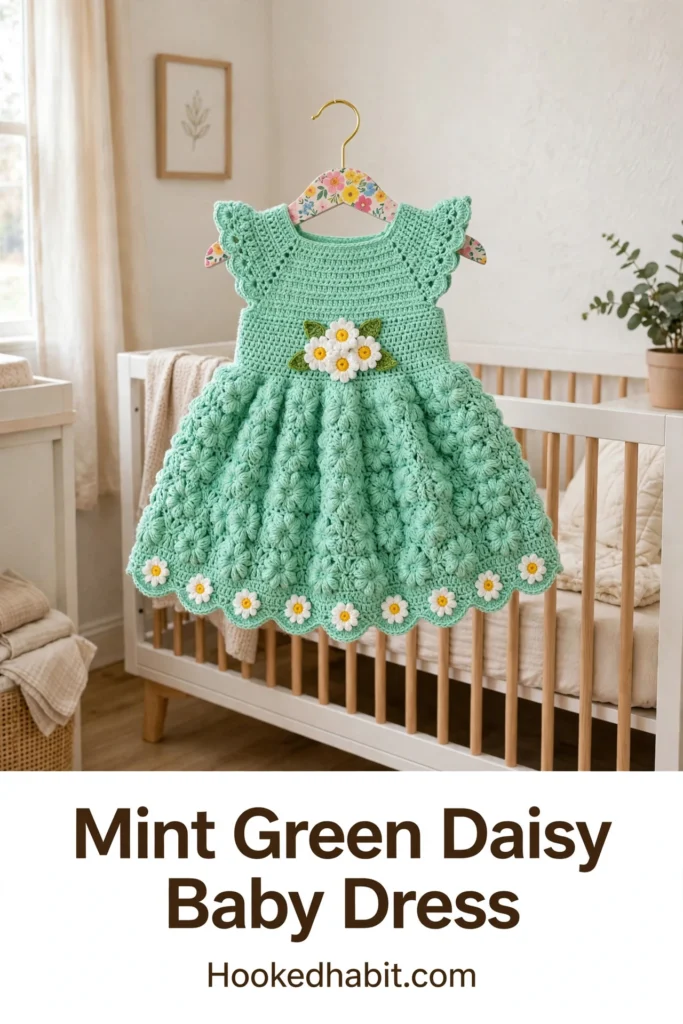
There is something so sweet about a little handmade dress, is there not? This one is worked from the neck down in a single piece, with a neat little yoke, fluttery angel-wing ruffle sleeves, and a skirt full of soft bubble-stitch texture. A few daisies appliqued at the waist and hem give it that fresh garden-party look I just adore.
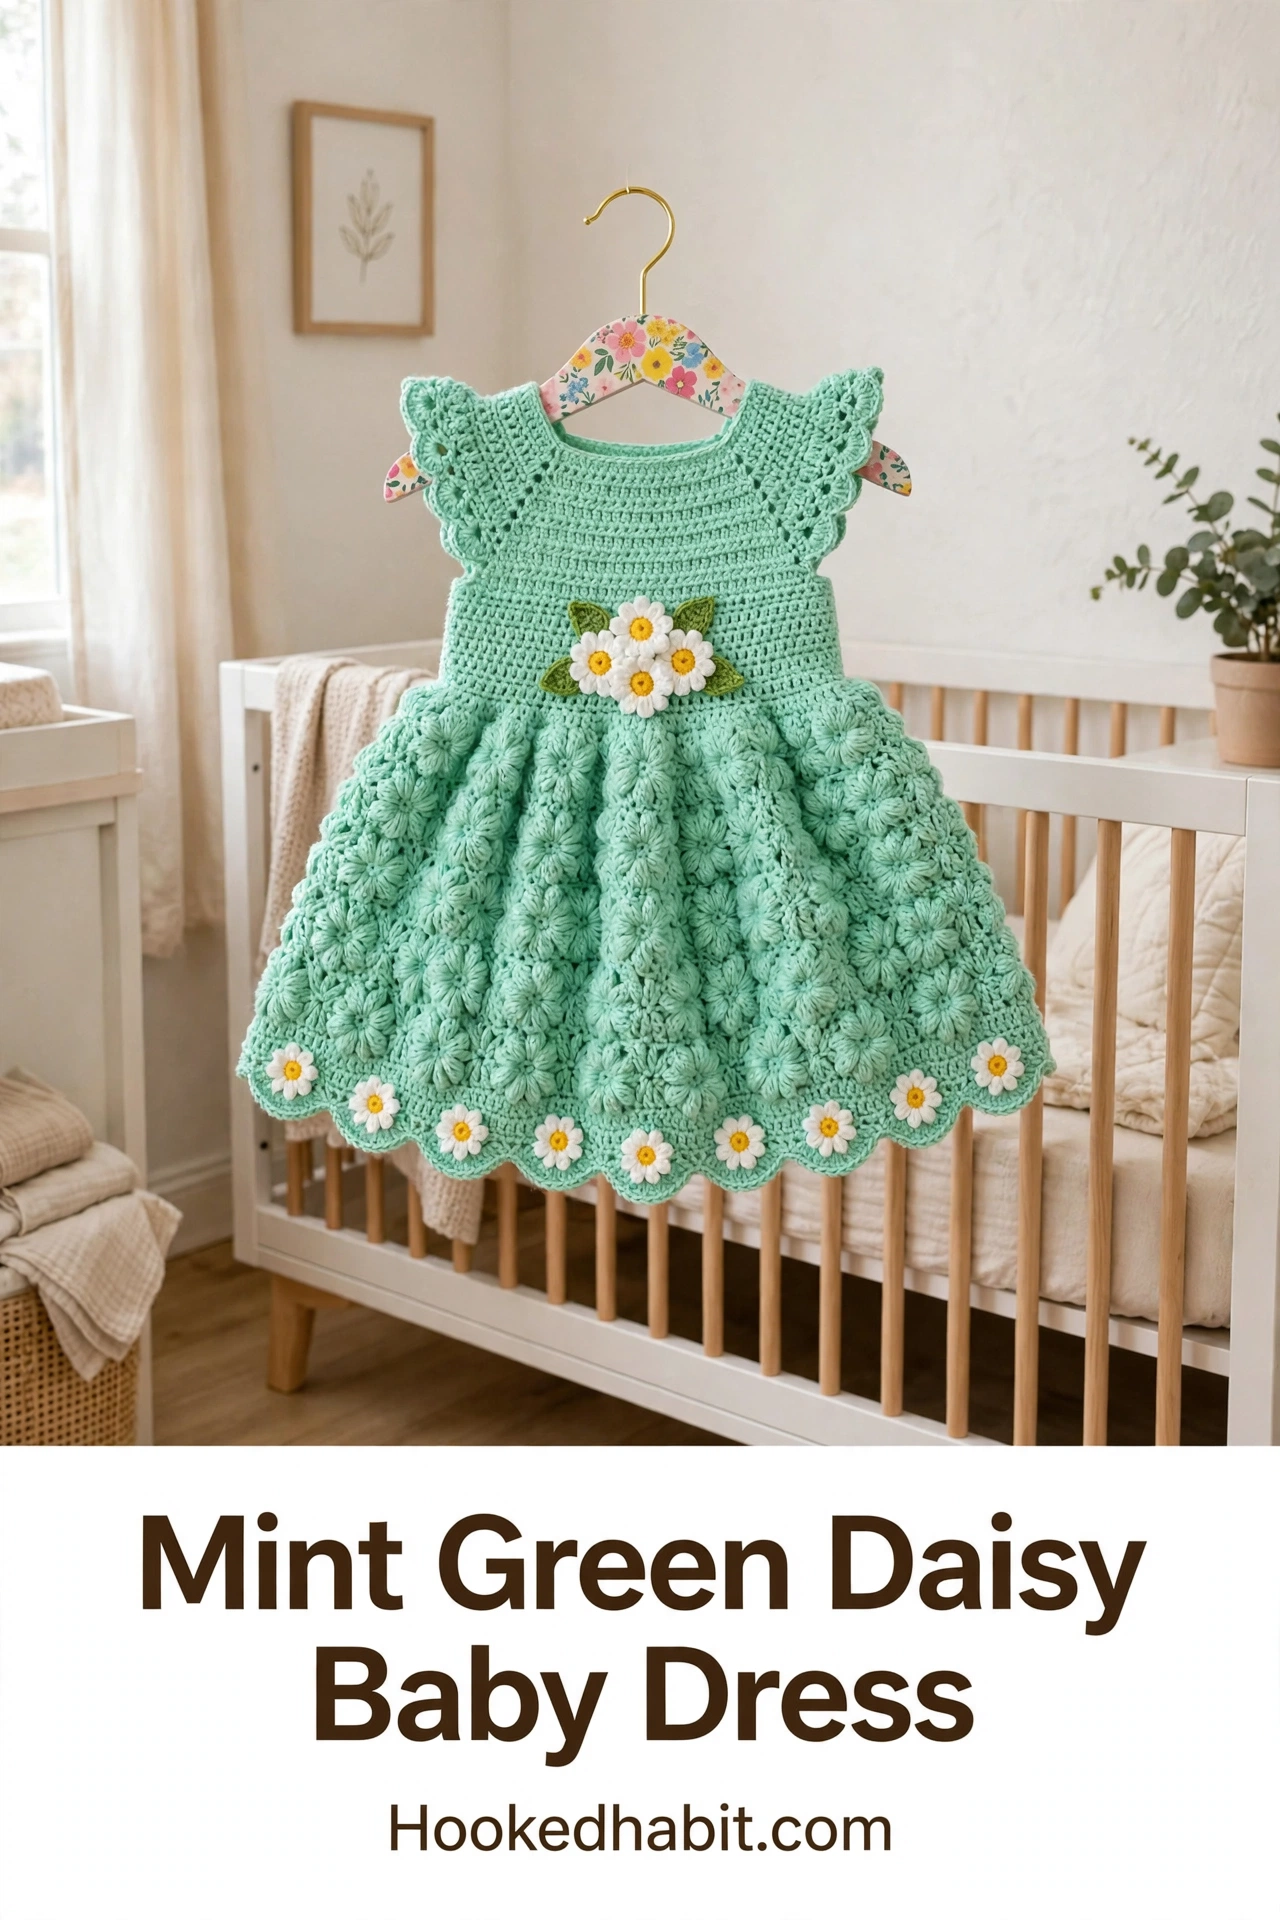
Do not let the pretty texture fool you — if you are comfortable crocheting in the round and keeping count of your stitches, this dress is absolutely within reach. The bubble puff stitch looks fancy but settles into an easy rhythm, and it turns the skirt into the softest, squishiest panel of texture. A scalloped hem and those little daisies finish it off like the icing on a cake.
The pattern fits a baby of 6 to 12 months, and down at the bottom of the page you will find my notes for nudging it smaller or bigger.
Why This Crochet Baby Dress Pattern Works So Well
Mint green with white daisies and sunny yellow centers is one of those color pairings that never misses for spring. Hung on a little hanger, this dress looks gift-shop precious, and the button closure at the back makes wrestling a wiggly baby into it a whole lot simpler than it could be.
Here is the part that will make you smile: the yoke and skirt are one continuous piece, worked from the neck down, so there is no body seaming at all. The ruffle sleeves grow right out of the armhole openings instead of being sewn on later, which keeps the fiddly bits to a minimum.
And then there is the star of the show — the bubble puff stitch in the skirt. Each little rounded cluster puffs up and gives the skirt its lovely fullness and drape. Once your hands learn the motion, you will be surprised how quickly those rounds fly by.
Finished Measurements
Size: 6 to 12 months
-
Chest circumference: approximately 18 inches (46 cm)
-
Length from shoulder to hem: approximately 12.5 inches (32 cm)
-
Yoke depth: approximately 4 inches (10 cm)
-
Skirt length: approximately 7 inches (18 cm)
-
Hem circumference: approximately 28 inches (71 cm)
Materials Needed for This Crochet Baby Dress
Yarn:
-
Worsted weight yarn (Category 4), approximately 350 to 400 yards (320 to 366 m) in Mint Green (Color A)
-
Small amount of White (Color B), approximately 30 yards (27 m) for daisy petals
-
Small amount of Yellow (Color C), approximately 10 yards (9 m) for daisy centers
-
Small amount of Green (Color D), approximately 15 yards (14 m) for leaves
Hooks:
-
US Size G-6 (4.0 mm) for yoke and skirt
-
US Size E-4 (3.5 mm) for daisy appliques and leaves (optional, for tighter appliques)
Notions:
-
Stitch markers (at least 4)
-
Yarn needle for weaving in ends
-
2 to 3 small buttons or snaps, approximately 0.5 inches (12 mm) diameter, for back closure
-
Scissors
-
Pins for blocking and applique placement
Yarn Suggestions
When you want the bubble stitch to really pop, the yarn does a lot of the heavy lifting. Any of these three will serve you beautifully — just pick your favorite fiber.
Option 1: Lion Brand Pound of Love (100% premium acrylic, 1020 yards per 16 oz skein). Excellent stitch definition for the bubble stitch, machine washable, widely available in mint/sage tones. One skein provides more than enough yardage.
Option 2: Paintbox Yarns Simply DK used held double (100% acrylic, 137 yards per 50 g ball). Holding two strands together gives a soft worsted weight fabric. Choose their Spearmint Green shade. You will need approximately 3 balls of Color A.
Option 3: Cascade 220 Superwash (100% superwash wool, 220 yards per 100 g skein). Gives a slightly drapier hand and beautiful stitch definition. Machine washable on gentle. Two skeins of Color A in a mint or sage shade.
Yarn tip: Skip anything too fuzzy or wildly variegated — those yarns hide the bubble texture and the daisy details. And since this is for a baby, machine-washable fiber is the way to go.
Gauge
With G-6 (4.0 mm) hook and Color A:
-
16 single crochet stitches = 4 inches (10 cm)
-
18 rows of single crochet = 4 inches (10 cm)
For the bubble stitch skirt section:
-
4 bubble stitch clusters + 4 chain 1 spaces = 4 inches (10 cm)
-
6 rows of bubble stitch pattern = 3 inches (7.5 cm)
A note on gauge. Because this dress is meant to fit close through the yoke, a quick swatch is worth the ten minutes. Crochet a square of at least 4 by 4 inches first, then reach for a larger or smaller hook until your measurements line up.
Abbreviations
-
ch: chain
-
sl st: slip stitch
-
sc: single crochet (insert hook, yarn over, pull up loop, yarn over, pull through both loops)
-
hdc: half double crochet
-
dc: double crochet (yarn over, insert hook, yarn over, pull up loop, yarn over, pull through 2 loops, yarn over, pull through remaining 2 loops)
-
tr: treble crochet
-
inc: increase (2 sc in one stitch)
-
dec: decrease (sc2tog over 2 stitches)
-
sk: skip
-
sp: space
-
st: stitch
-
sts: stitches
-
rep: repeat
-
RS: right side
-
WS: wrong side
-
yo: yarn over
-
blo: back loop only
-
BPS: bubble puff stitch (see Special Stitches)
-
MR: magic ring
-
pm: place marker
-
sm: slip marker
-
rnd: round
Special Stitches
Bubble Puff Stitch (BPS)
This stitch creates the beautiful rounded texture in the skirt. Here is how to work it:
Step 1: Yarn over and insert hook into indicated stitch or space.
Step 2: Yarn over and pull up a loop to approximately 0.5 inches (1.25 cm) in height. You now have 3 loops on hook.
Step 3: Yarn over and insert hook into the same stitch or space again.
Step 4: Yarn over and pull up a loop. You now have 5 loops on hook.
Step 5: Yarn over and insert hook into the same stitch or space one more time.
Step 6: Yarn over and pull up a loop. You now have 7 loops on hook.
Step 7: Yarn over and pull through all 7 loops on hook. One loop remains.
Step 8: Chain 1 to close and secure the bubble. This chain 1 counts as the top of the BPS and does not count as a separate stitch.
All BPS are worked on right side rounds. The closing chain 1 sits at the top of the puff and creates the rounded bubble texture.
Scallop Edging
Step 1: Skip 1 stitch, then work 5 dc into the next stitch to form a shell.
Step 2: Skip 1 stitch, then sl st into the next stitch.
Step 3: Repeat from Step 1 around.
Daisy Flower Applique
Step 1: With Color C, make a magic ring.
Step 2: Work 8 sc into the magic ring. Pull ring closed. (8 sc)
Step 3: Join Color B. Ch 8, sl st back into the base of that chain. This forms one petal.
Step 4: Repeat Step 3 seven more times, working each petal base into a different sc of the center ring. (8 petals total)
Step 5: Join with sl st to first sc. Fasten off, leaving a 12 inch tail for sewing.
Step 6: Flatten the flower so the petals radiate evenly. Use the tail to sew to garment.
Leaf Applique
Step 1: With Color D, ch 8.
Step 2: Sc in 2nd ch from hook, hdc in next ch, dc in next 2 ch, hdc in next ch, sc in next ch, 3 sc in last ch (tip of leaf).
Step 3: Working back along the opposite side of the foundation chain: sc in next ch, hdc in next ch, dc in next 2 ch, hdc in next ch, sc in last ch.
Step 4: Join with sl st to first sc. Fasten off, leaving a 10 inch tail for sewing.
Invisible Join
Step 1: Cut yarn leaving a 6 inch tail.
Step 2: Thread tail onto yarn needle.
Step 3: Insert needle from front to back under both loops of the first stitch of the round.
Step 4: Insert needle back down through the center of the last stitch of the round (into the back loop only).
Step 5: Pull snug to match stitch tension. This replaces the final sl st and creates a seamless join.
Pattern Notes Before You Begin
-
The yoke is worked in joined rounds from the neck down. The back has a gap of approximately 1 inch for the button closure. This opening is created by working the yoke in rows for the first 3 rounds and then joining into the round.
-
After the yoke is completed, stitches for the sleeves are placed on hold with stitch markers and the skirt is worked from the underarm in joined rounds.
-
The bubble stitch skirt is worked in joined rounds. Rounds alternate between BPS rounds (right side) and sc rounds (worked in blo to keep fabric RS facing).
-
The dress is designed to be worked with the right side always facing you during the skirt section.
-
Place stitch markers at the 4 raglan increase points in the yoke and move them up each round.
-
Do not turn unless specifically instructed.
-
Block the finished dress before attaching appliques for the most accurate placement.
Step by Step Instructions
Section 1: Neckband and Yoke Foundation
The neck opens at the back. Work the first 3 rows flat (back and forth), then join to work in the round.
Row 1 (RS): With Color A and G-6 hook, ch 50. Sc in 2nd ch from hook and in each ch across. Turn. (49 sc)
Row 2 (WS): Ch 1, sc in each st across. Turn. (49 sc)
Row 3 (RS): Ch 1, sc in each st across. Do not turn. (49 sc)
At the end of Row 3, the two short ends of the neckband will form the back opening. Join with sl st to the first st of Row 3 to form a ring, being careful not to twist.
Place stitch markers at the following positions to denote raglan dividers:
-
Marker 1 at stitch 7 (right back/right sleeve join)
-
Marker 2 at stitch 20 (right sleeve/right front join)
-
Marker 3 at stitch 30 (left front/left sleeve join)
-
Marker 4 at stitch 43 (left sleeve/left back join)
Section 2: Raglan Yoke Increases
Each raglan round increases 8 stitches total (2 increases at each of the 4 marked raglan points).
Raglan Increase Round (RIR): Sc in each st to 1 st before marker, inc in next st, sm, inc in marked st, sc in each st to 1 st before next marker, inc, sm, inc, continue in this manner at all 4 markers, sc to end of round, join with sl st. (total +8 sts per round)
Round 4 (RIR): Work Raglan Increase Round. (57 sc)
Round 5: Sc in each st around, join. (57 sc)
Round 6 (RIR): Work Raglan Increase Round. (65 sc)
Round 7: Sc in each st around, join. (65 sc)
Round 8 (RIR): Work Raglan Increase Round. (73 sc)
Round 9: Sc in each st around, join. (73 sc)
Round 10 (RIR): Work Raglan Increase Round. (81 sc)
Round 11: Sc in each st around, join. (81 sc)
Round 12 (RIR): Work Raglan Increase Round. (89 sc)
Round 13: Sc in each st around, join. (89 sc)
CHECKPOINT: After completing the yoke, the piece should measure approximately 3.75 to 4 inches from the neckline to the underarm, and approximately 18 inches around when the back opening is closed.
Section 3: Ruffle Wing Sleeves
Before separating the sleeves, work the ruffle edging along each sleeve opening. The sleeve stitches for each side are the 21 stitches between the raglan markers.
Right Sleeve Ruffle:
Step 1: Attach Color A with sl st to the first sleeve st on the right sleeve (the st immediately after Marker 1).
Step 2: Ch 3 (counts as first dc).
Step 3: Work 2 dc in the same st. (shell of 3 dc started)
Step 4: Sc in next st.
Step 5: Work 3 dc in next st (shell).
Step 6: Sc in next st.
Step 7: Rep Steps 5 and 6 across all 21 sleeve stitches, ending with 3 dc in last st.
Step 8: Join with sl st to top of ch 3. Fasten off.
Those 21 sleeve stitches become about 7 little shells alternating with single crochets, and the edge curls all by itself into that angel-wing shape.
Left Sleeve Ruffle: Repeat all steps for the right sleeve using the 21 left sleeve stitches.
Section 4: Separating Sleeves from Body
Round 14 (Separation Round): With Color A, starting at the right back edge (after the back opening), sc across the right back stitches (14 sts), skip the 21 right sleeve sts (place on holder or mark with yarn), ch 4 (underarm bridge), sc across the 18 front sts, skip the 21 left sleeve sts (place on holder or mark), ch 4 (underarm bridge), sc across the 15 left back sts. Join with sl st to first sc. (14 + 4 + 18 + 4 + 15 = 55 sts including chain bridges)
Round 15: Sc in each st and in each ch across all, join. (55 sc)
Round 16: Sc in each st around, join. (55 sc)
Round 17: Working increases to prepare for skirt shaping: (sc in next 4 sts, inc in next st) 11 times. Join. (66 sc)
Round 18: Sc in each st around, join. (66 sc)
CHECKPOINT: At the end of Round 18, the chest/body section should measure approximately 4 inches from the underarm to the base of the yoke, and approximately 18 inches around the chest.
Section 5: Waistband
Rounds 19 to 21: Sc in each st around, join. (66 sc each round)
These 3 rounds form the waistband where the daisy appliques at the waist will be attached after blocking.
Section 6: Skirt Increases and Bubble Stitch
Round 22 (Skirt increase): (Sc in next 5 sts, inc in next st) 11 times. Join. (77 sc)
Round 23: Sc in each st around, join. (77 sc)
Round 24 (Skirt increase): (Sc in next 6 sts, inc in next st) 11 times. Join. (88 sc)
Round 25: Sc in each st around, join. (88 sc)
Round 26 (Skirt increase): (Sc in next 7 sts, inc in next st) 11 times. Join. (99 sc)
Round 27: Sc in each st around, join. (99 sc)
Round 28 (BPS Round 1): Ch 1. (BPS in next st, sc in next st) 49 times, BPS in last st. Join. (50 BPS and 49 sc over 99 sts)
Round 29 (sc round): Sc in top of each BPS and in each sc across. Join. (99 sc)
Round 30 (BPS Round 2): Same as Round 28. (99 working sts)
Round 31 (sc round): Sc across. Join. (99 sc)
Round 32 (Increase round): (Sc in next 10 sts, inc) 9 times. Join. (108 sc)
Round 33 (BPS Round 3): Ch 1. (BPS in next st, sc in next st) 54 times. Join. (54 BPS, 54 sc = 108 working sts)
Round 34 (sc round): Sc in top of each BPS and in each sc. Join. (108 sc)
Round 35 (BPS Round 4): Same as Round 33. (108 working sts)
Round 36 (sc round): Sc across. Join. (108 sc)
Round 37 (Increase round): (Sc in next 11 sts, inc) 9 times. Join. (117 sc)
Round 38 (BPS Round 5): Ch 1. (BPS in next st, sc in next st) 58 times, BPS in next st. Join. (59 BPS, 58 sc = 117 working sts)
Round 39 (sc round): Sc across. Join. (117 sc)
Round 40 (BPS Round 6): Same as Round 38. (117 working sts)
Round 41 (sc round): Sc across. Join. (117 sc)
Round 42 (adjusted): (Sc in next 12 sts, inc) 8 times, sc in next 12 sts, dec. Join. (124 sc)
CHECKPOINT: After Round 42, the skirt should measure approximately 6.5 to 7 inches from underarm to current row. The hem circumference should measure approximately 28 inches unstretched.
Section 7: Hem Edging and Scallop Border
Round 43: Sc in each st around. Join. (124 sc)
Round 44 (Scallop Border): Sl st in first st. (Skip 1 st, 5 dc in next st, skip 1 st, sl st in next st) 31 times. Join with sl st to first sl st. Fasten off. (31 shells over 124 sts)
Count your shells when you finish — there should be 31 fanned evenly around the hem.
Section 8: Back Closure
Right Back Edging:
Row 1: With Color A, attach yarn at the bottom right edge of the back opening. Sc evenly up the right back edge, working approximately 1 sc per row end. Turn.
Row 2: Ch 1, sc in each st back down. Fasten off.
Left Back Button Band:
Row 1: Attach yarn at the top left back edge. Sc evenly down the left back edge. Turn.
Row 2: Ch 1, sc in first 2 sts, (ch 2, sk 2 sts, sc in next 4 sts) 2 times, ch 2, sk 2 sts, sc to end. These ch 2 spaces are the buttonholes. Turn.
Row 3: Ch 1, sc in each st and 2 sc in each ch 2 sp across. Fasten off.
Sew 2 to 3 buttons onto the right back band opposite the buttonholes.
Section 9: Daisy Appliques
Waist appliques: Make 3 daisy flowers (Color B petals, Color C center) and 2 leaves (Color D). Arrange 3 daisies in a cluster at the center front waistband, with 1 leaf on each side of the cluster.
Hem appliques: Make 7 daisy flowers (Color B petals, Color C center). Space them evenly along the hem scallop border, positioning each daisy to sit centered above a scallop shell. With 31 shells, place 1 daisy centered above every 4th to 5th shell for 7 evenly spaced daisies.
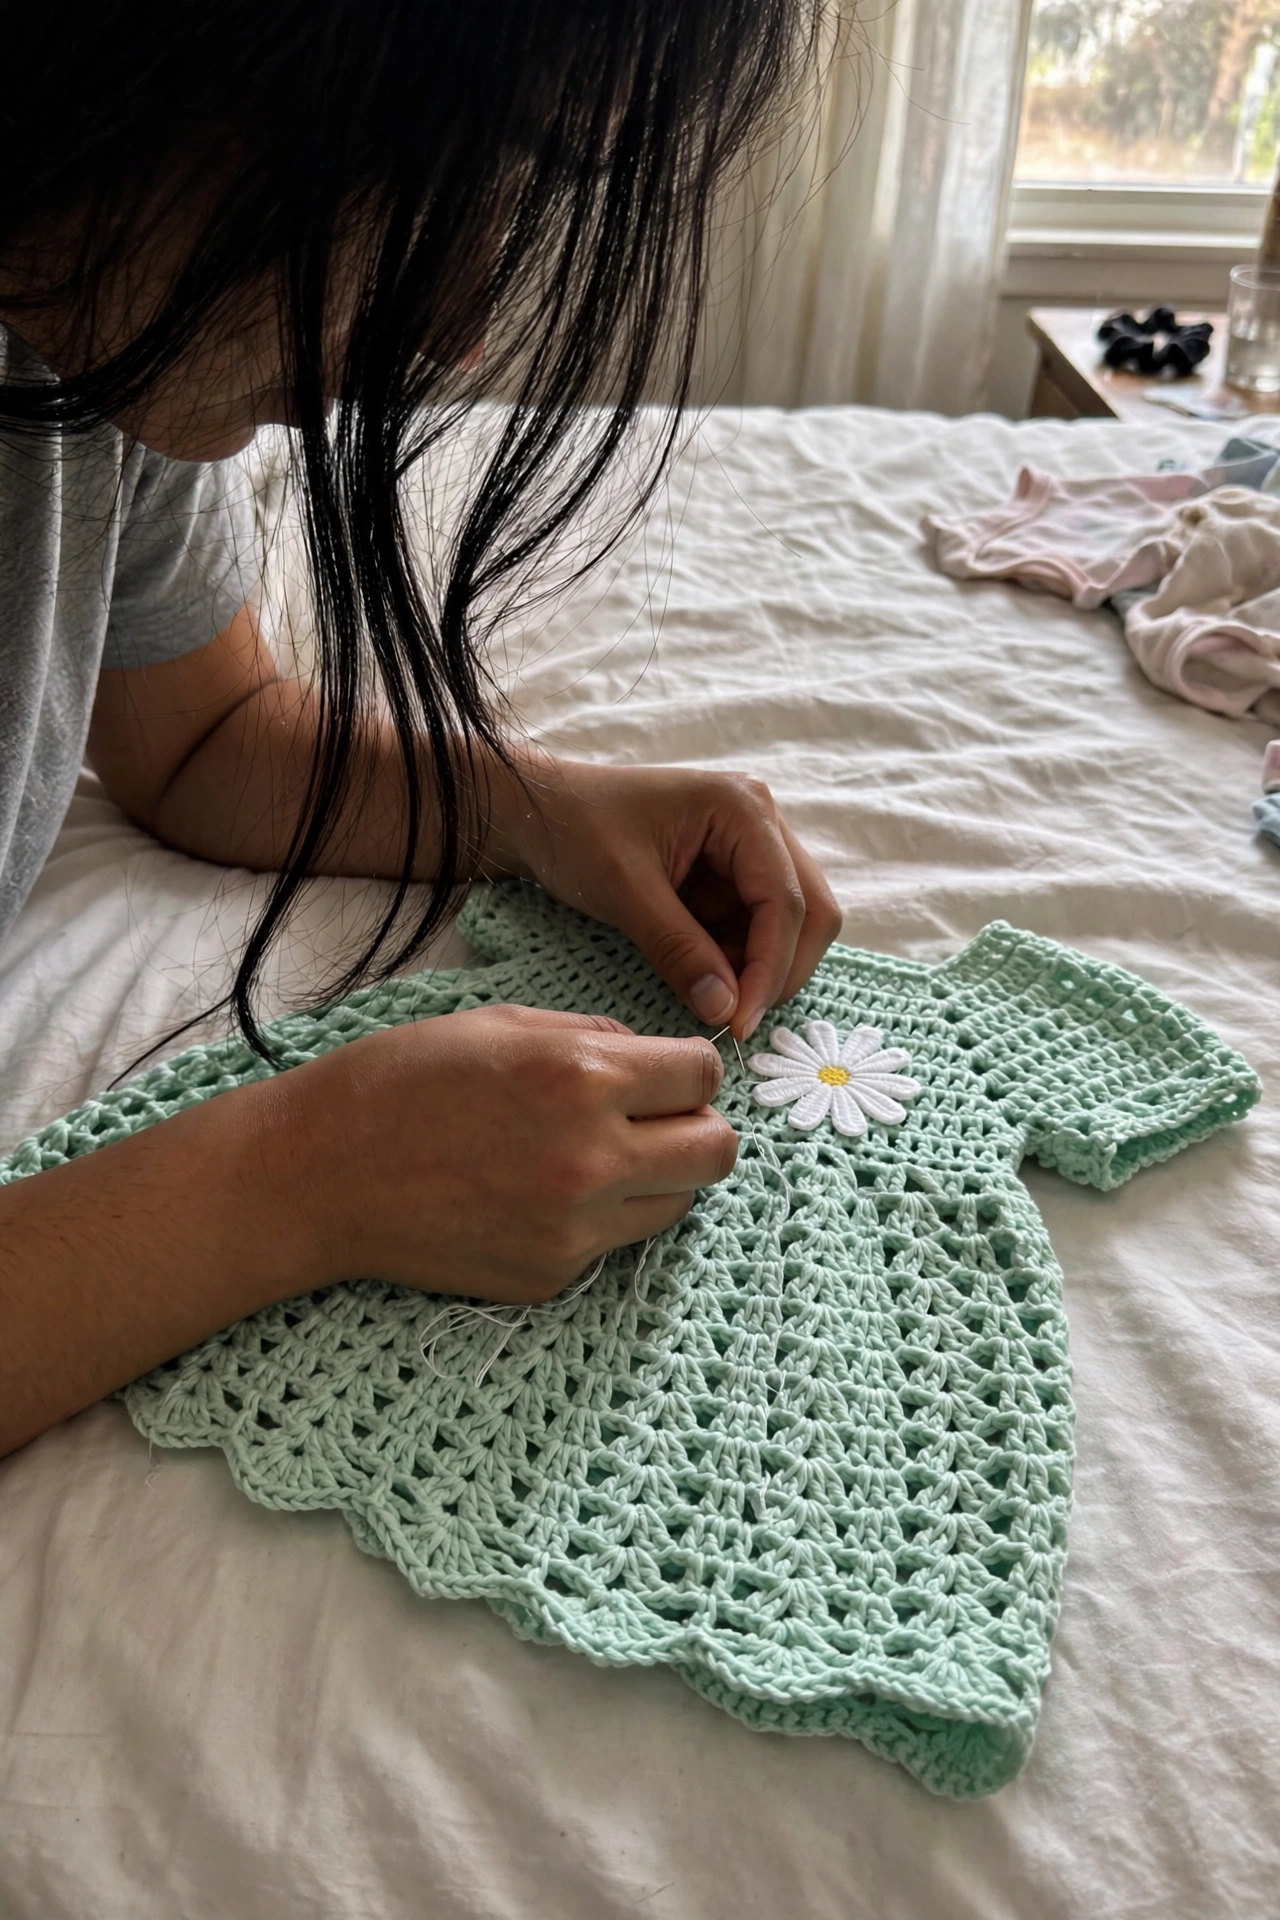
Pin all appliques in place before sewing. Use a yarn needle and the long tail on each applique to sew around the base of the center ring to attach securely to the garment. Weave in all ends on the wrong side.
Section 10: Finishing and Blocking
Step 1: Weave in all yarn ends securely on the wrong side of the dress.
Step 2: Fill a basin with cool water. Submerge the dress and gently press to saturate. Do not wring.
Step 3: Roll the dress in a clean dry towel and press to remove excess water.
Step 4: Lay flat on a foam blocking mat. Pin the dress to the schematic dimensions: chest 18 in, total length 12.5 in, hem width approximately 14 in from side to side laid flat. Pin the scallop shells open so each shell fans out neatly.
Step 5: Allow to dry completely (12 to 24 hours depending on humidity).
Step 6: Once dry, attach appliques as described in Section 9.
Step 7: Sew buttons onto the back button band.
Size Customization Tips
To size up to 12 to 18 months: Add 2 additional raglan increase rounds in the yoke (Rounds 14 and 15 before separation) for a 97 stitch total before separation, giving a chest circumference of approximately 20 inches. Add 2 additional BPS rounds to the skirt for a longer hem. The total length will be approximately 14 inches.
To size down to Newborn to 3 months: Remove 2 raglan increase rounds, giving 73 stitches before separation for a chest circumference of approximately 16 inches. Remove the Round 42 increase round. Total length will be approximately 11 inches.
To lengthen the skirt: Add additional paired rounds (one BPS round + one sc round) before the final increase and scallop border. Each pair adds approximately 0.75 inches of length.
Care Instructions
-
Machine wash on gentle or delicate cycle in cold water using mild detergent
-
Lay flat to dry. Do not tumble dry
-
Do not iron the bubble stitch sections, as heat will flatten the three dimensional texture
-
If pressing is needed for the yoke, use a pressing cloth and low heat steam only
-
Store folded, not hung, to avoid stretching the delicate yoke
You Did It!
Was that not the sweetest little project? I hope you have as much fun with those bubble stitches and daisies as I did. Here is to many happy hours with your hook — happy crocheting!