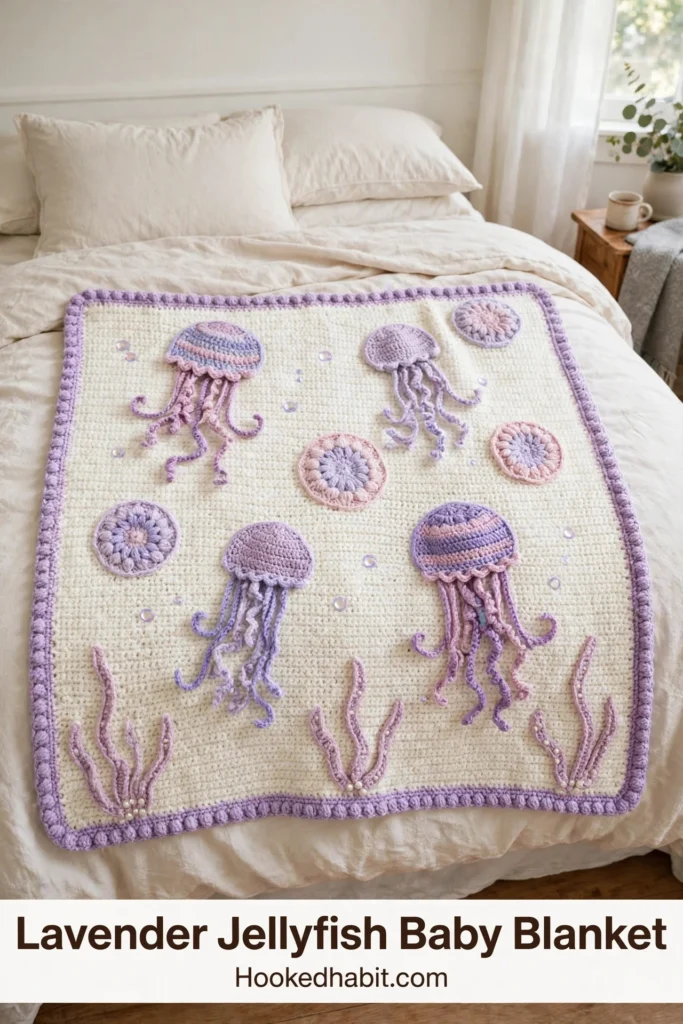
How sweet is an ocean nursery with soft lavenders and creams? When I came across this dreamy design, I knew it would feel like something truly whimsical and precious. Little jellyfish with flowing tentacles, textured bell shapes, and the sweetest little sea anemone medallions scattered throughout — it feels like a blanket full of love, don’t you think?
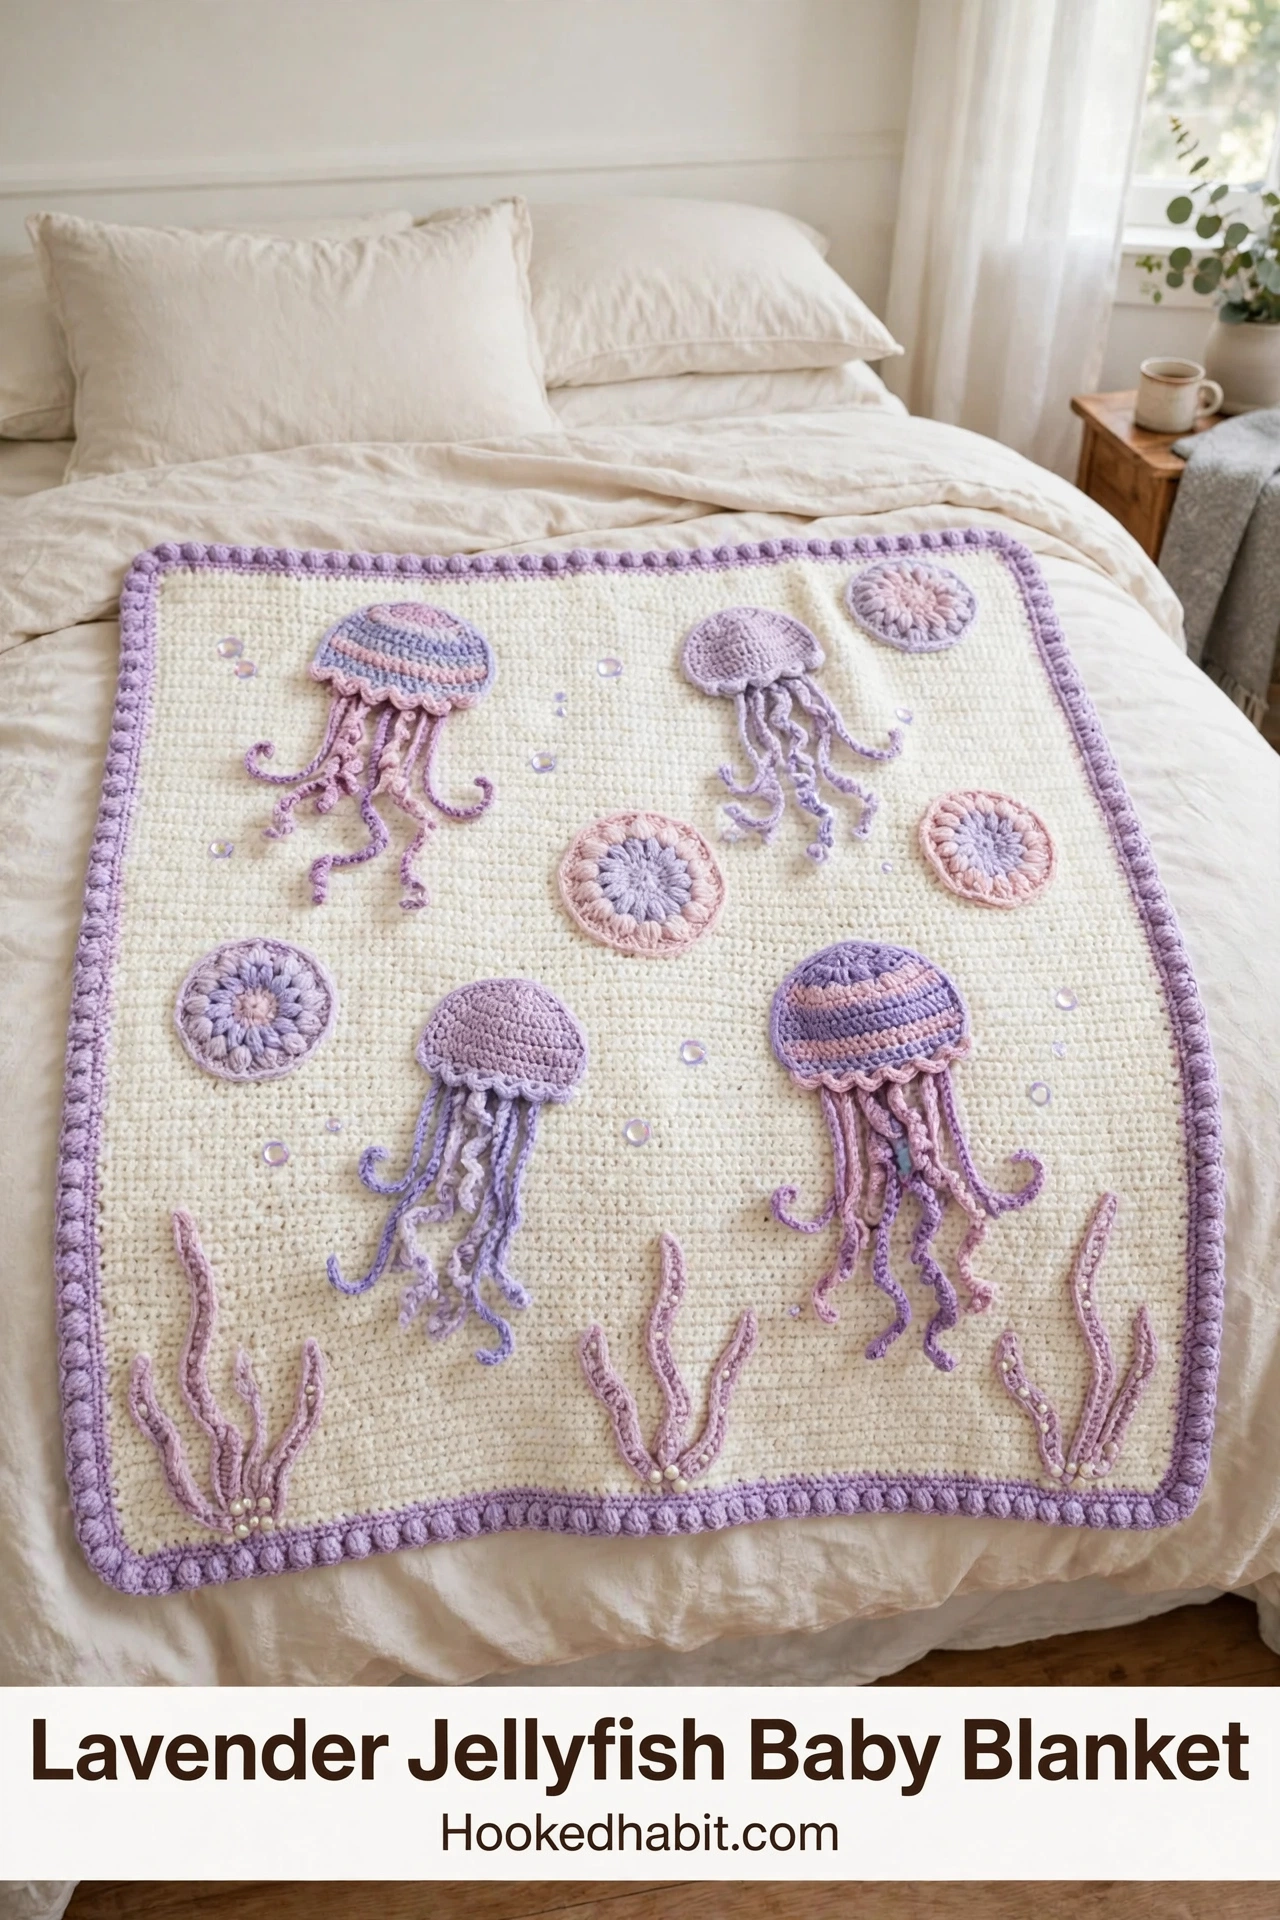
Why This Jellyfish Baby Blanket Pattern Works So Well
A simple single crochet background paired with stunning three-dimensional appliqués brings the underwater scene to life. The jellyfish seem to float across a cream-colored ocean, tentacles cascading in gentle waves. Medallions resembling sea anemones or coral fill in beautifully between the main jellyfish motifs, and small bobble stitches scattered throughout read as bubbles rising to the surface.
It looks intricate, but the construction is kinder than it seems. Work the base blanket as one flat piece in basic stitches, then create the jellyfish and medallion appliqués separately and attach them at the end — tackle each element at your own pace, no overwhelm.
Skill level: Intermediate — you will want basic stitches down and a willingness to try a few textured techniques.
Finished dimensions: Approximately 30 inches wide by 36 inches long — a perfect crib or stroller blanket.
Materials You Will Need
Gather everything before you start — it makes the whole process so much smoother.
Yarn:
- Worsted weight yarn, category 4, in the following colors:
– Cream or off white for the background: approximately 800 yards
– Lavender or light purple for jellyfish and border: approximately 300 yards
– Dusty pink for jellyfish accents: approximately 150 yards
– Periwinkle or blue violet for jellyfish accents: approximately 150 yards
– Light mauve for medallion details: approximately 100 yards
Look for a soft acrylic or cotton blend that holds up well to washing. Baby blankets need to be durable and easy to care for.
Hook: Size H/8 (5.0 mm) crochet hook, or size needed to obtain gauge
Notions:
-
Yarn needle for weaving ends and attaching appliqués
-
Scissors
-
Stitch markers
-
Pins for blocking and placement
Gauge: 14 single crochet stitches and 16 rows equals 4 inches square. Check your gauge before starting so the sizing comes out right.
Stitch Abbreviations and Definitions
Here is every stitch used in this pattern. If any feel unfamiliar, practice on a small swatch first.
ch = chain: Yarn over, pull through the loop on your hook. This creates the foundation for most crochet work.
sl st = slip stitch: Insert hook into stitch, yarn over, pull through both the stitch and the loop on your hook in one motion. Used for joining rounds.
sc = single crochet: Insert hook into stitch, yarn over and pull up a loop (2 loops on hook), yarn over and pull through both loops. The most basic crochet stitch.
hdc = half double crochet: Yarn over, insert hook into stitch, yarn over and pull up a loop (3 loops on hook), yarn over and pull through all 3 loops. Slightly taller than single crochet.
dc = double crochet: Yarn over, insert hook into stitch, yarn over and pull up a loop (3 loops on hook), yarn over and pull through 2 loops, yarn over and pull through remaining 2 loops. Creates a medium height stitch with nice drape.
tr = treble crochet: Yarn over twice, insert hook into stitch, yarn over and pull up a loop (4 loops on hook), yarn over and pull through 2 loops three times. A tall elegant stitch.
inc = increase: Work 2 stitches into the same stitch to add width.
bob = bobble stitch: Work 5 double crochets into the same stitch but only pull through the final loop of each dc (6 loops on hook), then yarn over and pull through all 6 loops at once. Creates a textured bump.
magic ring = An adjustable starting loop that can be pulled tight to close the center of circular work. If you prefer, you can substitute ch 4 and join with a slip stitch.
Base Blanket Instructions
The foundation is a simple single crochet rectangle — straightforward stitches where beginners can really shine.
Foundation Row: Using cream yarn, ch 106.
Row 1: Sc in 2nd ch from hook and in each ch across. (105 sc)
Row 2: Ch 1, turn. Sc in each st across. (105 sc)
Rows 3 through 144: Repeat Row 2.
Your base should measure about 30 inches wide by 36 inches tall. If you plan to work the border right away, don’t fasten off yet. Taking a break? Fasten off and leave a long tail to weave in later.
Quick tip: Place a stitch marker at the start of each row. Counting 144 rows sounds tedious, but stitch markers keep it manageable.
Jellyfish Appliqué Pattern
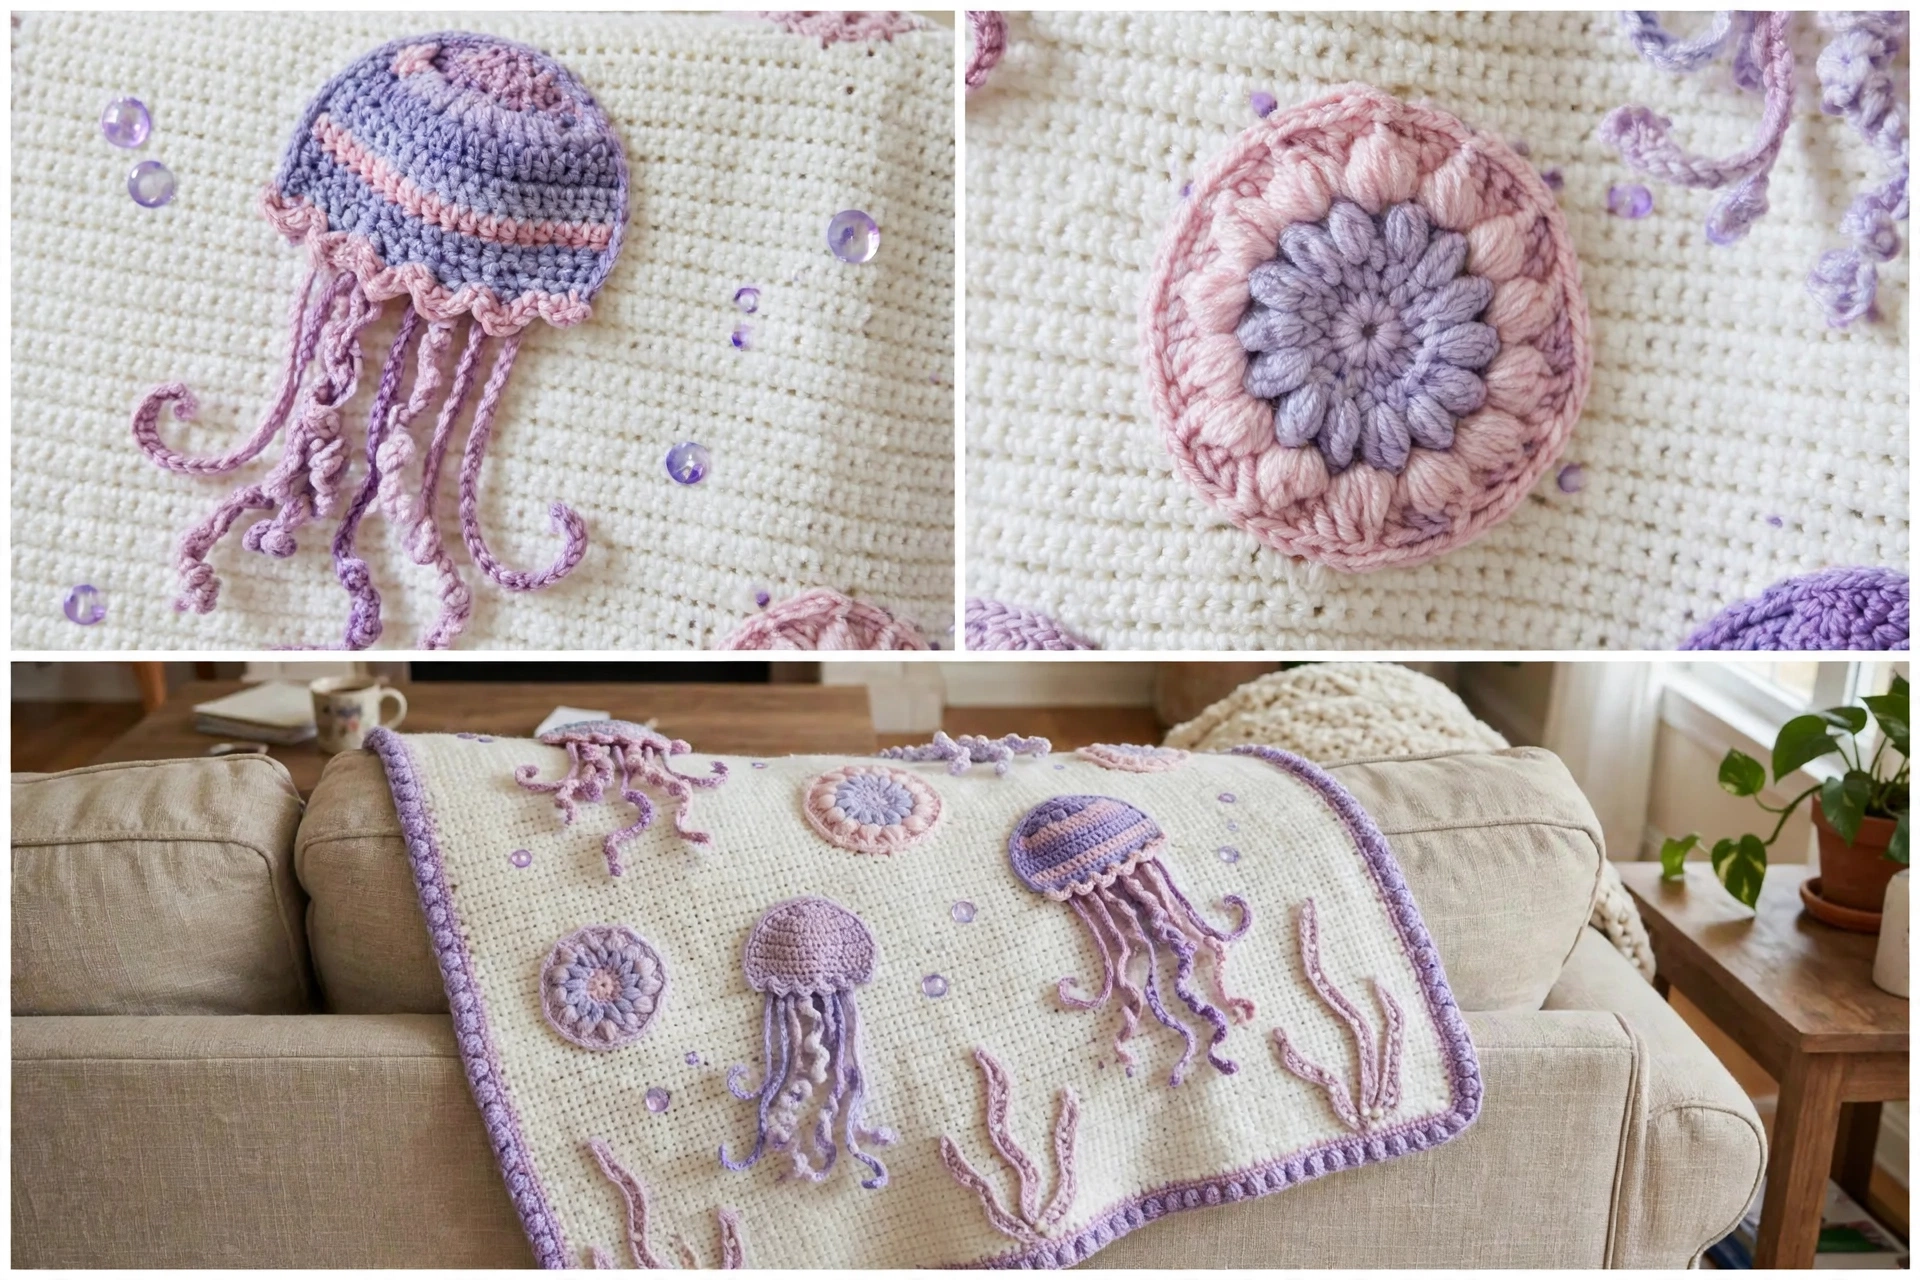
Every jellyfish has a domed bell and flowing tentacles. Make four total — two mostly lavender, two with more pink and periwinkle for variety.
Jellyfish Bell (Make 4)
Work the bell in rounds from the top down.
Using lavender (or your chosen color), make a magic ring.
Round 1: Ch 3 (counts as first dc here and throughout), 11 dc into ring, sl st to top of ch 3 to join. Pull ring closed. (12 dc)
Round 2: Ch 3, dc in same st, 2 dc in each st around, sl st to join. (24 dc)
Round 3: Ch 3, dc in same st, dc in next st, 2 dc in next st, dc in next st, repeat from * around, sl st to join. (36 dc)
Round 4: Change to dusty pink or periwinkle. Ch 1, sc in each st around, sl st to join. (36 sc)
Round 5: Ch 1, working in back loops only, sc in each st around, sl st to join. (36 sc)
That ridge gives the bell its dimension.
Round 6: Change back to lavender. Ch 1, sc in each st around, sl st to join. (36 sc)
Round 7: Ch 1, sc in each st around, sl st to join. Fasten off and weave in ends. (36 sc)
Your bell should have a gentle dome with striped color bands.
Jellyfish Tentacles (Make 8 to 10 per Jellyfish)
These curly tentacles give the jellyfish their flowing, organic look — vary the lengths for visual interest.
Short tentacle: Ch 25. Starting in 2nd ch from hook, 2 sc in each ch across. Fasten off. (48 sc)
Medium tentacle: Ch 35. Starting in 2nd ch from hook, 2 sc in each ch across. Fasten off. (68 sc)
Long tentacle: Ch 45. Starting in 2nd ch from hook, 2 sc in each ch across. Fasten off. (88 sc)
The doubled stitches make the chain spiral naturally — don’t fight it, let it curl.
For each jellyfish, make about 3 short, 4 medium, and 3 long tentacles. Vary lavender, dusty pink, and periwinkle for a multi-toned effect.
Sea Anemone Medallion Pattern
Little circular, flower-like shapes that represent sea anemones or coral, filling the spaces between the jellyfish beautifully.
Make 5 medallions in varied color combinations.
Using dusty pink (or your chosen center color), make a magic ring.
Round 1: Ch 1, 8 sc into ring, sl st to join. Pull ring closed. (8 sc)
Round 2: Ch 1, 2 sc in each st around, sl st to join. (16 sc)
Round 3: Change to lavender. Ch 1, sc in next st, 2 sc in next st, repeat from * around, sl st to join. (24 sc)
Round 4: Ch 1, sc in each st around, sl st to join. (24 sc)
Round 5: Change to periwinkle. Ch 5, sl st in next st, repeat from * around. (24 petal loops)
Fasten off and weave in ends. The final round creates pretty petal-like loops radiating outward.
Bubble Embellishments
Tiny bobble stitches scattered across the blanket become bubbles rising through the water. Work them directly onto the base blanket or make small appliqués to attach later.
To work bobbles directly onto the finished blanket:
Thread lavender or periwinkle yarn onto your yarn needle and bring it through from the back to the front. Using your crochet hook, work a bobble stitch by pulling up loops through the blanket fabric. Secure on the back. Scatter 15 to 20 bubbles in natural rising patterns.
Alternatively, make small appliqué dots:
Ch 2, work 5 dc into 2nd ch from hook, sl st to close. Fasten off leaving a tail for sewing.
Seaweed Elements
Wavy seaweed shapes along the bottom edge finish the underwater scene.
Make 6 seaweed pieces in dusty pink and lavender.
Ch 30. Starting in 2nd ch from hook, sc in next 2 ch, 3 sc in next ch, repeat from * across. Fasten off.
That gives a gently waving piece like kelp or seaweed. Vary your chains between 25 and 35 for different heights.
Border Instructions
A decorative border frames the whole blanket and ties the colors together beautifully.
Round 1: Join lavender yarn at any corner with a sl st. Ch 1, sc evenly around the entire blanket, working 3 sc into each corner. Sl st to join. Mark your stitch count.
Round 2: Ch 1, sc in each st around, working 3 sc into the center stitch of each corner. Sl st to join.
Round 3: Ch 1, sc in next st, skip 1 st, 5 dc in next st (shell made), skip 1 st, repeat from * around, adjusting at corners as needed to keep the pattern flowing. Sl st to join.
Round 4: Ch 1, sc in each st around, sl st to join. Fasten off and weave in ends.
The shell stitches give that lovely scalloped edge in the finished blanket.
Assembly and Finishing
This is where the blanket truly comes to life — take your time with placement.
Step 1: Lay the base blanket flat. Arrange the four jellyfish evenly — two near the top, two toward the lower third, slightly staggered.
Step 2: Place the medallions between the jellyfish, filling gaps naturally without overcrowding.
Step 3: Set the seaweed along the bottom edge, overlapping slightly for a natural look.
Step 4: Pin everything. Step back, look at the overall composition, and adjust as needed.
Step 5: With matching yarn and your yarn needle, whipstitch or mattress stitch each element to the base. Attach the bells first, then tuck the tentacles underneath and secure at the top only so they hang freely.
Step 6: Add bubble embellishments in rising patterns near the jellyfish.
Step 7: Weave in all remaining ends. Block lightly if desired.
Care Instructions
Baby-friendly and machine washable if you used acrylic: gentle cycle, cold water, tumble dry low. The appliqués are securely attached, but avoid harsh agitation. For cotton blends, lay flat to dry so nothing stretches.
Tips for Success with This Crochet Pattern
Multiple appliqués can feel intimidating, but smaller sessions help so much. Bells one evening, tentacles the next, medallions after that — before you know it, all the pieces are ready for assembly.
Don’t stress about perfect placement — jellyfish float in unpredictable patterns, so slightly asymmetrical placement looks more natural anyway.
If the curly tentacles feel too tight or too loose, adjust your tension — or try a different hook size just for those pieces.
Why This Makes a Perfect Baby Shower Gift
Handmade baby blankets carry so much meaning, and this design suits ocean-themed nurseries, purple or lavender color schemes, or anyone who loves unique crochet artistry. The whimsical jellyfish charm parents and babies alike — and years from now, this blanket becomes a treasured keepsake.
I hope you enjoy making this Lavender Jellyfish Baby Blanket. Simple base construction plus creative appliqués makes it so satisfying to work and truly stunning to display. Every tentacle you curl and every medallion you stitch brings the underwater scene closer.
Thank you for choosing this pattern — I really can’t wait to see your finished blankets!



