Introduction
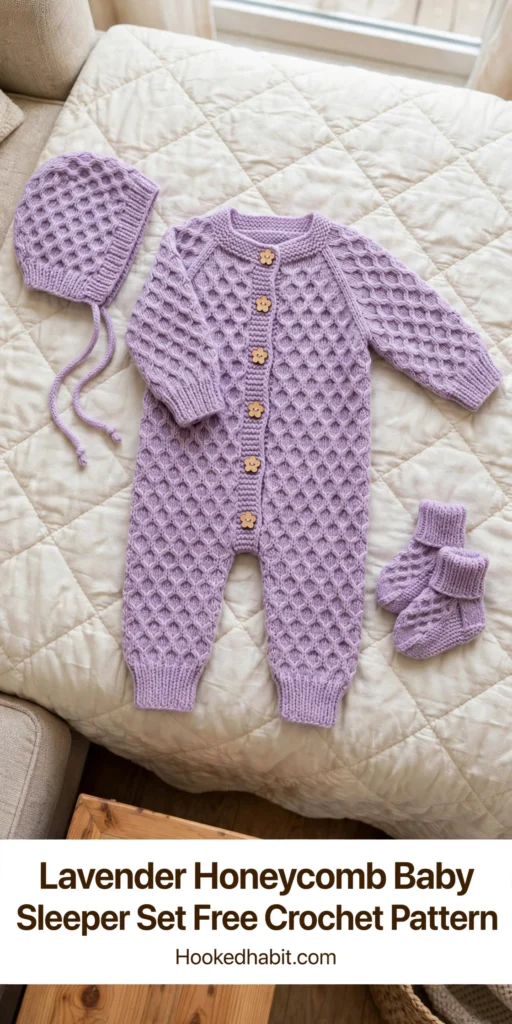
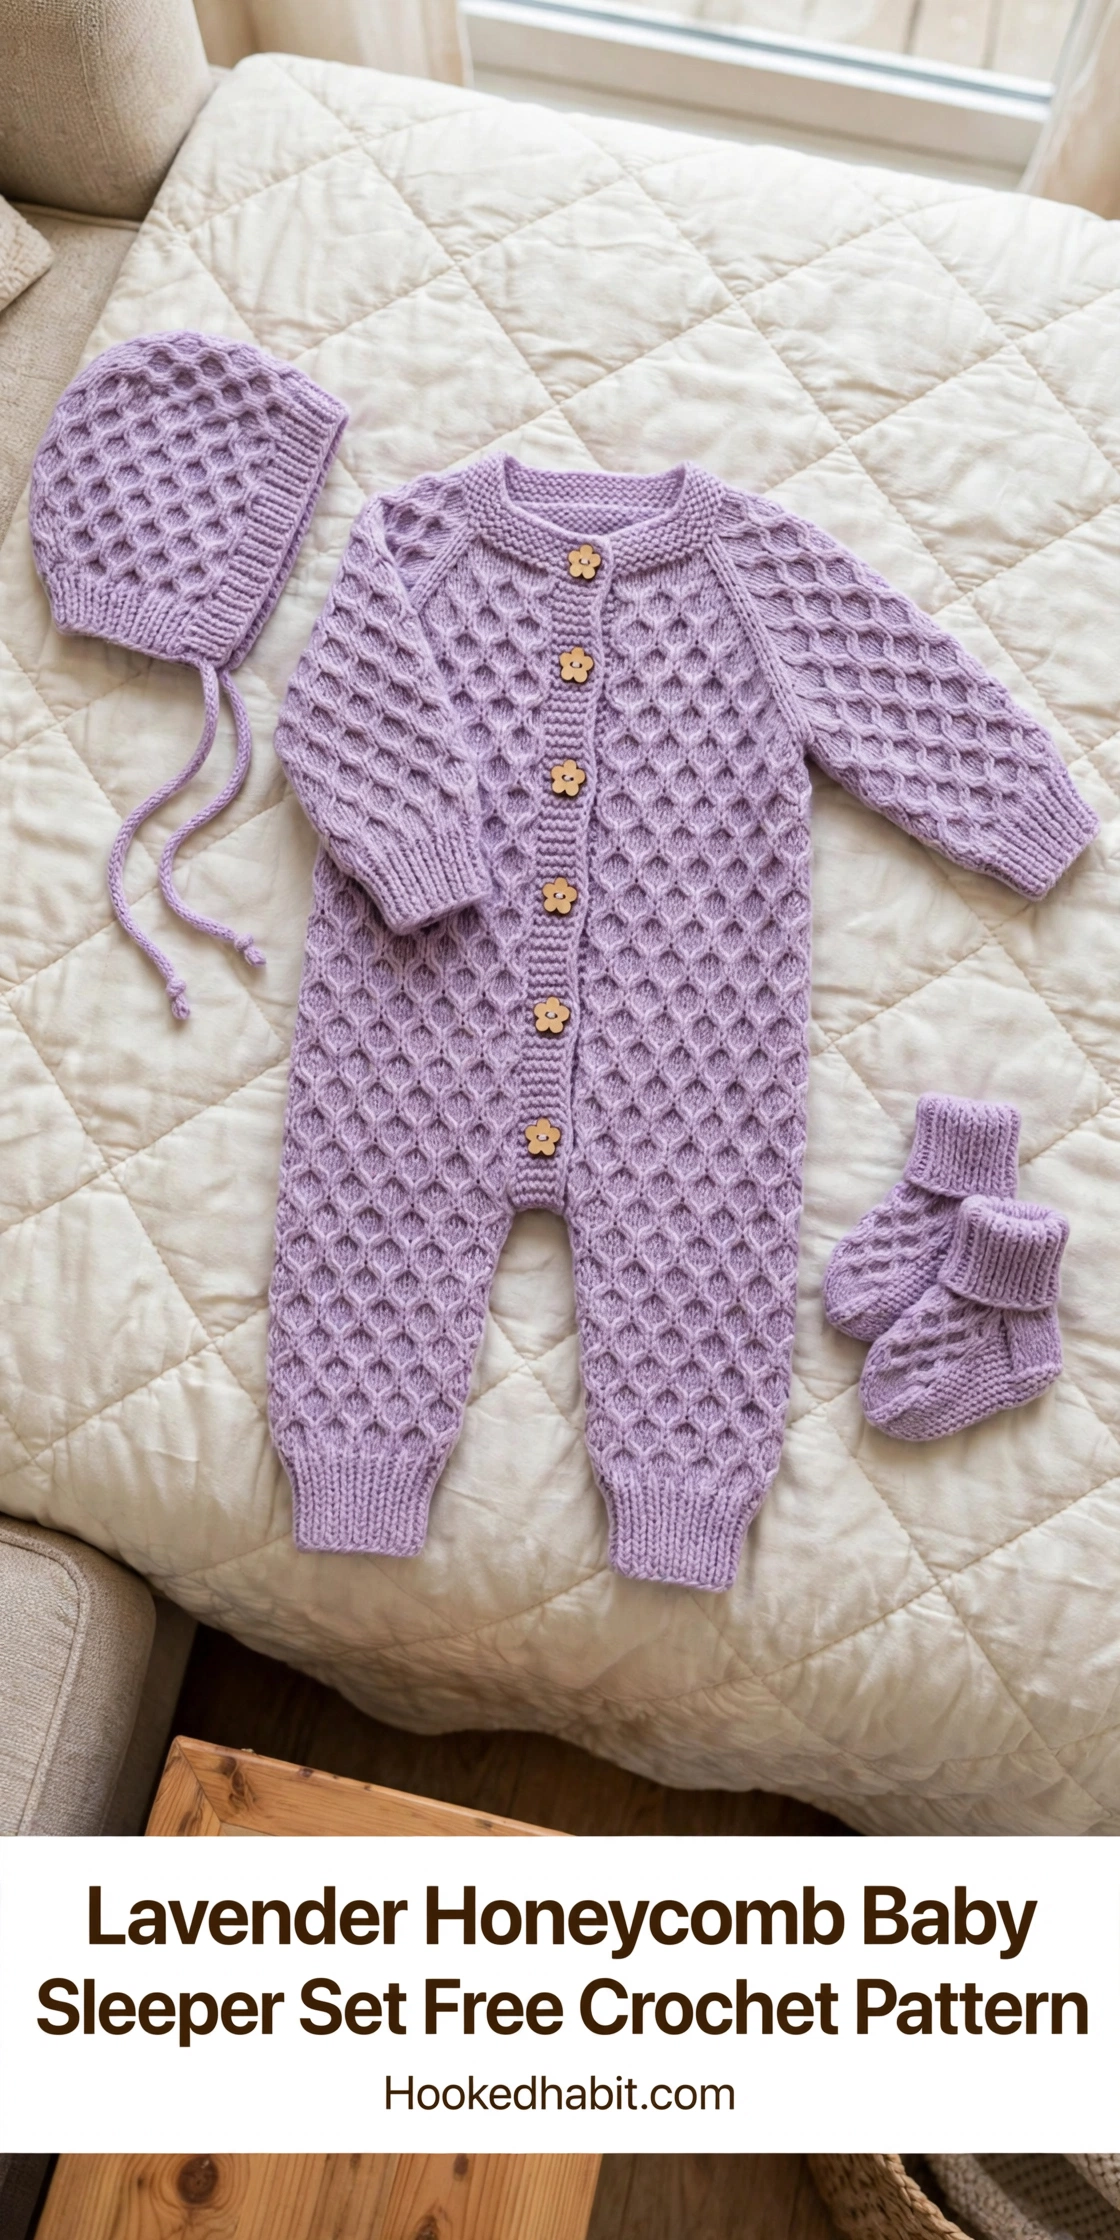
Handmade clothes for the very tiniest people — there’s nothing quite like making them. This lavender honeycomb sleeper set pairs a classic texture with a clean, modern look, and the three-piece set — romper, bonnet, and booties — is the kind of thing that becomes a family keepsake. You get a long button-front romper, a tie bonnet, and the tiniest little booties. If you know your basic stitches and can follow a repeating pattern, this one is absolutely within reach — I promise.
I’d call this an intermediate pattern, but a patient beginner who takes it one step at a time will do just fine. The honeycomb texture looks much trickier than it really is. Once the rhythm clicks, your hands do the work on autopilot — perfect for an evening in front of the TV.
Why This Baby Sleeper Set Works So Well
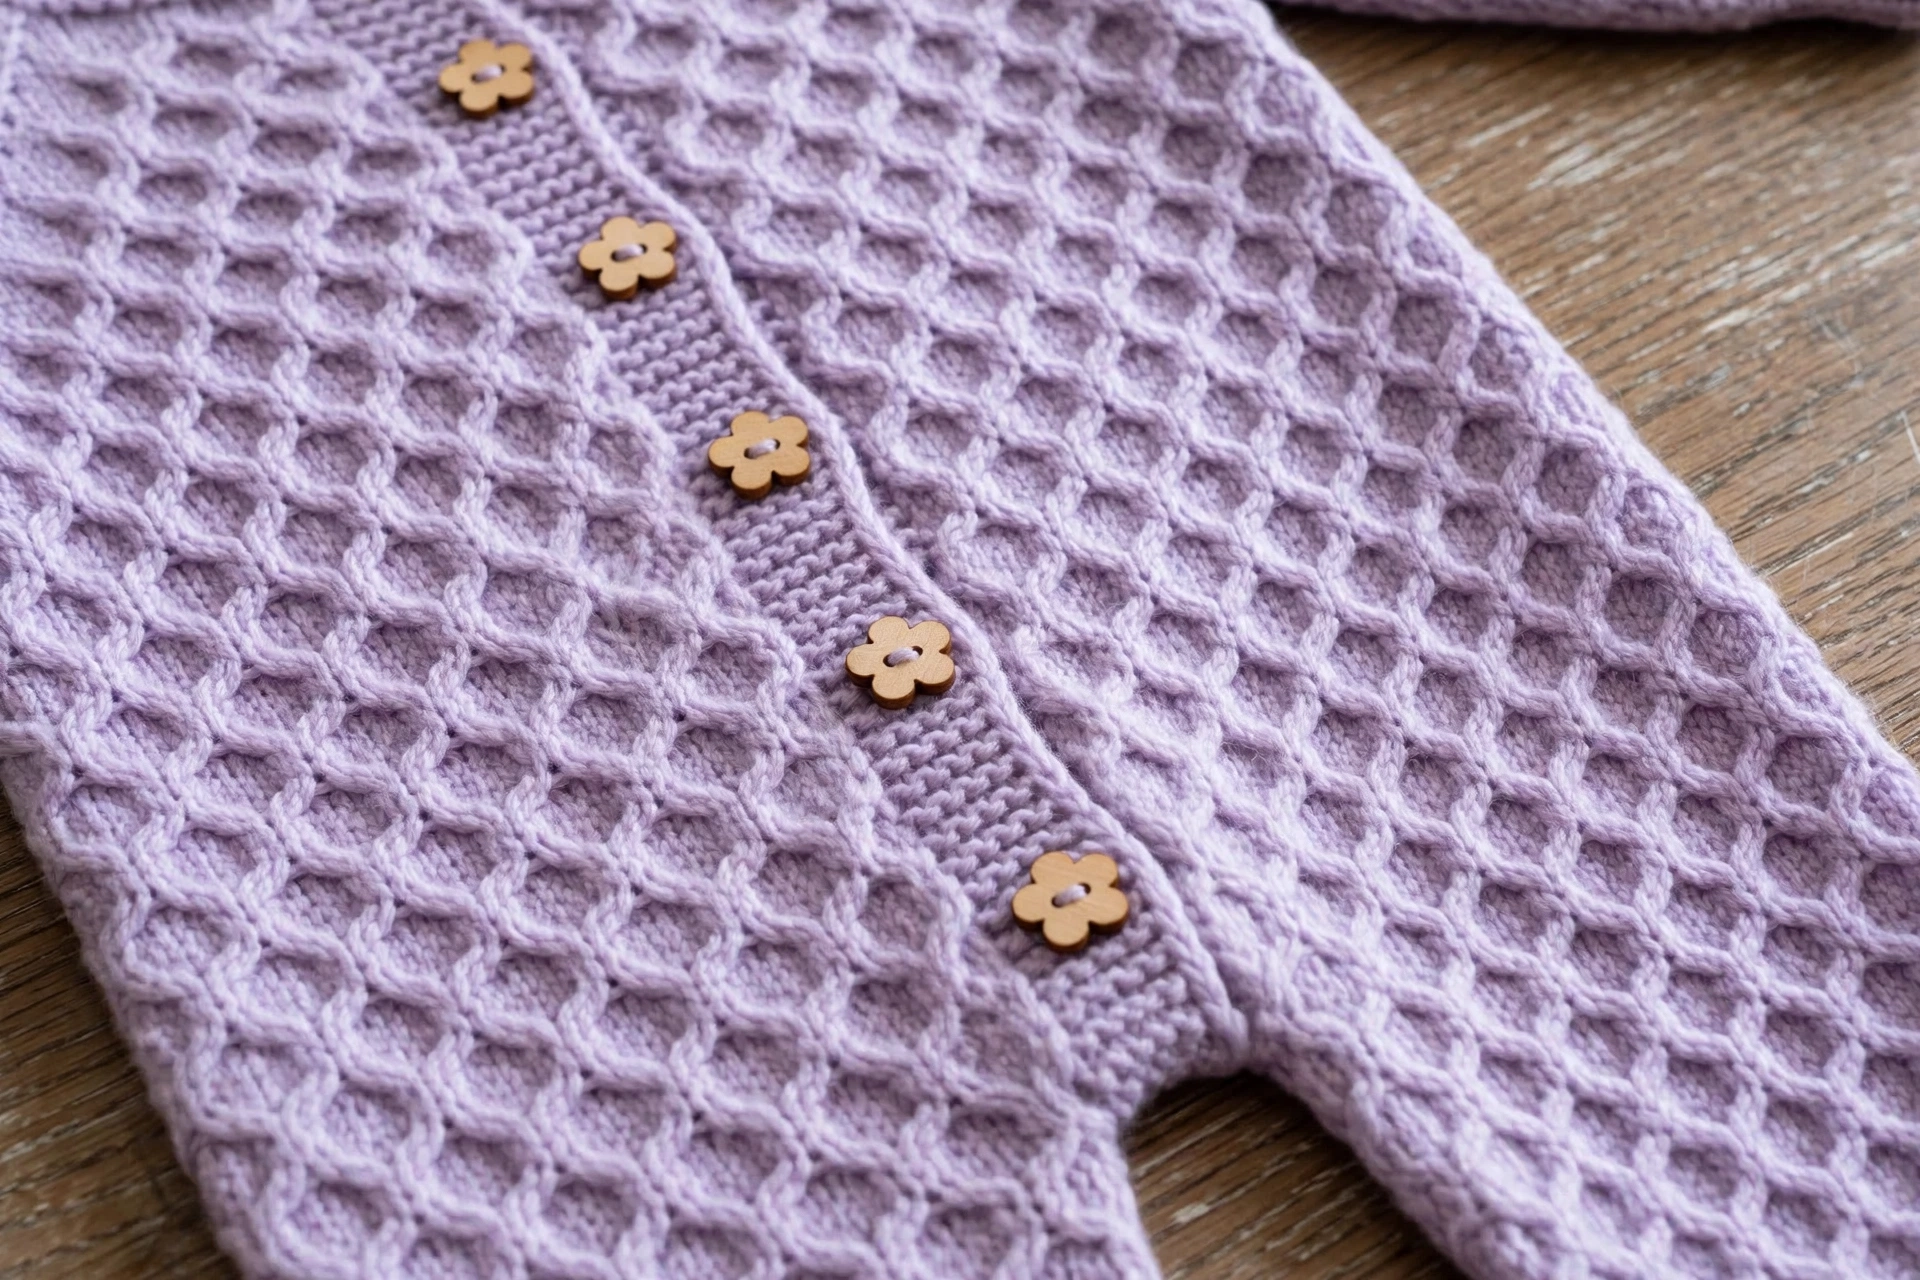
Honeycomb stitch has a natural give and a cushiony feel, which makes it lovely against a baby’s delicate skin. Some textured stitches turn out stiff, but honeycomb stays soft and drapes well while keeping little ones warm. The raised puff clusters trap air, so the fabric insulates gently without any bulk.
This pattern walks you through every piece, one at a time. You’ll build the romper from the legs up, shape the armholes, set in the sleeves, add a ribbed button band, shape a fitted bonnet, and finish with booties to match. Everything a little one needs for the trip home from the hospital or a special photo day.
Materials You Will Need
Before diving into the step by step instructions, gather these supplies:
Yarn:
– Sport weight yarn (size 2), approximately 600 yards total
– I recommend a soft merino blend or cotton blend for baby skin
– Color shown: soft lavender
Hooks:
– 3.5mm (E/4) crochet hook for main fabric
– 3.0mm (D/3) crochet hook for ribbing
Notions:
– 6 buttons, approximately 12mm (flower buttons shown)
– Yarn needle for weaving ends
– Stitch markers
– Measuring tape
– Scissors
Gauge:
20 stitches and 16 rows = 4 inches in honeycomb pattern with 3.5mm hook
Please, please check your gauge. Baby clothes need to fit right, and honeycomb stitch can come out quite different from one crocheter to another. Make a 5-inch swatch and measure the center 4 inches. Adjust your hook size up or down until you match.
Finished Measurements
This pattern fits babies 0 to 6 months. Adjust by adding or subtracting pattern repeats for different sizes.
- Romper length: 20 inches from shoulder to ankle
- Chest circumference: 18 inches
- Sleeve length: 7 inches
- Bonnet circumference: 14 inches
- Booties sole: 3.5 inches
Stitch Abbreviations and Definitions
Let me explain every stitch before we begin. Keep this section handy as you work.
ch = chain: yarn over, pull through loop on hook
sl st = slip stitch: insert hook, yarn over, pull through stitch and loop on hook in one motion
sc = single crochet: insert hook, yarn over, pull up loop (2 loops on hook), yarn over, pull through both loops
hdc = half double crochet: yarn over, insert hook, yarn over, pull up loop (3 loops), yarn over, pull through all 3 loops
dc = double crochet: yarn over, insert hook, yarn over, pull up loop (3 loops), yarn over, pull through 2 loops, yarn over, pull through remaining 2 loops
FPdc = front post double crochet: yarn over, insert hook from front to back to front around the post of indicated stitch, complete as regular dc
BPdc = back post double crochet: yarn over, insert hook from back to front to back around the post, complete as regular dc
puff st = puff stitch: (yarn over, insert hook in stitch, pull up loop) 3 times in same stitch (7 loops on hook), yarn over, pull through all 7 loops
sk = skip
st(s) = stitch(es)
rep = repeat
Understanding the Honeycomb Pattern
The honeycomb texture comes from puff-stitch rows with offset placement — that stagger is what forms the pretty raised diamonds across the fabric. Practice here before you start the garment itself.
Foundation: Ch 23
Row 1: Sc in 2nd ch from hook and each ch across, turn. (22 sts)
Row 2: Ch 1, sc in first st, *puff st in next st, sc in next st, rep from * across, turn. (22 sts, 10 puff sts)
Row 3: Ch 1, sc in each st across, turn. (22 sts)
Row 4: Ch 1, sc in first 2 sts, *puff st in next st, sc in next st, rep from * to last st, sc in last st, turn. (22 sts, 10 puff sts)
Row 5: Ch 1, sc in each st across, turn. (22 sts)
Repeat Rows 2 through 5 for honeycomb pattern. Notice how the puff stitches on Row 4 sit between the puffs from Row 2. That offset is what creates the honeycomb look.
Part One: The Romper Legs (Make 2)
We build the romper from the ankles up, then join at the crotch. Building it this way gives the smoothest fit.
Ribbed Cuff:
Using 3.0mm hook, ch 8.
Row 1: Sc in 2nd ch from hook and each ch across, turn. (7 sts)
Rows 2 through 28: Ch 1, sc in back loop only of each st across, turn. (7 sts)
Do not fasten off. Rotate work 90 degrees to crochet along the long edge of the ribbing.
Joining Round: Ch 1, work 28 sc evenly along the row ends, sl st to first sc to join into round. (28 sts)
Switch to 3.5mm hook.
Leg Round 1: Ch 1, sc in each st around, sl st to join. (28 sts)
Leg Round 2: Ch 1, sc in first st, *puff st in next st, sc in next st, rep from * around, ending with puff st, sl st to join. (28 sts)
Leg Round 3: Ch 1, sc in each st around, sl st to join. (28 sts)
Leg Round 4: Ch 1, sc in first 2 sts, *puff st in next st, sc in next st, rep from * around, sl st to join. (28 sts)
Leg Round 5: Ch 1, sc in each st around, sl st to join. (28 sts)
Repeat Rounds 2 through 5 for honeycomb pattern.
Shaping the Leg:
Continue in honeycomb pattern, increasing for thigh as follows:
Increase Round (work every 8th round, 4 times total): Work in pattern to last st, 2 sc in last st, sl st to join. (32 sts after round 1 of increases, 36 sts after round 2, 40 sts after round 3, 44 sts after round 4)
Continue until leg measures 10 inches from cuff, ending with a plain sc round. Fasten off first leg. Complete second leg but do not fasten off.
Part Two: Joining the Legs and Body
This is the part that feels tricky, but I promise it makes sense once you see it come together.
Joining Round: With second leg still on hook, ch 4 (this creates the crotch gusset). Hold first leg with right side facing, sc in marked center back st of first leg, continue in honeycomb pattern around first leg, ch 4, continue in pattern around second leg, sl st to join. (96 sts including chains)
Body Round 1: Ch 1, sc in each st and ch around, sl st to join. (96 sts)
Continue in honeycomb pattern for body. Work even for 6 inches from crotch join.
Armhole Shaping:
Next Round: Ch 1, work 24 sts in pattern (front right), ch 4, sk 24 sts (armhole), work 24 sts (back), ch 4, sk 24 sts (armhole), sl st to join.
Continue in pattern on remaining sts plus chains (56 sts) for 2 more inches for yoke, maintaining honeycomb pattern. Fasten off.
Part Three: Sleeves (Make 2)
Ribbed Cuff:
Using 3.0mm hook, ch 6.
Row 1: Sc in 2nd ch from hook and each ch across, turn. (5 sts)
Rows 2 through 20: Ch 1, sc in BLO of each st across, turn. (5 sts)
Join into round along long edge. (20 sts)
Switch to 3.5mm hook.
Work honeycomb pattern in rounds, increasing 2 sts every 6th round until you have 32 sts. Continue until sleeve measures 7 inches.
Sleeve Cap:
Work back and forth in rows, decreasing 1 st each side every row for 6 rows. (20 sts remaining)
Fasten off, leaving long tail. Sew sleeves into armholes.
Part Four: Button Band
Using 3.0mm hook, join yarn at bottom right front edge.
Row 1: Work sc evenly up right front, around neckline, and down left front. Turn.
Rows 2 through 5: Ch 1, sc in BLO across, turn.
On Row 3 of left side (buttonhole side), create 6 evenly spaced buttonholes: ch 2, sk 2, continue in pattern.
Fasten off. Sew buttons opposite buttonholes.
Part Five: Bonnet
Main Panel:
Ch 37.
Work honeycomb pattern flat for 28 rows. Fold in half, seam back of bonnet.
Face Edging:
Using 3.0mm hook, join yarn at bottom corner. Work ribbed edging around face opening for 6 rows. Add ch 50 ties at each corner.
Part Six: Booties (Make 2)
Sole:
Ch 10. Work 3 sc in 2nd ch, sc across, 3 sc in last ch, continue around opposite side. (20 sts)
Increase at each end for 2 more rounds. (28 sts)
Sides:
Work honeycomb pattern for 8 rounds.
Toe Shaping:
Decrease 6 sts evenly across front over 2 rounds. Continue ankle ribbing for 10 rows. Fasten off.
Finishing Your Baby Sleeper Set
Weave in all ends using your yarn needle. This step matters more than ever with baby items. Tiny fingers have a way of finding every loose thread.
Block your pieces gently. For wool blends, pin to measurements and steam lightly. For cotton, wet block by soaking, squeezing in a towel, and pinning flat to dry.
Sew on buttons securely with doubled thread, knotting on the inside where baby cannot access.
Tips for Success with This Crochet Pattern
Honeycomb fabric curls a little at the edges. That’s normal — blocking sorts it right out, and the ribbed bands help too.
If your puff stitches look uneven at first, keep going. They settle beautifully once blocked.
Count your stitches, especially through the honeycomb sections. Those puff stitches are sneaky, and working into the top of a puff instead of beside it changes your count.
Take breaks. Puff stitches need more yarn overs than basic stitches, and your hands will appreciate a stretch every 30 minutes.
Making This Baby Sleeper Set Your Own
Lavender is the colorway shown here, and it’s lovely — but this pattern shines in any soft baby shade. Try soft peach, mint green, classic white, or butter yellow. For a more modern feel, charcoal gray or dusty rose work beautifully.
You can also swap the flower buttons for plain wooden rounds, pearl buttons, or crocheted button loops if you’d rather skip buttons altogether.
I hope you enjoy making this sleeper set as much as I enjoyed writing it up for you. Projects like this are exactly why I fell in love with crochet — soft, sweet, and made for someone tiny. There’s nothing quite like wrapping a brand-new little one in something you made stitch by stitch.



