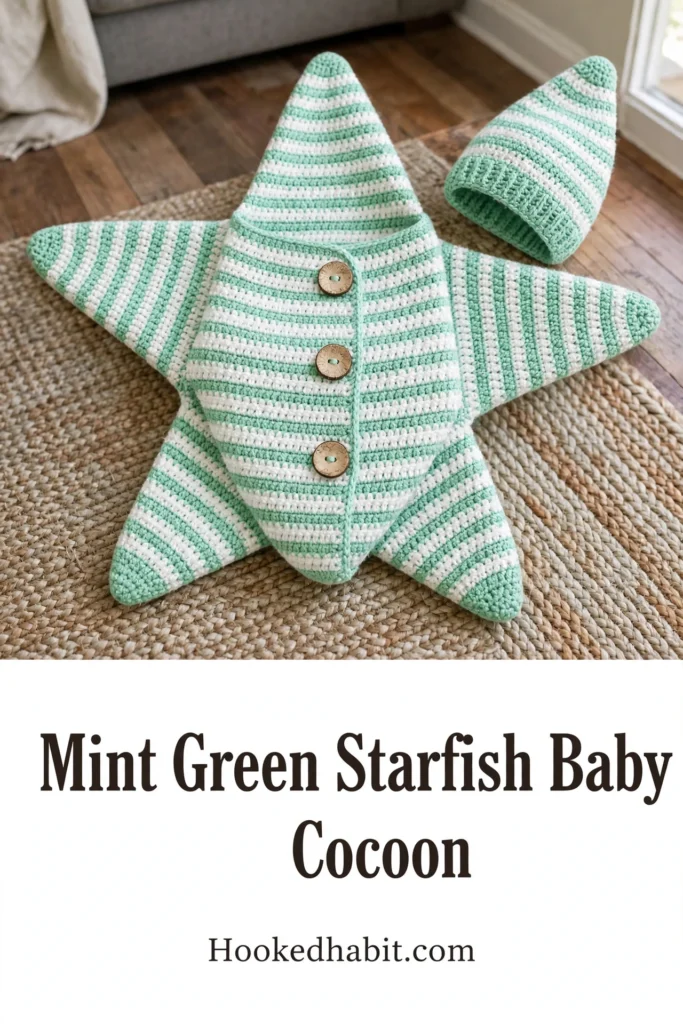
Oh, this one is a charmer. Picture a brand-new baby tucked into a five-pointed star, with a little pixie hat whose tall peak echoes the star points around it. The cocoon buttons up the front with two coconut-shell buttons for easy on and off, and the mint-green-and-white stripes photograph like an absolute dream.
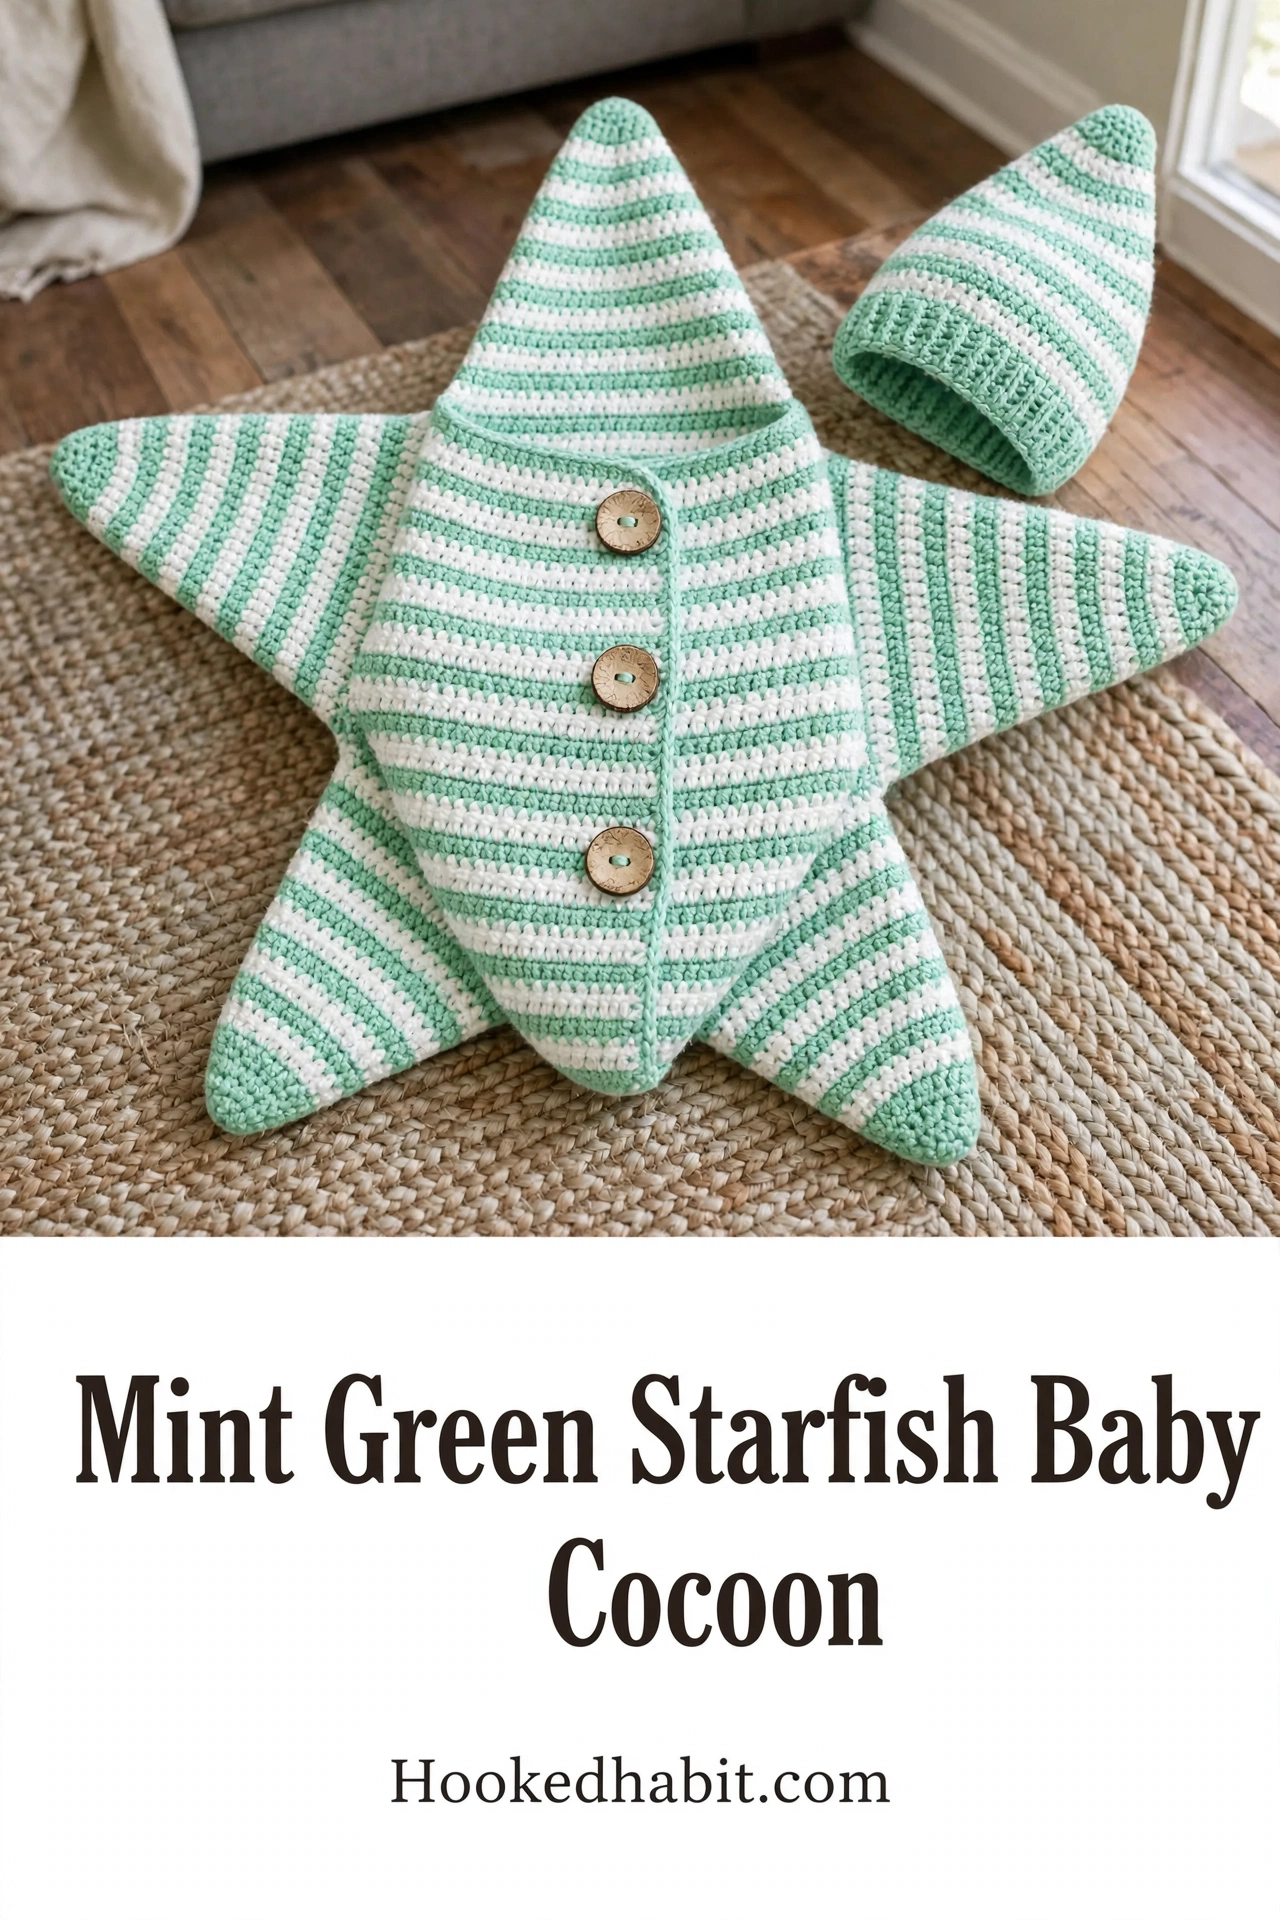
Here is the clever part: instead of wrestling a five-pointed star out of a single foundation, you start with a simple body panel and add five separately made points. It is more like building with blocks than sculpting from clay — much friendlier than it sounds.
Pattern Overview and Skill Level
This starfish baby cocoon crochet pattern carries an intermediate rating, so let me translate that into plain English. The stitching itself is beginner-simple — it is all single crochet (sc), the most basic stitch there is. The intermediate label comes from three things: juggling two yarn colors, following shaping counts carefully, and putting flat pieces together into a three-dimensional cocoon.
If you have finished at least one shaped project and can follow row-by-row instructions, you have everything it takes.
Time estimate:
-
Cocoon body: approximately 8 to 12 hours
-
Hat: approximately 2 to 3 hours
-
Finishing and assembly: approximately 1 hour
-
Total: 11 to 16 hours
Finished Size
Cocoon: approximately 18 inches wide point to point (45 cm) and 13 inches tall from bottom point to top of neck opening (33 cm). Fits newborns from birth to approximately 3 months, accommodating babies up to approximately 10 pounds (4.5 kg).
Hat: approximately 13 inch head circumference (33 cm), fitting a newborn head.
Laid flat it is a perfect star. Button the center front closed and it becomes a cozy wrap hugging the baby’s torso, with all five points fanning out around them.
Materials You Will Need
Yarn: Worsted weight (Category 4), smooth cotton or cotton-blend yarn
-
Color A (Mint green): approximately 350 yards (320 meters)
-
Color B (White or cream): approximately 300 yards (275 meters)
-
Total yarn needed: approximately 650 yards (595 meters) across both colors
Hook: US size G-6 (4.0 mm) crochet hook, or size needed to obtain gauge
Notions:
-
2 coconut shell buttons, approximately 1 inch (25 mm) diameter
-
Yarn needle for weaving ends
-
Scissors
-
Stitch markers (at least 5)
-
Straight pins for blocking
Yarn Suggestions
Picking the right yarn makes all the difference for crisp stripes and a cocoon that holds its star shape. Here are the three I reach for:
Lion Brand 24/7 Cotton in Mint and White is my top pick. This 100 percent mercerized cotton is machine washable, holds its shape beautifully, and produces crisp stripes. It is gentle against newborn skin since it contains no wool or synthetic content.
Paintbox Yarns Simply DK works well when held slightly loosely or on a G hook. This smooth cotton-acrylic blend comes in a wide range of colors and is affordable and widely available internationally.
Cascade Yarns Ultra Pima Cotton in Sage and Natural is a premium option with a subtle sheen and lovely drape. Machine washable on a gentle cycle.
Yarn tip: Leave the fuzzy, textured, and chunky skeins on the shelf for this one — they will blur the stripes and throw off your gauge. And always crochet a swatch before you begin.
Gauge
18 single crochet stitches and 20 rows = 4 inches (10 cm) worked flat in single crochet with Color A, using a G-6 (4.0 mm) hook, after blocking.
Do not skip the swatch on this one, friend. Every measurement here — the star points, the cocoon body — is built on that gauge. Too loose and the cocoon swims on the baby instead of nestling; too tight and it will not fit comfortably at all.
Abbreviations and Stitch Definitions
-
ch: chain
-
sc: single crochet, which means insert hook into stitch, yarn over, pull up a loop (2 loops on hook), yarn over, pull through both loops
-
sc2tog: single crochet two stitches together (decrease), which means insert hook into next stitch, pull up a loop, insert hook into following stitch, pull up a loop (3 loops on hook), yarn over, pull through all 3 loops
-
inc: increase, meaning work 2 single crochet into the same stitch
-
sl st: slip stitch
-
st(s): stitch(es)
-
RS: right side
-
WS: wrong side
-
sk: skip
-
sp: space
-
rep: repeat
-
pm: place marker
-
rem: remaining
Special Techniques
Two-Color Stripe Carry Method
This cocoon is striped in alternating two-row bands of the two colors, and instead of cutting the yarn at every change, we carry both strands along as we go.
To carry: when switching colors at the end of a row or round, draw the new color through the last two loops of the final stitch of the current row, leaving the old color hanging at the side. On flat rows, carry the unused yarn loosely up the right edge. On rounds, carry the unused yarn inside the work by laying it along the top of the previous round’s stitches and crocheting over it for 3 to 4 stitches before letting it hang until the next switch.
No long floats, and the wrong side stays nice and tidy.
Pattern Instructions
Part 1: Main Cocoon Body Panel
Start with a flat rectangle — it gets seamed into an open-top tube with the front opening running vertically.
With Color A and a G-6 hook, chain 63.
Foundation Row (WS): sc into 2nd ch from hook and into each ch across. Turn. (62 sc)
Row 1 (RS): ch 1, turn, sc in each st across. (62 sc)
Row 2 (WS): ch 1, turn, sc in each st across. (62 sc)
Switch to Color B at the end of Row 2 by drawing Color B through the last 2 loops of the last st.
Row 3 (RS): ch 1, turn, sc in each st across. (62 sc)
Row 4 (WS): ch 1, turn, sc in each st across. (62 sc)
Switch to Color A.
Continue in this 2-row stripe sequence (2 rows Color A, 2 rows Color B) until the panel measures approximately 9 inches (23 cm) from the foundation row. This will be approximately 46 rows total.
Checkpoint: After completing the main body panel, the piece should measure 9 inches (23 cm) tall and approximately 13.8 inches (35 cm) wide.
Body Shaping at Base
Next, a gentle curve at the bottom rounds the base so you do not end up with a flat seam.
Shaping Row 1 (RS): ch 1, turn, sc in first 27 sts, sc2tog, sc2tog, sc in rem 29 sts. (60 sc)
Shaping Row 2 (WS): ch 1, turn, sc in first 26 sts, sc2tog, sc2tog, sc in rem 28 sts. (58 sc)
Shaping Row 3 (RS): ch 1, turn, sc in first 25 sts, sc2tog, sc2tog, sc in rem 27 sts. (56 sc)
Shaping Row 4 (WS): ch 1, turn, sc in first 24 sts, sc2tog, sc2tog, sc in rem 26 sts. (54 sc)
Shaping Row 5 (RS): ch 1, turn, sc in first 23 sts, sc2tog, sc2tog, sc in rem 25 sts. (52 sc)
Shaping Row 6 (WS): ch 1, turn, sc in first 22 sts, sc2tog, sc2tog, sc in rem 24 sts. (50 sc)
Fasten off, leaving a 24-inch tail for seaming.
Fold the panel in half lengthwise, right sides together, matching the two short ends (these become the back seam). Using the yarn tail and yarn needle, whipstitch the back seam closed along the full length of the long edge. Then whipstitch the base curved shaping closed. Turn right side out.
Checkpoint: The seamed body tube should measure approximately 9 inches (23 cm) tall and approximately 6.5 inches (16.5 cm) in diameter at the widest point.
Part 2: Star Points (Make 5)
Each star point is a flat triangle, and you will work all five with the same stripe sequence.
With Color A, chain 3, sl st to join into a ring (or use a magic ring).
Round 1: ch 1, work 3 sc into ring, do not join, work in continuous rounds and place a marker at the center st. (3 sc)
Row 2 (now working in rows for flat triangle): ch 1, turn, inc in first st, sc in center st, inc in last st. (5 sc)
Row 3: ch 1, turn, sc across. (5 sc)
Switch to Color B.
Row 4: ch 1, turn, inc in first st, sc in next 3 sts, inc in last st. (7 sc)
Row 5: ch 1, turn, sc across. (7 sc)
Switch to Color A.
Row 6: ch 1, turn, inc in first st, sc in next 5 sts, inc in last st. (9 sc)
Row 7: ch 1, turn, sc across. (9 sc)
Switch to Color B.
Row 8: ch 1, turn, inc in first st, sc in next 7 sts, inc in last st. (11 sc)
Row 9: ch 1, turn, sc across. (11 sc)
Switch to Color A.
Row 10: ch 1, turn, inc in first st, sc in next 9 sts, inc in last st. (13 sc)
Row 11: ch 1, turn, sc across. (13 sc)
Switch to Color B.
Row 12: ch 1, turn, inc in first st, sc in next 11 sts, inc in last st. (15 sc)
Row 13: ch 1, turn, sc across. (15 sc)
Switch to Color A.
Row 14: ch 1, turn, inc in first st, sc in next 13 sts, inc in last st. (17 sc)
Row 15: ch 1, turn, sc across. (17 sc)
Switch to Color B.
Row 16: ch 1, turn, inc in first st, sc in next 15 sts, inc in last st. (19 sc)
Row 17: ch 1, turn, sc across. (19 sc)
Switch to Color A.
Row 18: ch 1, turn, inc in first st, sc in next 17 sts, inc in last st. (21 sc)
Row 19: ch 1, turn, sc across. (21 sc)
Fasten off, leaving a 20-inch seaming tail.
Each finished point measures approximately 4.5 inches (11.5 cm) tall from tip to base, and approximately 4.6 inches (11.7 cm) wide at the base. Make all 5 points.
Part 2A: Attaching the Star Points
Lay the seamed body tube flat with the back seam centered at the back.
Identify five attachment positions around the body tube:
-
Top center back: the top point (becomes the hood extension)
-
Upper left and upper right (approximately 60 to 70 degrees from top): the two arm side points
-
Lower left and lower right (approximately the lower third of the tube): the two leg points
Pin each star point to the outside of the body tube at its base (the 21-stitch wide edge) aligning the base of the point with the body surface. Using a yarn needle and matching yarn, whipstitch each point base firmly to the body, distributing the 21 stitches of the point base along approximately 4 to 5 inches of body surface.
Part 3: Button Band
Right Front Band (buttonhole band):
With RS facing and Color A, join yarn at the bottom right front edge.
Pickup Row: sc evenly along the right front opening edge, picking up approximately 1 sc for every row end, for a total of approximately 46 sc along the edge. (46 sc)
Band Row 1: ch 1, turn, sc in each st across. (46 sc)
Band Row 2 (Buttonhole Row): ch 1, turn, sc in first 10 sts, ch 2, sk 2 sts (first buttonhole made), sc in next 22 sts, ch 2, sk 2 sts (second buttonhole made), sc in rem 10 sts. (46 sts including ch-2 sps)
Band Row 3: ch 1, turn, sc in each st and 2 sc into each ch-2 sp across. (46 sc)
Band Row 4: ch 1, turn, sc in each st across. (46 sc)
Fasten off. Weave in ends.
Left Front Band (button band):
With RS facing and Color A, join yarn at the top left front edge.
Pickup Row: sc evenly along the left front opening edge, picking up approximately 46 sc. (46 sc)
Band Rows 1 through 4: ch 1, turn, sc in each st across. (46 sc each row)
Fasten off. Weave in ends.
Sew two coconut shell buttons onto the left front band, positioning them to align with the two buttonholes. Place first button approximately 10 stitches up from the bottom of the band, and the second button approximately 32 stitches up from the bottom.
Part 4: Neck Band and Hood Rim
With RS facing and Color A, join yarn at the back right of the neck opening.
Round 1: sc evenly around the neck opening, picking up approximately 1 sc per row end or stitch all the way around. Work approximately 36 sc around the opening, adjusting so the count is even. Join with sl st to first sc. (36 sc)
Round 2: ch 1, sc in each st around. Join with sl st to first sc. (36 sc)
Fasten off. Weave in ends.
Part 5: Pixie Star Hat
The hat grows from the brim upward in joined rounds, then narrows into that tall pointed top.
With Color A, make a magic ring.
Round 1: ch 1, work 6 sc into ring, sl st to join to first sc. (6 sc)
Round 2: ch 1, inc in each st around, sl st to join. (12 sc)
Round 3: ch 1, (sc in next st, inc in next st) rep 6 times, sl st to join. (18 sc)
Round 4: ch 1, (sc in next 2 sts, inc in next st) rep 6 times, sl st to join. (24 sc)
Round 5: ch 1, (sc in next 3 sts, inc in next st) rep 6 times, sl st to join. (30 sc)
Switch to Color B.
Round 6: ch 1, (sc in next 4 sts, inc in next st) rep 6 times, sl st to join. (36 sc)
Round 7: ch 1, sc in each st around, sl st to join. (36 sc)
Switch to Color A.
Round 8: ch 1, (sc in next 5 sts, inc in next st) rep 6 times, sl st to join. (42 sc)
Round 9: ch 1, sc in each st around, sl st to join. (42 sc)
Switch to Color B.
Round 10: ch 1, (sc in next 6 sts, inc in next st) rep 6 times, sl st to join. (48 sc)
Round 11: ch 1, sc in each st around, sl st to join. (48 sc)
Switch to Color A.
Round 12: ch 1, (sc in next 7 sts, inc in next st) rep 6 times, sl st to join. (54 sc)
Round 13: ch 1, sc in each st around, sl st to join. (54 sc)
Switch to Color B.
Round 14: ch 1, (sc in next 8 sts, inc in next st) rep 6 times, sl st to join. (60 sc)
Round 15: ch 1, sc in each st around, sl st to join. (60 sc)
Switch to Color A.
Rounds 16 and 17: ch 1, sc in each st around, sl st to join. (60 sc each round)
Switch to Color B.
Rounds 18 and 19: ch 1, sc in each st around, sl st to join. (60 sc each round)
Brim Border:
Switch to Color A.
Round 20: ch 1, sc in each st around, sl st to join. (60 sc)
Round 21: ch 1, sc in each st around, sl st to join. (60 sc)
Fasten off. Weave in all ends.
Size Customization Tips
For a slightly larger baby (3 to 6 months, up to approximately 14 pounds): Increase the foundation chain of the body panel by 10 stitches (chain 73 instead of 63, giving 72 working stitches). Add 2 extra stripe repeats (4 rows) to the body panel height before working the base shaping. Increase each star point by 4 additional rows, ending with 29 stitches at the base of each point. Add 2 additional even rounds to the hat brim.
For a preemie or smaller newborn (under 6 pounds): Decrease the foundation chain to 53 stitches (52 working stitches). Work 2 fewer stripe repeats in the body panel. Work each star point to 17 stitches at base instead of 21. Work 2 fewer even rounds on the hat brim.
Finishing and Blocking
Weave in all ends before blocking. Do not trim ends until after blocking is complete, as the yarn may shift slightly.
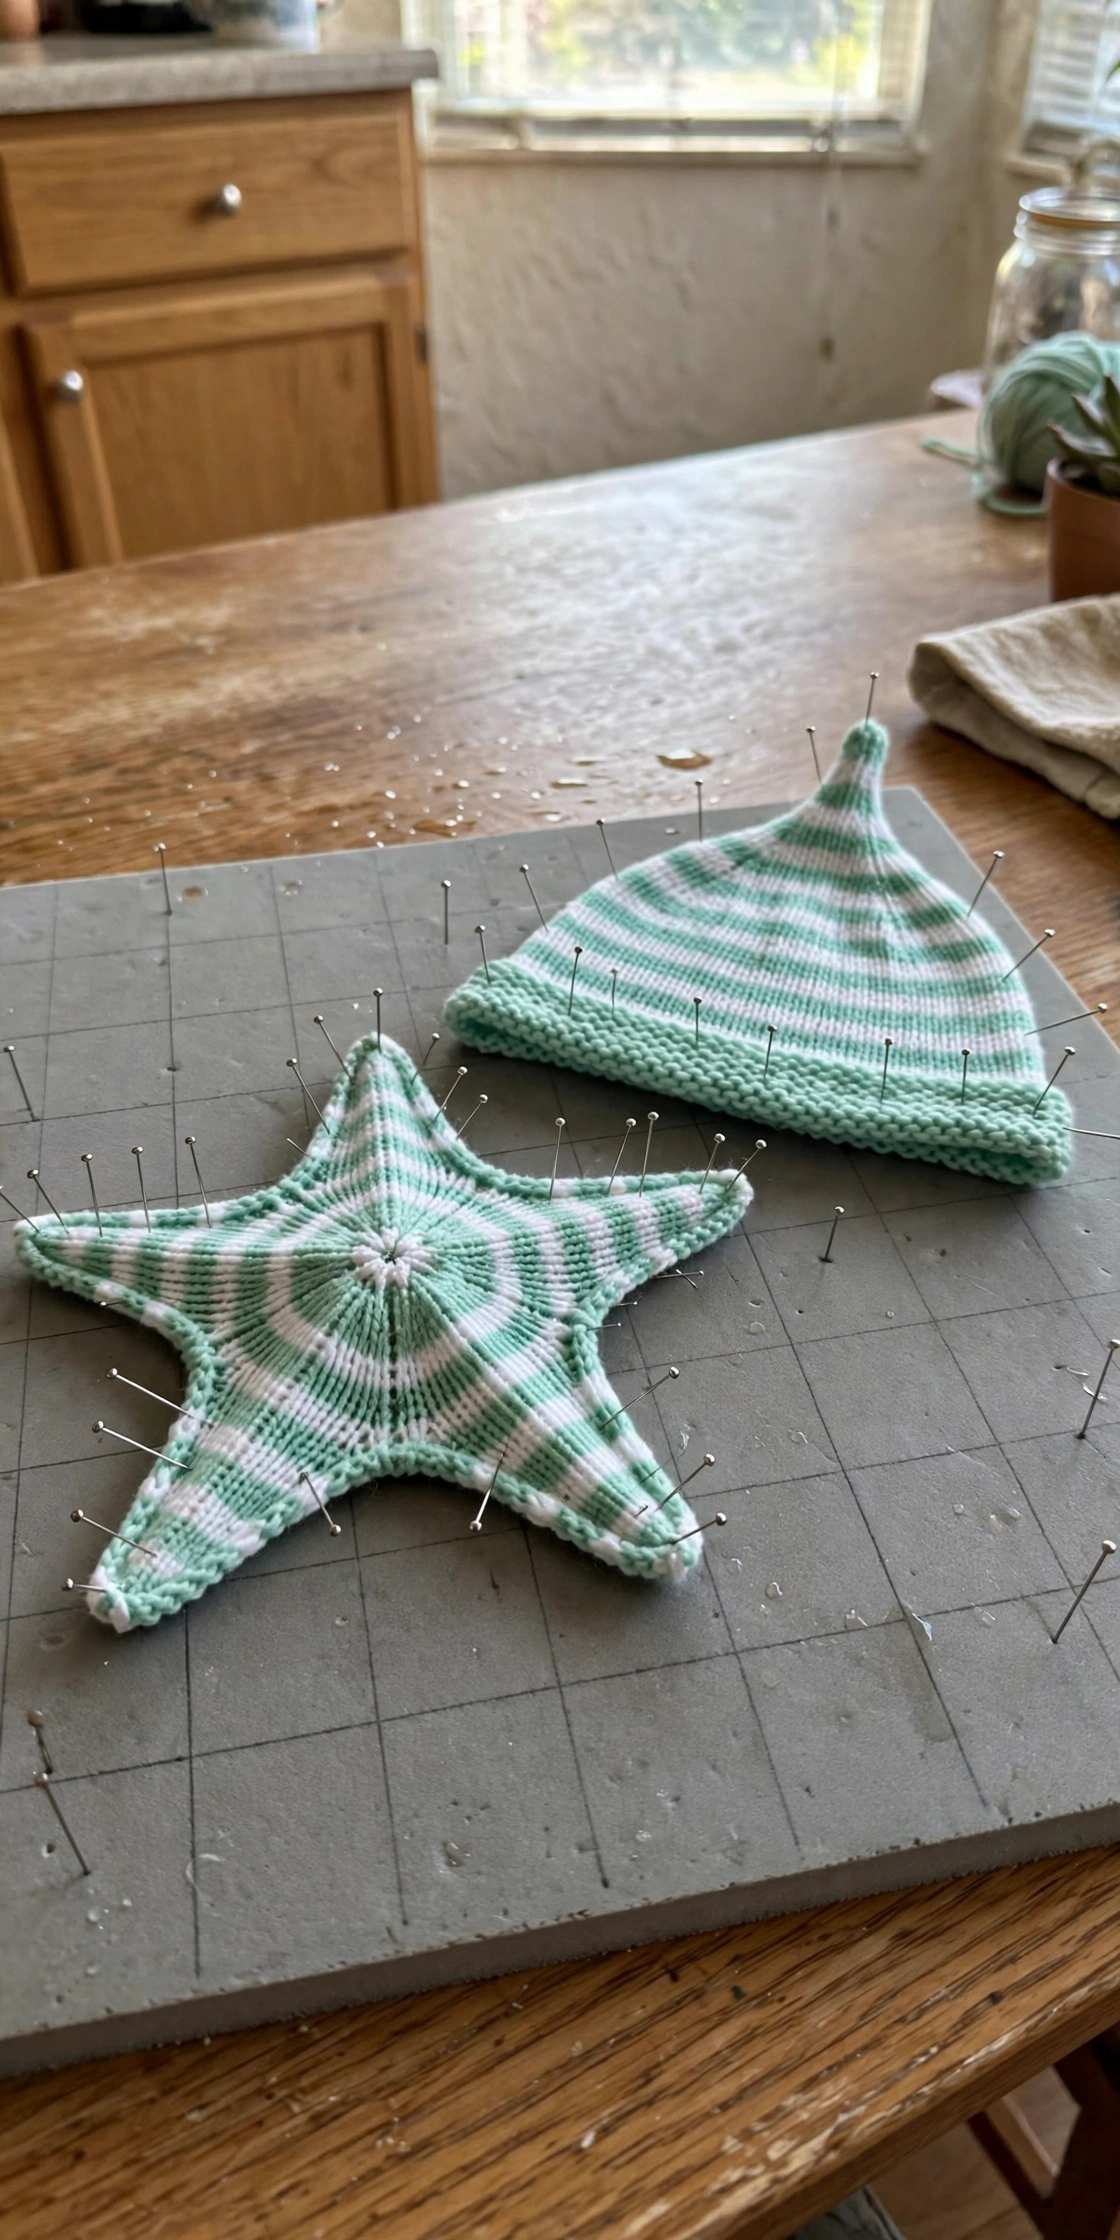
Wet blocking method (recommended for cotton): Submerge the cocoon and hat in cool water for 15 minutes. Gently press out excess water without wringing. Lay flat on a clean dry towel and roll the towel to absorb more water. Unroll and lay the pieces flat on a blocking mat. Using rust-proof pins, pin the star points out to their full triangular dimensions, stretching gently to open the points and define the star silhouette. Pin the brim of the hat to its full circular dimensions. Allow to dry completely (12 to 24 hours) before unpinning.
Care Instructions
Machine wash on gentle cycle in cold water. Place the cocoon inside a mesh laundry bag to protect the buttons and the star points during washing. Lay flat to dry. Do not tumble dry on high heat as this may cause the cotton to shrink and distort the star shape. Store folded, not hung, to preserve the shape of the star points.
Final Thoughts on This Starfish Baby Cocoon Crochet Pattern
All that geometric shaping sounds fancy on paper, but the step-by-step rows keep it perfectly manageable — and since the stitching is all single crochet, your hands get to relax. Whether this starfish is for your own little one, a shower gift, or those precious newborn photos, it is the kind of project you will love handing over.
Give the stripe changes and the blocking your full attention — that final pinning session is the magic that makes all five points truly pop. Happy crocheting!