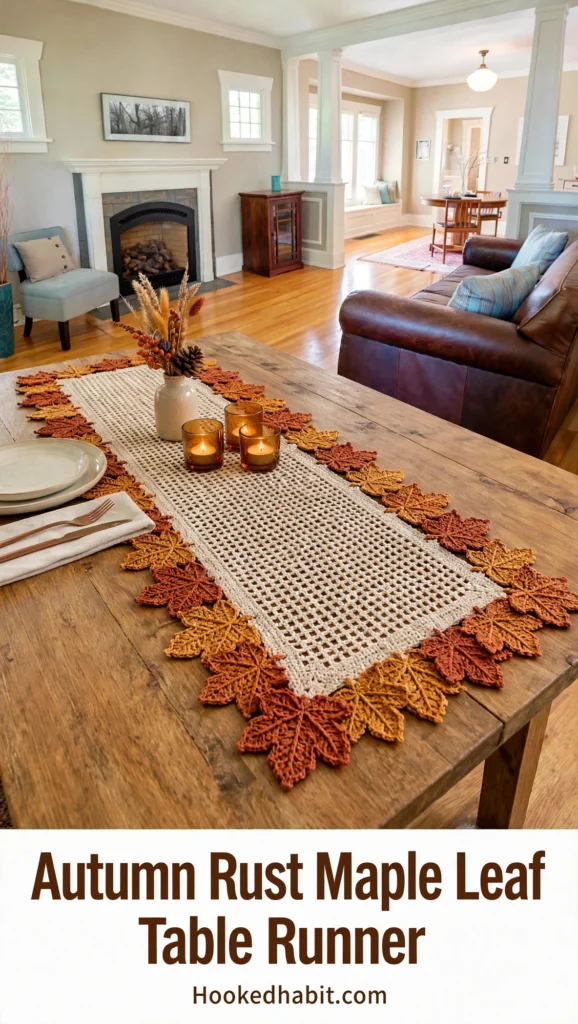
Oh friend, come sit with me a minute, because I have got the perfect fall project to share with you. I call this one my “Maple Scatter” runner, and it might just be the coziest thing I have ever made for my dining room. Imagine a soft, airy cream mesh center that lets your pretty table peek through, edged all the way around with the sweetest little crocheted maple leaves in burnt sienna, golden amber, and deep rust orange. It looks for all the world like autumn wandered in and decorated your table itself.
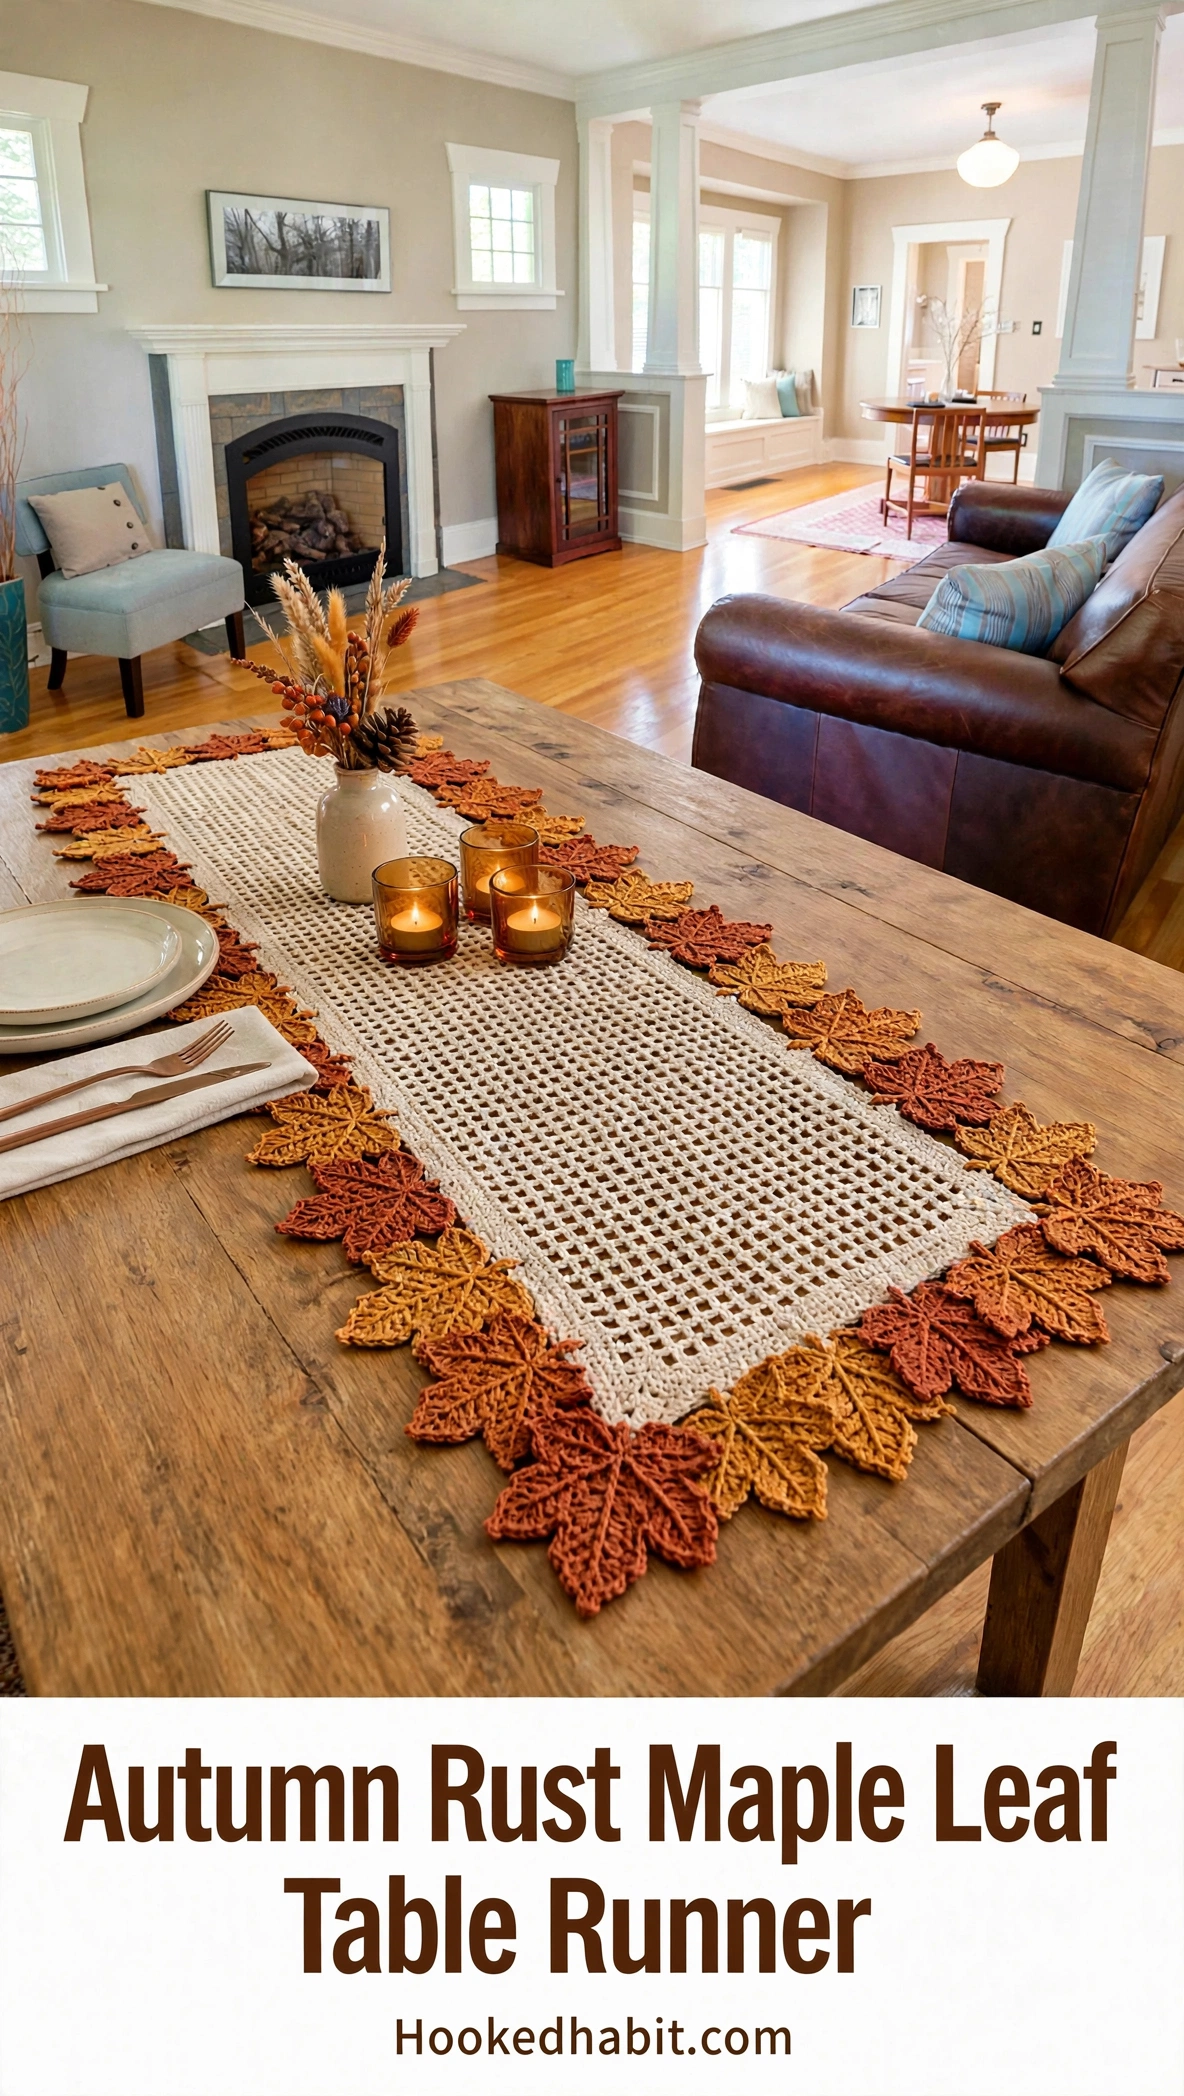
Whether you are setting a beautiful Thanksgiving table or just want something lovely to greet you every morning with your coffee, this fall crochet table runner brings all the warmth of October right into your home. And here is the loveliest part: once you master one little leaf, the rest practically make themselves while you catch up on your favorite shows.
The Story Behind This Design
In my notebooks, this design has always been called the “Maple Scatter.” It started about three years ago when I was sketching table runner ideas during the prettiest October I can remember. My neighbor had the most enormous sugar maple in her front yard, and every single morning I would watch the leaves drift down onto her porch in perfect little piles of rust, gold, and burnt orange. I could not stop staring.
I wanted to bottle up that exact feeling. Not just autumn colors, but that magical moment when leaves seem to arrange themselves artfully around the edges of everything, like nature is doing a little decorating just for you. So I grabbed my sketchbook and drew a simple rectangle with leaves tumbling around its border, their tips pointing outward as if they had just landed there.
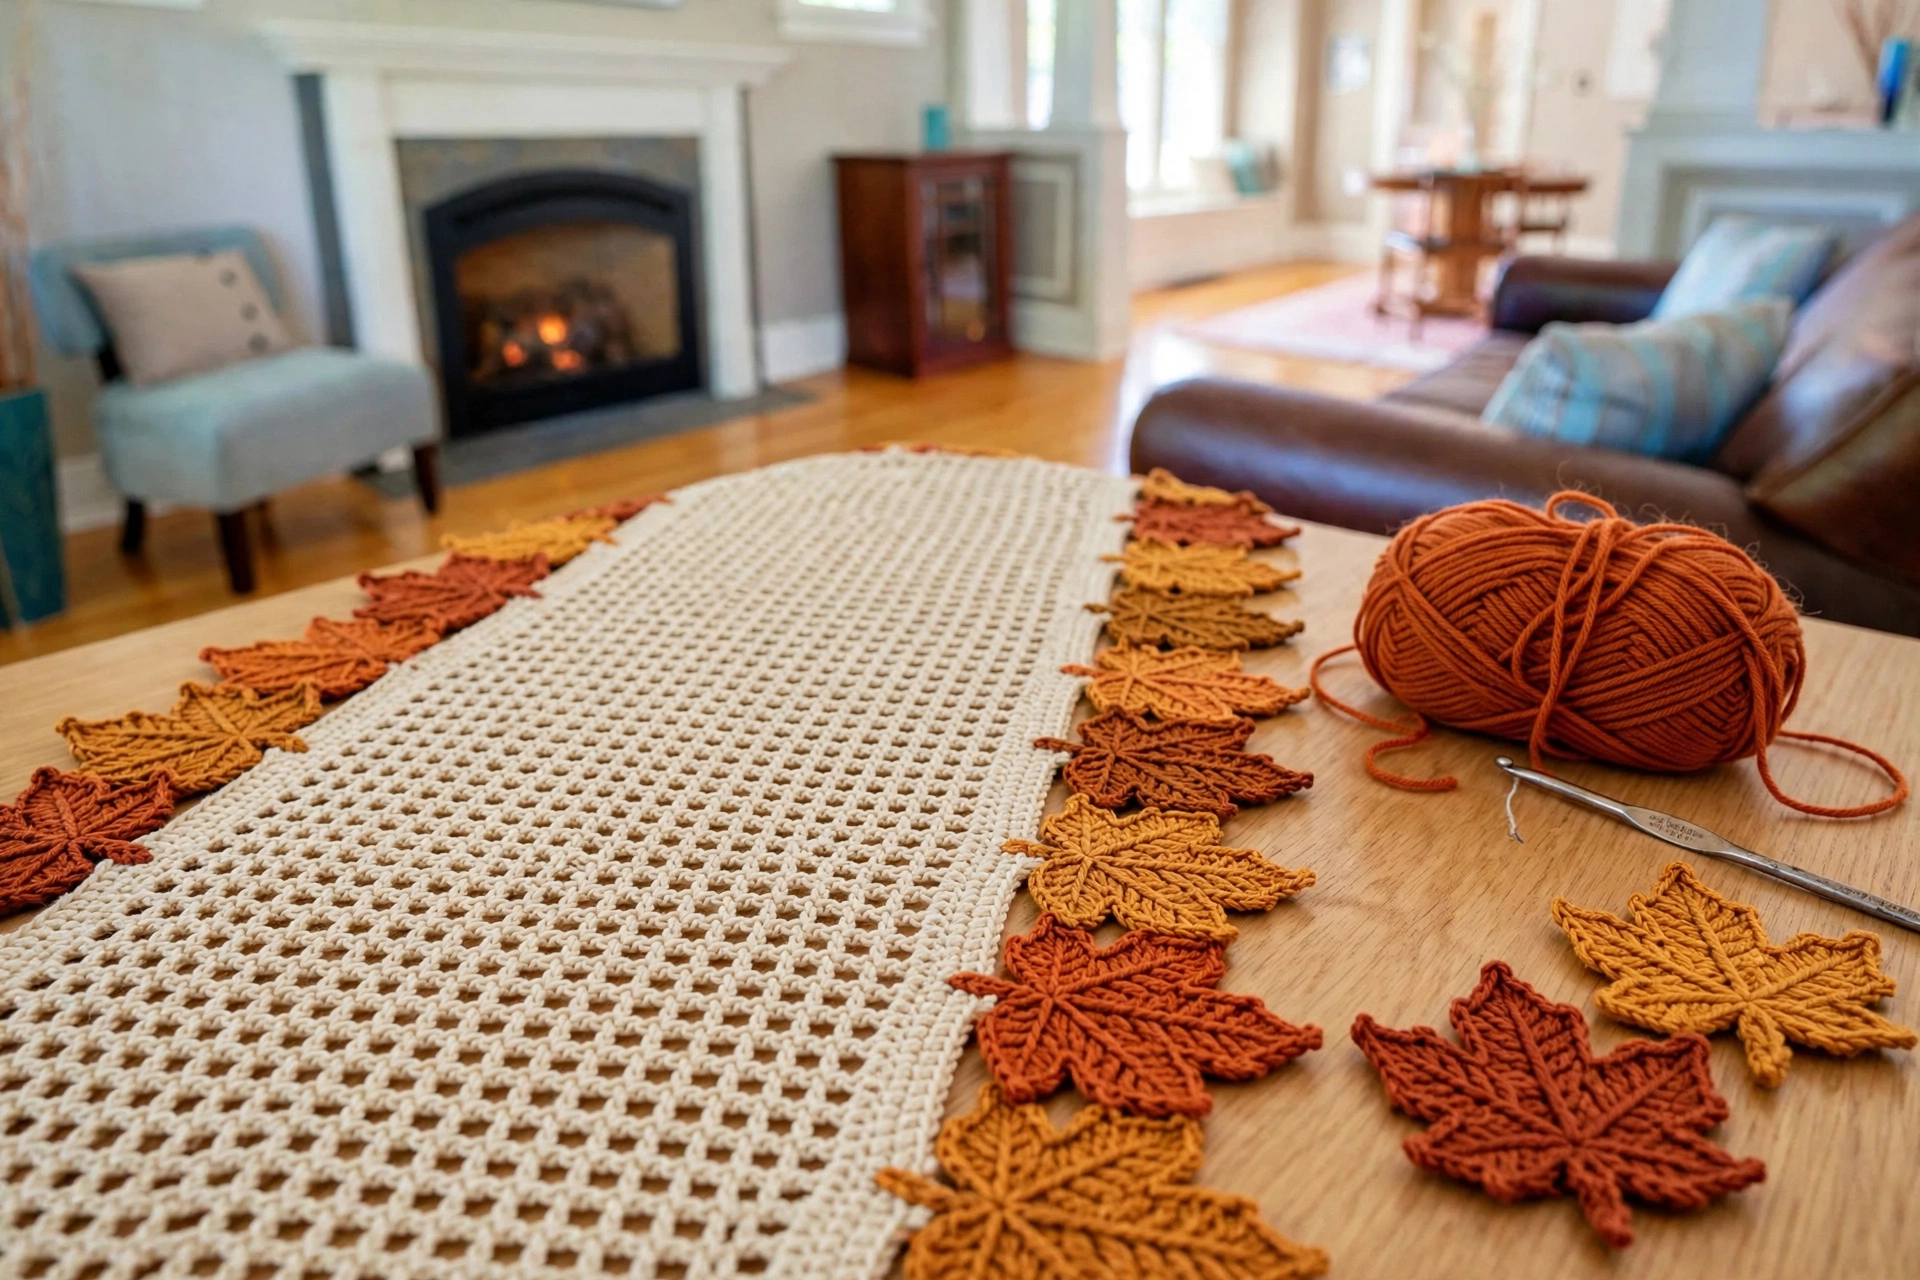
That little sketch sat in a drawer until last fall, when I finally figured out how to build it. The center is an airy filet mesh that lets your table show through, and the border is made of individually crocheted maple leaf motifs in three warm, toasty shades. Put the open lacework together with those dense, textured leaves and you get the most beautiful dimensional effect. I am just tickled with how it turned out, and I have a feeling you will be too.
What You Will Create
This table runner features a rectangular filet mesh center worked in natural cream yarn. The mesh makes an open, breathable texture that plays so beautifully against the lush border of maple leaf motifs all around it. Those leaves come in three autumn shades: burnt sienna, golden amber, and deep rust orange. They are arranged with their tips pointing outward, layered just like real scattered fall foliage.
The finished piece measures approximately 14 inches wide by 36 inches long, including the leaf border. The center mesh panel alone measures about 8 inches wide by 28 inches long. Each leaf motif extends roughly 3 inches outward from the mesh edge.
This runner is just as happy dressing up your everyday table as it is starring in your holiday table settings. It lies perfectly flat and makes the most stunning centerpiece for Thanksgiving gatherings.
Skill Level
This pattern is rated intermediate. You will want to be comfortable with filet mesh, which is simply chain spaces and double crochet stitches worked in a grid. You will also join motifs and follow multi-step special stitches to build the maple leaves.
Nothing here is terribly advanced, truly. The leaf motif does ask you to pay attention to shaping and to work into particular chain spaces. But here is the good news: once you have made one leaf, the rest are nice and repetitive, and your hands will just know what to do.
Time Estimate
Plan for approximately 18 to 25 hours total to complete this project:
-
Center mesh panel: 3 to 4 hours
-
Border joining round: 1 hour
-
Individual maple leaves (52 total): 12 to 16 hours at roughly 15 to 18 minutes per leaf
-
Finishing and assembly: 2 to 3 hours
My favorite way to make the leaves is curled up on the couch with a good show on. They are the perfect portable little project.
Materials You Will Need
Yarn
Main Color (MC): Natural cream cotton yarn, approximately 220 yards (200 m). Use a smooth, tightly spun worsted weight or DK weight cotton for the best stitch definition in the mesh.
Color A (CA): Burnt sienna, approximately 130 yards (119 m)
Color B (CB): Golden amber, approximately 130 yards (119 m)
Color C (CC): Deep rust orange, approximately 130 yards (119 m)
Total yardage: Approximately 610 yards (558 m)
Hook
US size G-6 (4.0 mm) for both the center mesh panel and leaf motifs. Adjust your hook size as needed to meet gauge.
Notions
-
Tapestry needle for weaving in ends and sewing leaf motifs
-
Rust-proof straight pins for blocking
-
Blocking mat or towels
-
Scissors
-
Stitch markers (optional but helpful for border placement)
Yarn Suggestions
Option 1: Lion Brand 24/7 Cotton in Ecru (MC), Burnt Orange (CA), Goldenrod (CB), and Terracotta (CC). This yarn has excellent stitch definition, is machine washable, and holds its shape well after blocking.
Option 2: Paintbox Yarns Simply DK in Champagne White (MC), Mandarin Orange (CA), Daffodil Yellow (CB), and Russet (CC). This runs slightly thinner, so check your gauge carefully.
Option 3: WeCrochet Dishie in Almond (MC), Serrano (CA), Canary (CB), and Adobe (CC). A smooth mercerized cotton with a subtle sheen.
Substitution Note: Use any smooth DK to light worsted cotton or cotton blend. Avoid fuzzy or loosely spun fibers because they will obscure the mesh pattern and leaf details.
Gauge
Center Mesh Panel: 18 stitches and 9 rows equals 4 inches (10 cm) in filet mesh pattern, blocked
Leaf Motif: One completed maple leaf measures approximately 3 inches wide by 3 inches tall, blocked
Gauge matters here for achieving the correct finished dimensions. Make a swatch before starting and adjust your hook size up or down by 0.25 mm increments until your measurements match.
Abbreviations
-
beg = beginning
-
ch = chain
-
ch-sp = chain space
-
dc = double crochet (yarn over, insert hook, pull up loop, yarn over, pull through 2 loops, yarn over, pull through remaining 2 loops)
-
hdc = half double crochet
-
MC = main color
-
CA = Color A (burnt sienna)
-
CB = Color B (golden amber)
-
CC = Color C (deep rust orange)
-
rep = repeat
-
RS = right side
-
sc = single crochet (insert hook, pull up loop, yarn over, pull through both loops)
-
sk = skip
-
sl st = slip stitch
-
sp = space
-
st(s) = stitch(es)
-
tr = treble crochet
-
WS = wrong side
-
yo = yarn over
Special Stitches
Filet Mesh Square (FMS): This is your basic open filet unit. Work 1 dc, ch 1, skip 1 stitch or chain space, 1 dc. When working across established rows, your dc posts anchor into the top of dc stitches from the previous row, and the ch-1 skips over the ch-1 space below.
Picot: Ch 3, sl st into the 3rd chain from the hook. This creates a small decorative knot used at leaf tips.
Puff Stitch: (Yo, insert hook into indicated stitch, yo, pull up a loop) 3 times in the same stitch, yo, draw through all 7 loops on hook. Creates a raised bump suggesting leaf vein texture.
Pattern Notes Before You Begin
-
The center mesh panel is worked back and forth in rows. Chain 3 at the beginning of each row counts as the first dc throughout.
-
Each filet mesh row begins with ch 4 (counts as dc plus ch 1), then works across in the FMS pattern.
-
You will crochet approximately 52 leaf motifs separately: 14 along each long side, 7 along each short side, with slight overlap at corners.
-
Leaves attach after the center panel is complete. They are sewn through their base to the outermost row of the mesh border.
-
Alternate leaf colors in a repeating sequence of CA, CB, CC around the entire border for the tri-color autumn effect.
-
Block both the center panel and each leaf motif individually before assembly for the flattest results.
Center Mesh Panel Instructions
Foundation Chain: Using MC and G-6 hook, ch 128.
Row 1 (RS): Dc into 4th ch from hook (beginning ch-3 counts as first dc), (ch 1, sk 1 ch, dc into next ch) across. Turn. (63 filet mesh squares, 64 dc posts total)
To count more easily, you should have 64 dc posts with 63 ch-1 spaces between them for a total mesh row width of 127 working stitches plus the turning chain.
Row 2: Ch 4 (counts as dc plus ch 1), turn. Sk first ch-sp, dc into next dc, (ch 1, sk ch-sp, dc into next dc) across, ending with dc into top of turning ch. Turn. (63 FMS)
Rows 3 through 55: Rep Row 2. Turn at end of each row.
After completing Row 55, your mesh panel should measure approximately 8 inches wide and 28 inches long after blocking.
Checkpoint: If your panel is narrower than 7.5 inches or wider than 8.5 inches before blocking, recheck your gauge.
Border Joining Round
Do not fasten off MC after Row 55.
This round works single crochet evenly around all four sides of the mesh panel, creating a neat edge for attaching leaves.
Round 1: Ch 1, do not turn. Work sc evenly around the entire perimeter as follows:
Along the top edge (Row 55): Work 1 sc into each dc post and 1 sc into each ch-sp across. (127 sc)
Corner: Work 3 sc into the corner stitch. (3 sc)
Along the right long side: Work 2 sc into the side of each dc row. With 55 rows, work 110 sc evenly along the long edge. (110 sc)
Corner: Work 3 sc into corner stitch. (3 sc)
Along the bottom (foundation chain edge): Work 1 sc into each foundation chain across. (127 sc)
Corner: Work 3 sc into corner. (3 sc)
Along the left long side: Work 110 sc evenly along the edge, matching the right side. (110 sc)
Corner: Work 3 sc into corner. (3 sc)
Sl st to join to first sc. Fasten off MC. Weave in end.
Checkpoint: Place stitch markers at the four corner center stitches (the middle stitch of each 3-sc corner group) before proceeding to leaf assembly.
Maple Leaf Motif Instructions
Make 52 total: 18 in CA (burnt sienna), 17 in CB (golden amber), 17 in CC (deep rust orange).
Each leaf is worked from the center outward, creating five lobes radiating from a central point.
Simplified Maple Leaf Construction
Foundation: Ch 4. Sl st to first ch to form a small ring (or use a magic ring).
Round 1: Ch 1. Work 8 sc into ring. Sl st to first sc to join. (8 sc)
This ring forms the base attachment point of the leaf.
Round 2 (Stem): Ch 5. This is the stem. Work back along the stem: sl st into 2nd ch from hook, sl st into each of next 3 chs. Sl st into the ring to rejoin.
Now work the five lobes directly from the ring.
Lobe 1 (Lower Right)
Ch 9. Turn.
Row 1: Dc into 4th ch from hook, dc into next 2 chs, hdc into next ch, sc into next ch, sl st into last ch before ring. (5 dc, 1 hdc, 1 sc, 1 sl st)
Picot at tip: At the top of the 4th ch from hook (the outermost dc), join with sl st and work ch 3, sl st into base of ch 3 (picot made). Continue down the other side of the lobe: sc into side of hdc, hdc into side of first dc, dc into next 2 sides, sl st back into ring.
Lobe 2 (Lower Left)
Rep Lobe 1 on the opposite side of the ring. (Mirror image)
Lobe 3 (Middle Right)
Ch 11. Turn.
Row 1: Dc into 4th ch from hook, dc into next 4 chs, hdc into next ch, sc into next ch, sl st into ch before ring. (7 dc, 1 hdc, 1 sc, 1 sl st)
Picot at tip. Work back down second side as for Lobe 1. Sl st into ring.
Lobe 4 (Middle Left)
Rep Lobe 3 mirrored.
Lobe 5 (Top Center)
Ch 13. Turn.
Row 1: Dc into 4th ch from hook, dc into next 6 chs, hdc into next ch, sc into next ch, sl st into ch before ring. (9 dc, 1 hdc, 1 sc, 1 sl st)
Picot at tip. Work back down second side. Sl st into ring.
Final Edging: Join MC with sl st at any point on the ring. Work 1 sc into each st around the ring to neaten. Sl st to join. Fasten off, leaving a 12-inch tail for sewing.
Checkpoint: Each completed and blocked leaf should measure approximately 3 inches wide and 3 inches tall. Make one leaf, block it, and compare to gauge before making all 52.
Size Customization Tips
For a shorter runner: Reduce the foundation chain by 18 stitches for every 4 inches you wish to remove. Reduce leaves proportionally: approximately 4 to 5 fewer per long side for every 4 inches removed.
For a longer runner: Add 18 stitches to the foundation chain for every 4 inches of additional length. Add 4 to 5 leaves per long side per 4 inches added.
For a wider runner: Add stitches in multiples of 2. Add one leaf per side per 3 additional stitches of width.
Finishing and Blocking
Step 1: Weave in all ends on both the center mesh panel and each individual leaf before blocking.
Step 2: Wet block the center mesh panel. Submerge in cool water, gently press out excess moisture in a towel, pin to blocking mat to finished dimensions of 8 by 28 inches, and allow to dry completely.
Step 3: Block each leaf motif individually. Pin with all five lobe tips extended outward.
Step 4: Lay the blocked center panel right side up. Beginning at one short end, pin leaves evenly around the perimeter with each leaf base against the sc border. Alternate colors: CA, CB, CC repeating. At corners, allow two leaves to overlap slightly.
Step 5: Pin all 52 leaves before sewing any. Step back and check spacing.
Step 6: Using the yarn tails, sew each leaf base securely to the border with whip stitch. Tack the lower lobe bases lightly to prevent flipping.
Step 7: Weave in all remaining tails. Give the runner a light steam if needed.
Care Instructions
Machine wash on gentle cycle in cool water using a mesh laundry bag. Use mild detergent. Lay flat to dry. Do not tumble dry, wring, or bleach. Store flat or rolled, never folded.
You Did It!
Oh, I am just so proud of you! This Autumn Rust Maple Leaf Table Runner pairs classic filet crochet with the sweetest dimensional leaf motifs, and the result is one truly special seasonal piece. That contrast between the airy mesh center and the textured leaf border gives it such visual interest — I promise it will get people talking at every gathering.
Thank you from the bottom of my heart for choosing this pattern. I hope you loved making it every bit as much as I loved dreaming it up. And if you make one, please share it with me! Post your photos on Instagram or Facebook and tag me so I can ooh and aah right along with you.
If you loved this autumn maple leaf table runner crochet pattern, go ahead and pin it to your Pinterest boards so you can find it when you are ready to cast on. And if you make one, please leave a comment below. I read every single one, and seeing your finished projects honestly makes my whole day.
You Might Also Like
- Mint Chocolate Chameleon Amigurumi Free Crochet Pattern