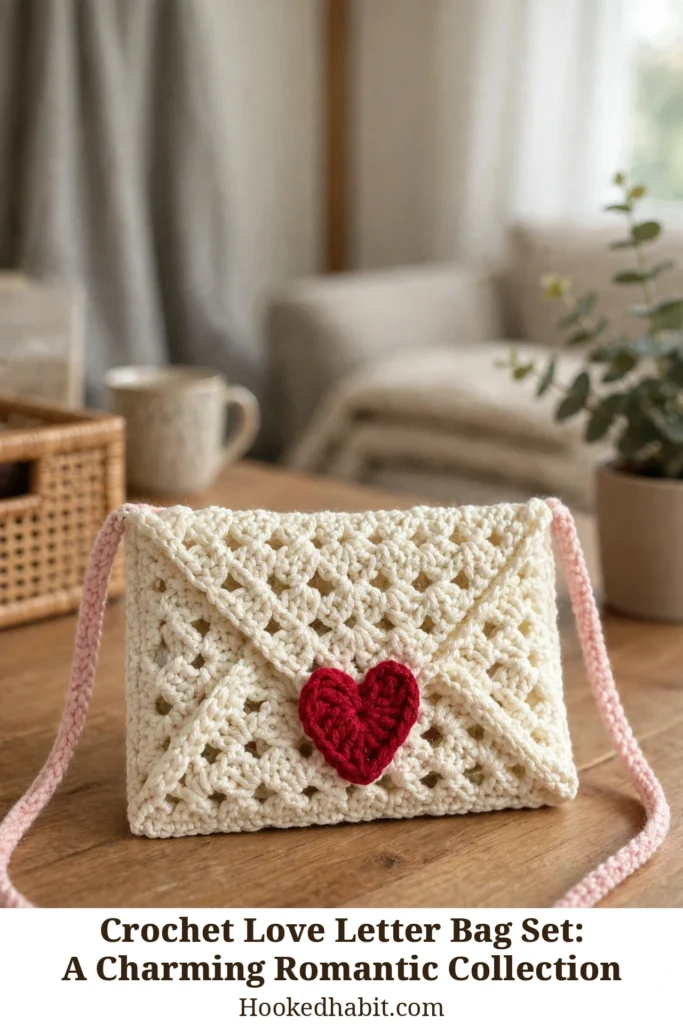
Two envelope-shaped bags, one in open granny-square lace and one in close-knit moss stitch, each sealed with a crocheted heart. Choose your mood, your occasion, and your own handwriting in yarn.
The Love Letter Bag Set
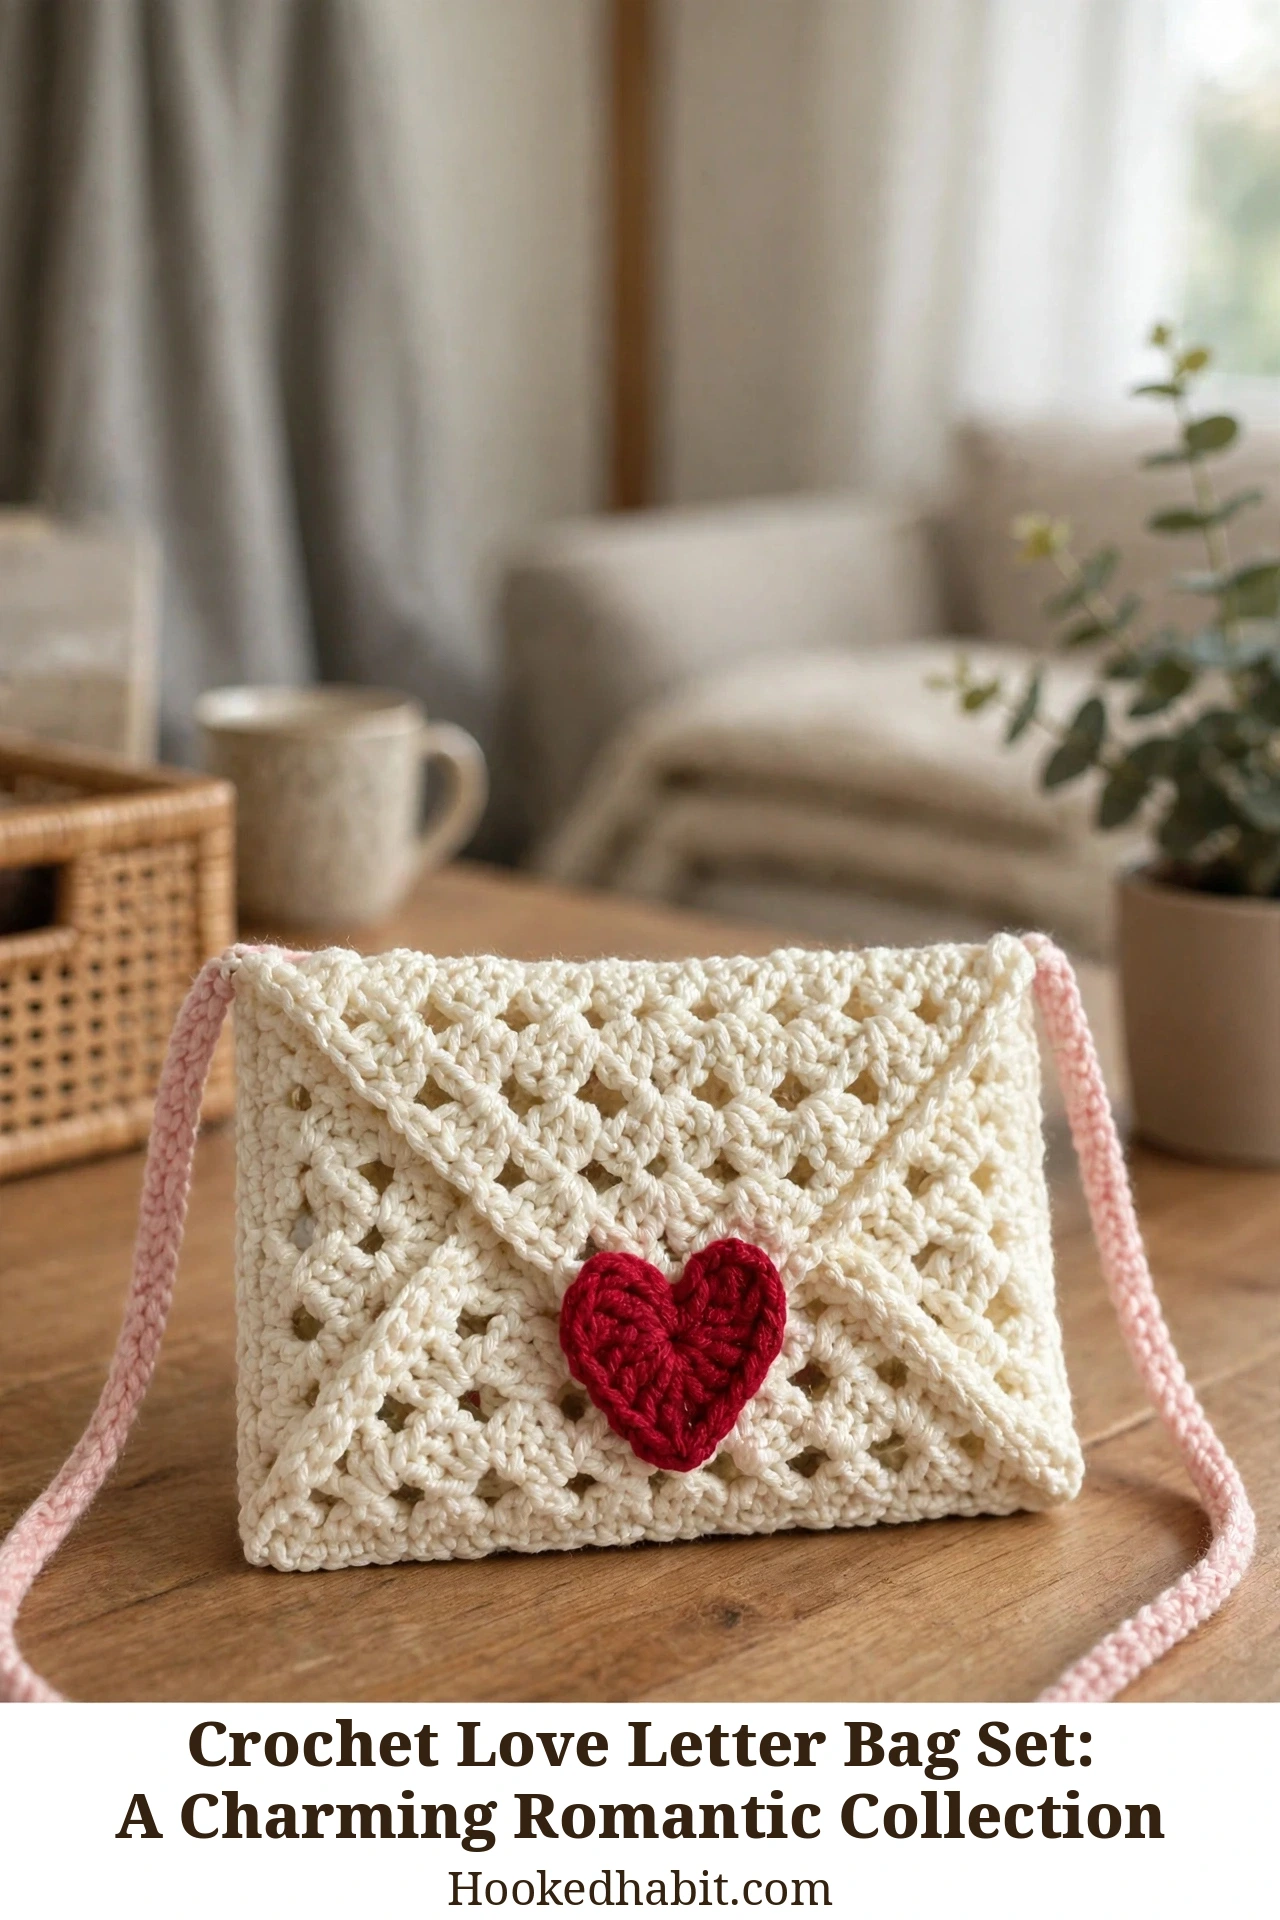
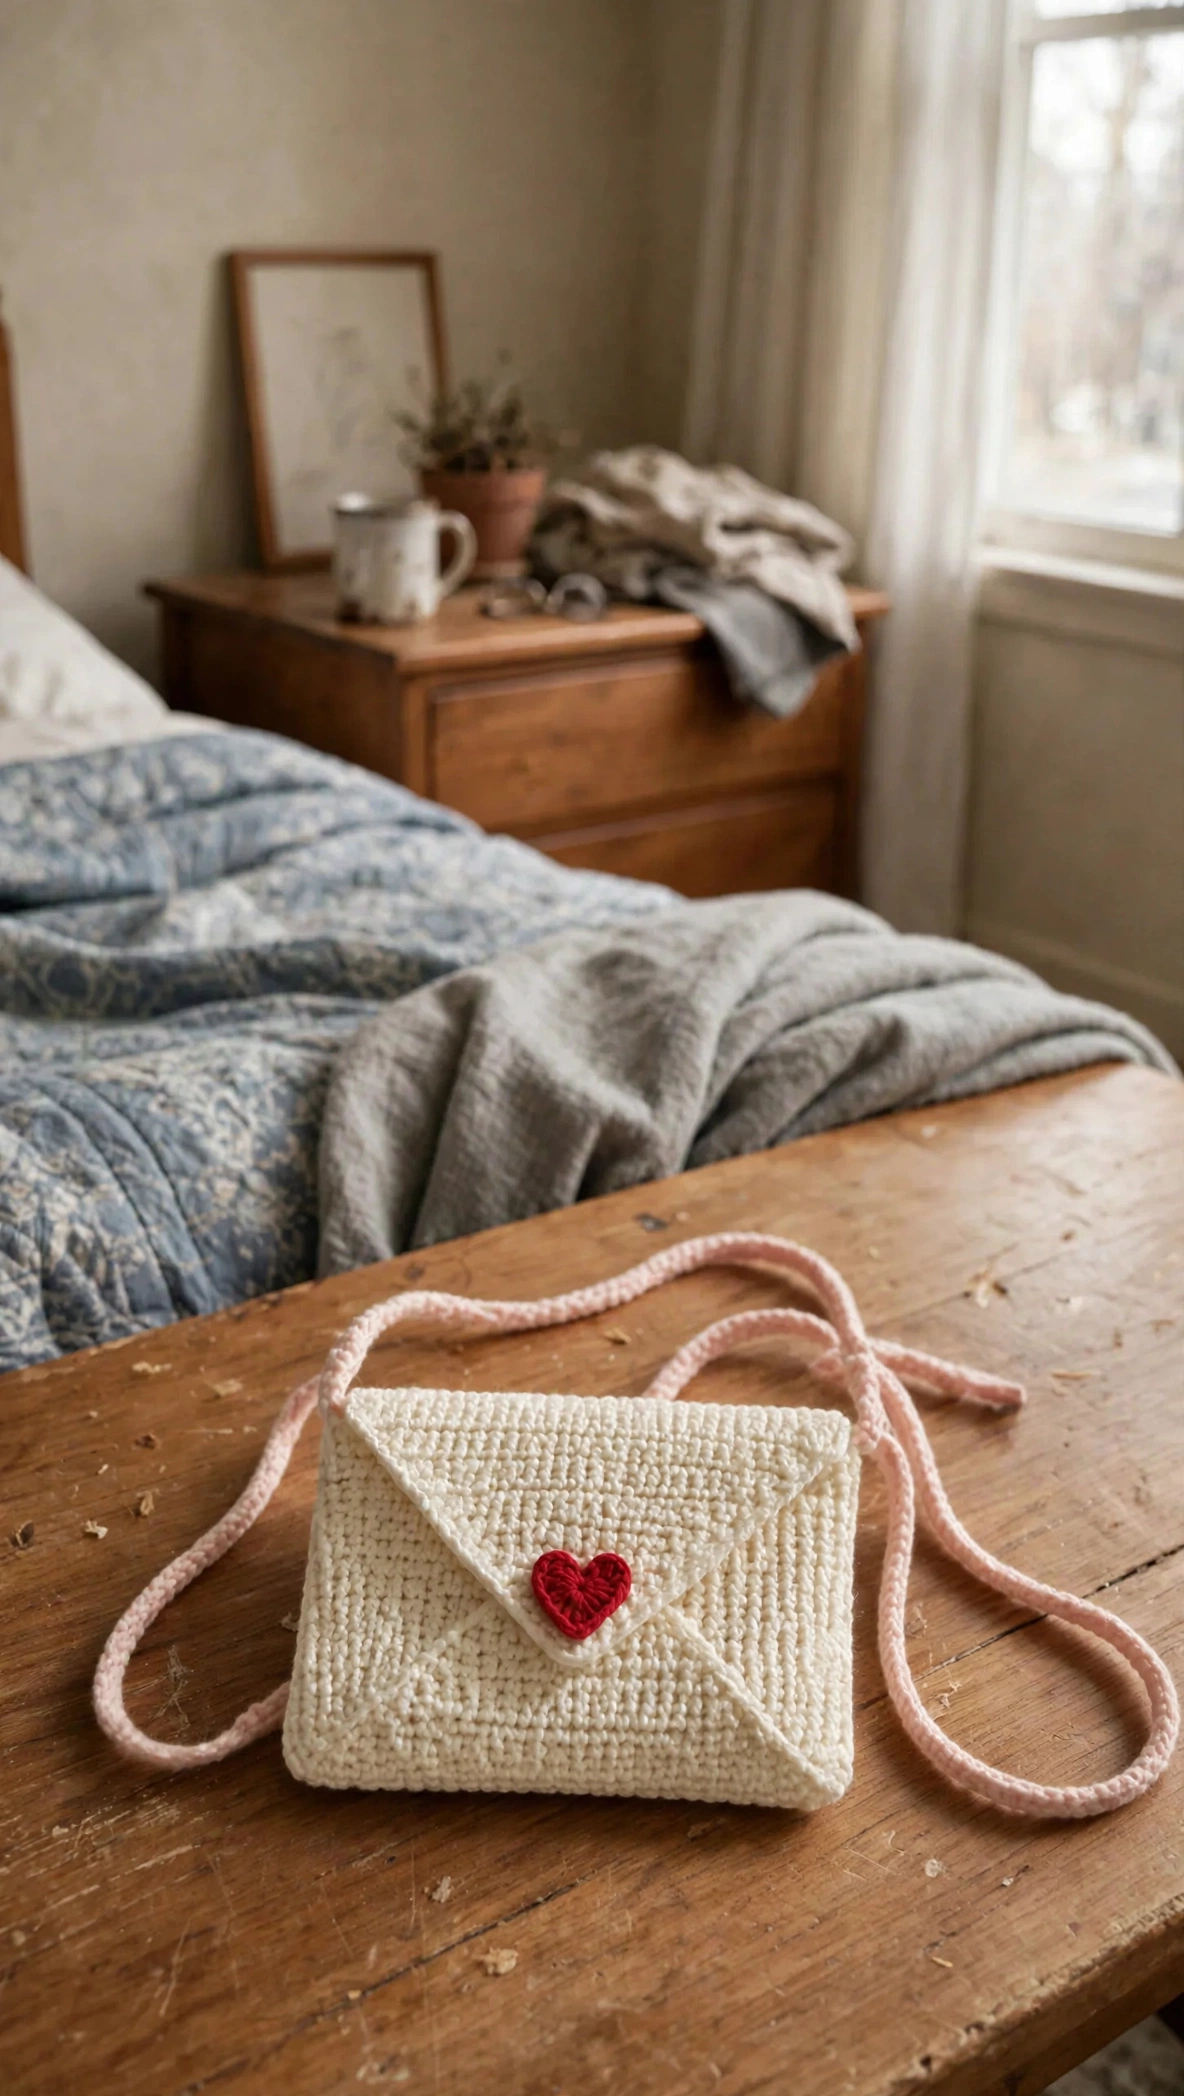
I am a little obsessed with this set, and I am not going to apologize for it. Each bag is shaped like a sealed envelope, with a pointed flap that folds down over the front and a tiny crocheted heart sitting right at the centre like a wax seal. The lace version is all romance: granny-square openwork that lets the light through while still holding its envelope shape beautifully. The solid version, in dense moss stitch, is more of a secret keeper — smooth, compact, and elegant against the body. Two bags, one pattern idea, endless occasions.
Classic cream is the natural starting point, and it looks gorgeous against soft bedding, dried flowers, or an open book. A blush pink strap on the solid version and a deep red heart on the lace version add just enough contrast to make each piece feel thoughtful and intentional. Want to make it yours? Try a soft sage body with a burgundy heart, or warm ivory with a terracotta strap for an autumn reading-nook vibe.
Materials and Tools
Worsted weight yarn is the hero here — it gives the envelope shape enough body to hold its structure without going stiff. A smooth cotton or cotton-blend yarn is ideal because it shows off stitch definition and gives the finished bag a crisp, polished surface that keeps its envelope silhouette. Use a 5mm hook for the lace version so the granny clusters open up with nice drape, and a 4.5mm hook for the solid moss-stitch version for a slightly tighter gauge. Keep a yarn needle handy for seaming the sides and attaching the heart embellishment.
Stitch by Stitch
This set only asks for a small handful of stitches, and they build fast once you find your rhythm.
-
SC (single crochet): the backbone of the solid version, worked in alternating offset rows to create the dense, even moss stitch texture across the body and flap.
-
DC (double crochet): worked in clusters throughout the lace version to form the open granny-square grid that gives the envelope bag its vintage, romantic feel.
-
CH (chain stitch): creates the spaces between the DC clusters in the lace version, and forms the long shoulder strap — a simple chain foundation with surface slip stitching.
-
SL ST (slip stitch): joins the side seams at the assembly stage, bringing the front and back panels together with a neat, almost invisible seam.
Once you lock into the offset SC rhythm of the solid version or the cluster-and-chain pattern of the lace, the work turns meditative in the best way. Do not be surprised if an entire afternoon disappears.
Construction
Both versions start as flat rectangular panels, then get folded and assembled into their envelope shape with slip-stitched side seams, exactly as demonstrated in the video tutorial. The pointed envelope flap is shaped with decreases worked at each end of the row, narrowing the panel into that signature triangular point — no complicated shaping required. Assembly is simple enough for confident beginners, and the heart appliqué (plus optional stitch marker buttons) goes on as the final flourish once the bag is seamed. Want a roomier bag? Just add extra rows to the body before you start the flap shaping, keeping the heart centred on the new proportions.
Wearing Your Love Letter Bag Set
The lace version was made for a flowy midi dress and sandals — warm-weather markets, garden picnics, that kind of day. The solid moss-stitch version tucks neatly under a coat for an evening out or a slow bookshop afternoon. Both fit the essentials: phone, a few cards, lip balm, maybe a small paperback. Finishing this set means two bags ready to gift, keep, or rotate depending on the softness of the day.
Keeping Your Love Letter Bags Looking Their Best
Since both versions are worked in cotton or cotton-blend worsted yarn, a gentle hand wash in cool water with a mild soap is all they need. Lay each bag flat on a clean towel to dry, reshaping the envelope flap into its point while the fabric is still damp so it dries with crisp, defined edges. Blocking the lace version is well worth the effort: a light misting and gentle pinning opens up the granny clusters and gives the finished bag that airy, refined quality you see in the photos. Store your bags flat or stuffed lightly with tissue paper so they keep their envelope shape between uses.
Every finished bag in this set is a small, handmade declaration, and the fact that you made it yourself makes it more valuable than anything you could buy.
Tutorial by: mahum (YouTube).