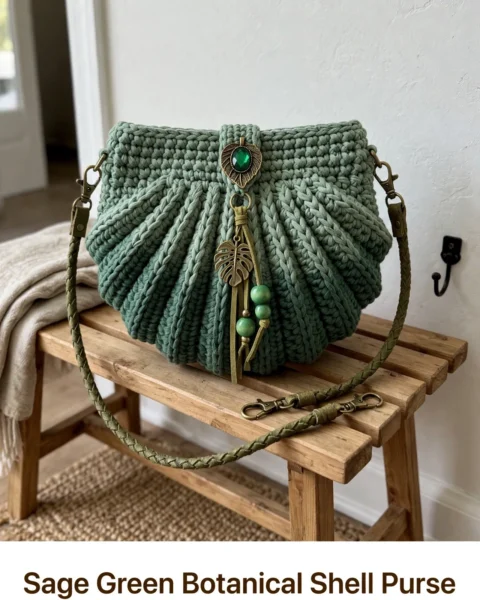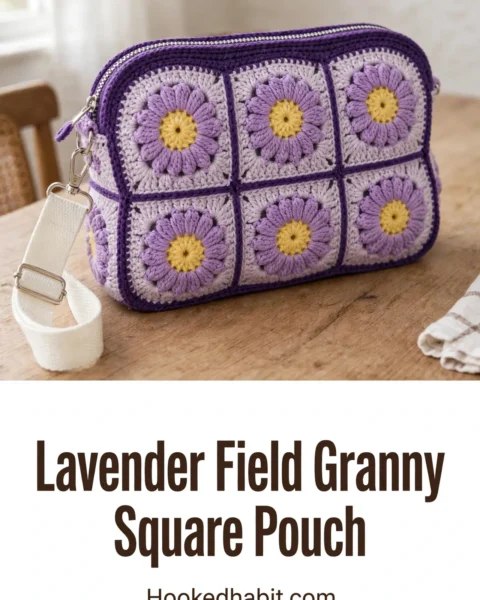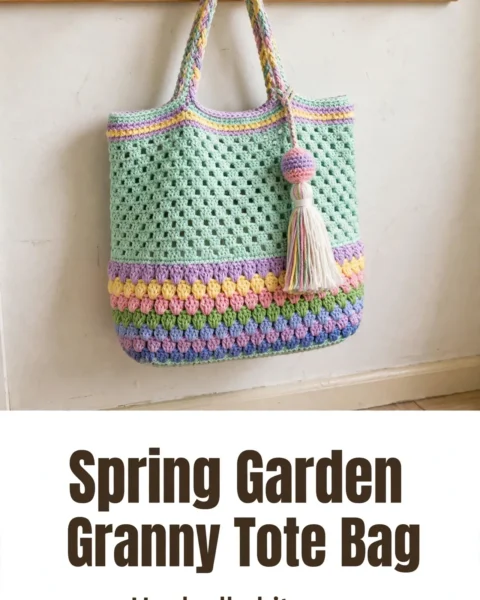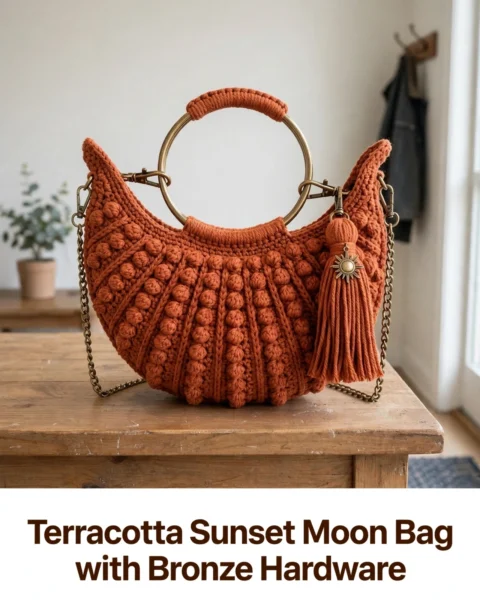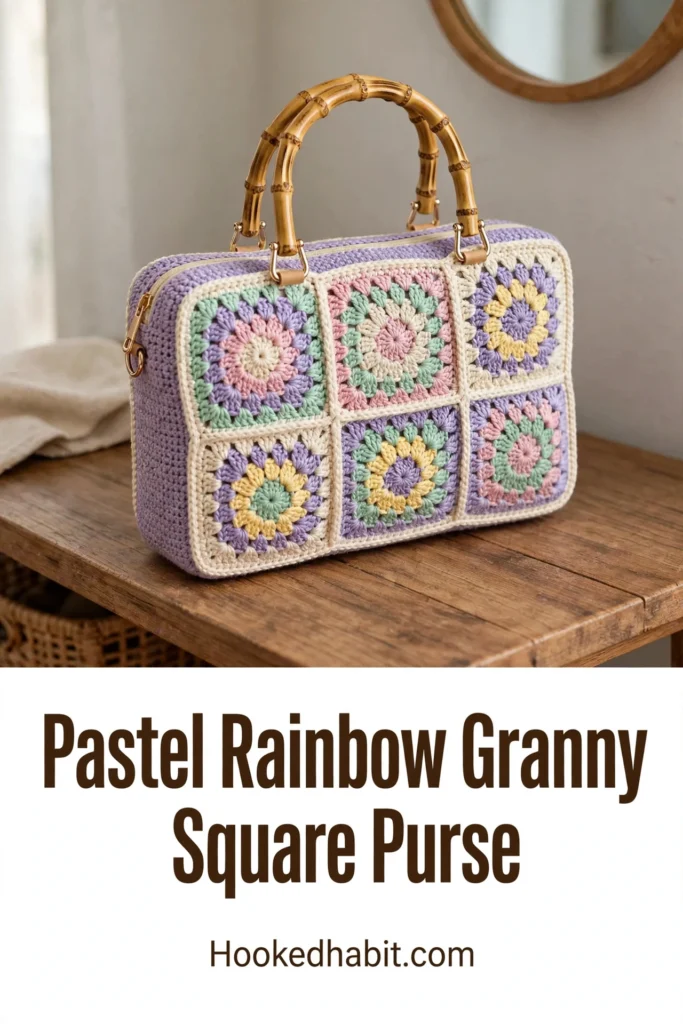
Give me all the vintage granny square charm — but make it a proper handbag you can actually carry around. The sunburst centers pop like tiny scoops of sorbet against that dreamy cream border, and those bamboo handles? Instant elegance, zero fuss.
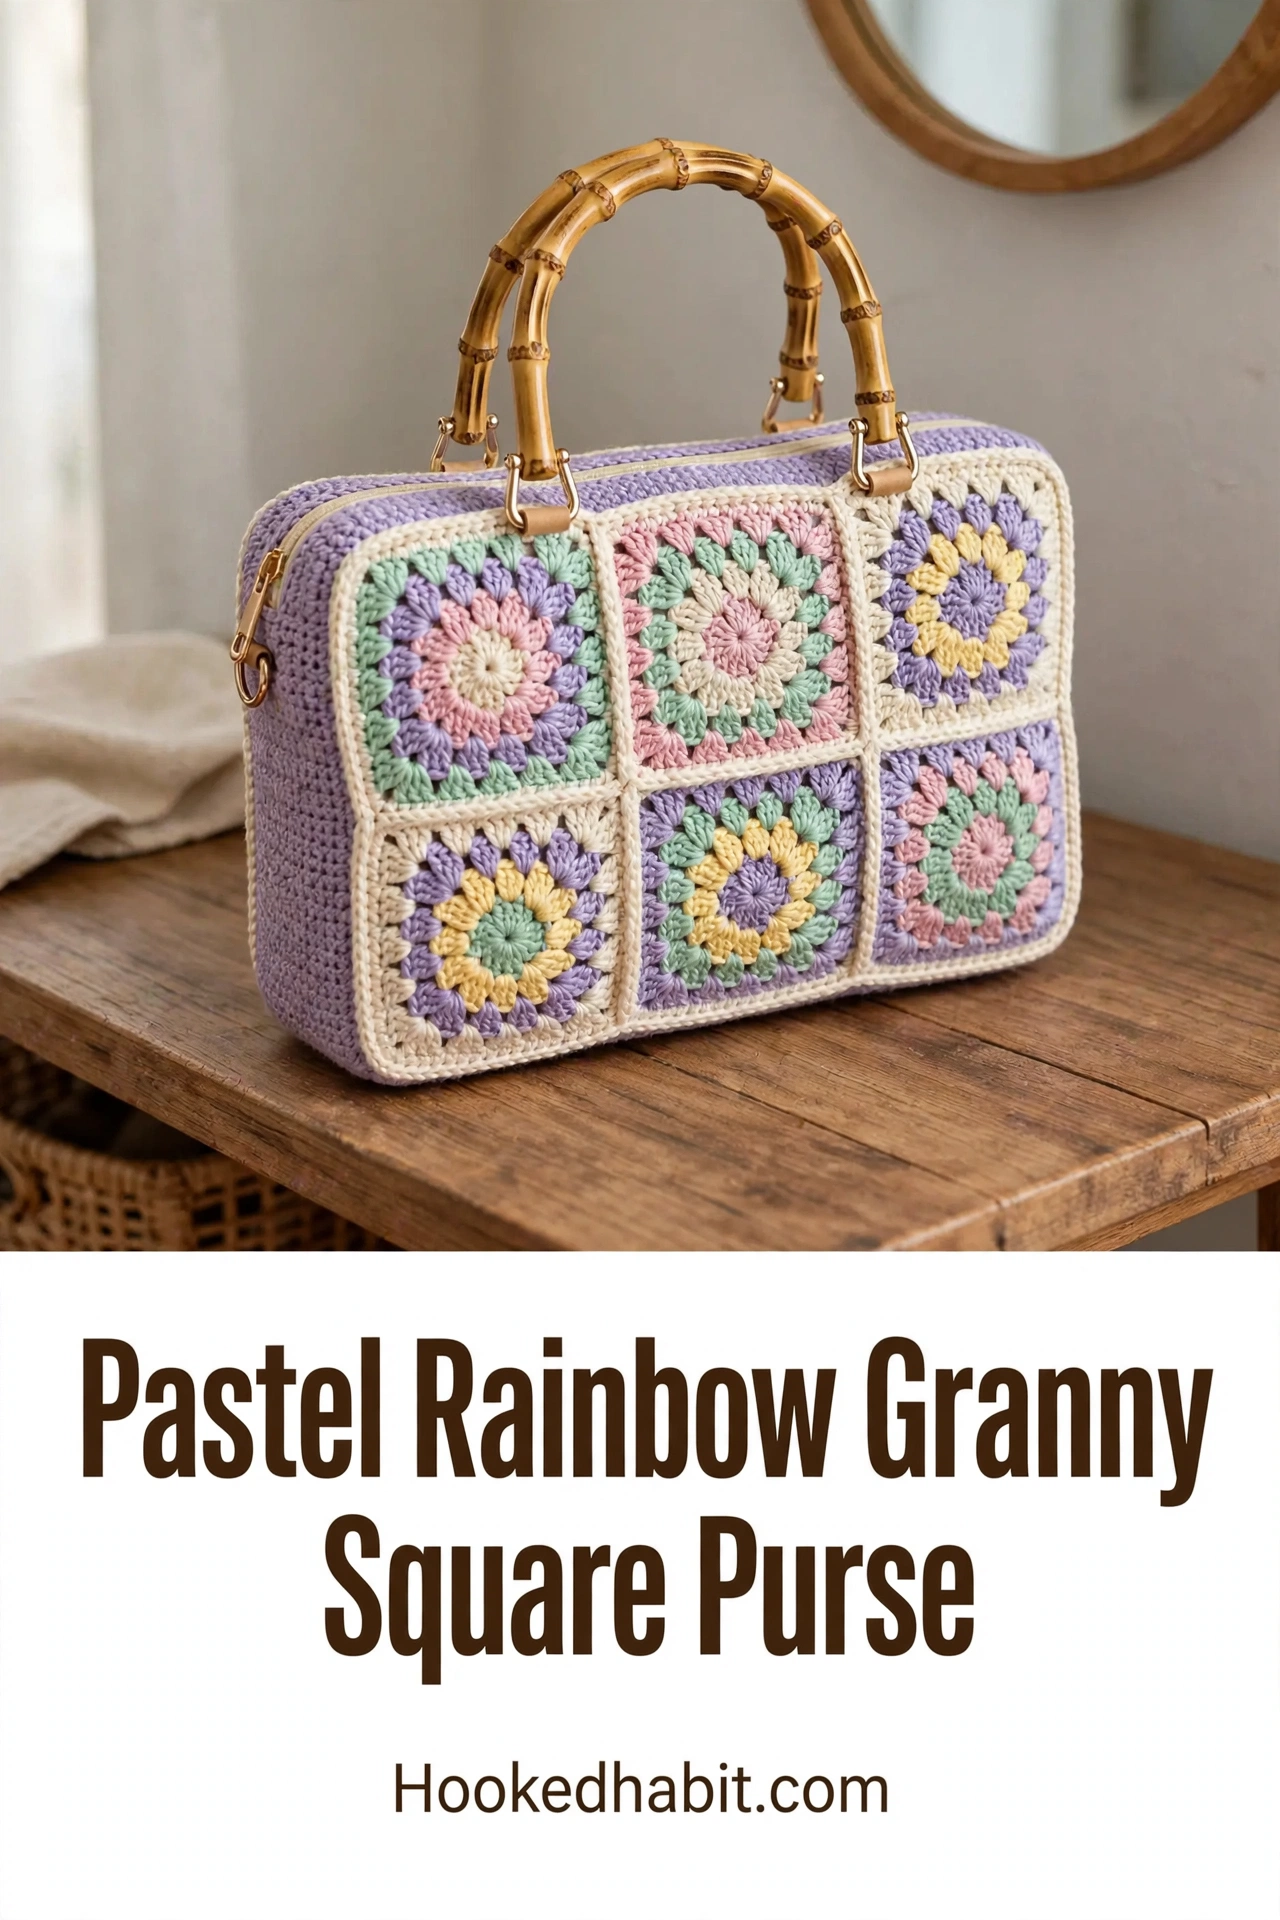
Been wanting to tackle a more structured crochet project but feeling a little nervous about bags? This pattern breaks it all down into totally doable pieces. Twelve little squares, joined into panels, one simple gusset — and boom, you have a purse that looks like it took weeks but actually comes together in a long weekend.
Why This Granny Square Purse Pattern Works So Well
The whole design is built on one simple motif, repeated twelve times. Once the four-round sunburst square clicks for you, it is pure TV-time crochet — the repetition builds muscle memory so fast.
And here is what makes this bag genuinely special: the box construction. No floppy tote here — you get a structured handbag with real depth. The lilac gusset wraps around three sides for that boxy shape, and the zipper across the top keeps everything tucked in safe.
Every square gets its own little personality from the color combos, while the cream border on Round 4 ties the whole thing together. It is also the perfect excuse to raid your stash for all those leftover balls of cotton yarn you have been saving for something special.
Materials You’ll Need
Yarn:
-
DK weight cotton yarn in cream plus five pastel shades: lilac, soft pink, mint, buttercup, and a second cream or ecru
-
Approximate amounts: Lilac (body) approximately 150 grams, Cream approximately 90 grams, each pastel approximately 30 to 40 grams
Yarn Suggestions
Recommended yarn brands:
-
Paintbox Yarns Cotton DK for a wide pastel range
-
Scheepjes Catona held as DK with a 4.0 mm hook for silky soft shades
-
Ricorumi DK or Hobbii Rainbow Cotton 8/4 for mini skeins perfect for scrappy squares
Hook:
- 4.0 mm (US G/6) crochet hook
Notions:
-
One 28 to 30 cm (11 to 12 inch) zipper
-
One pair of bamboo top handles with approximately 11 to 13 cm (4½ to 5 inch) inner width
-
4 small swivel or lobster clasps in gold to link handles to the bag
-
Yarn needle
-
Stitch markers
-
Scissors
-
Cotton lining fabric (optional but recommended)
Gauge and Finished Size
Gauge: 20 stitches × 22 rows = 4 inches (10 cm) in single crochet with a 4.0 mm hook.
One finished square measures about 3 inches (7.5 cm). If yours differs, change your hook size to match. This keeps the bag in proper proportion.
Finished bag dimensions: approximately 9½ inches wide × 7 inches tall × 3 inches deep (24 × 18 × 7.5 cm), excluding handles.
Abbreviations and Special Stitches
This pattern uses US crochet terms throughout. If you typically use UK terms, remember that US single crochet (sc) equals UK double crochet (dc), and US double crochet (dc) equals UK treble crochet (tr).
Standard abbreviations:
-
ch = chain
-
st(s) = stitch(es)
-
sl st = slip stitch
-
sp = space
-
sc = single crochet (insert hook, yarn over, pull through, yarn over, pull through both loops)
-
dc = double crochet (yarn over, insert hook, yarn over, pull through, yarn over, pull through two loops, yarn over, pull through remaining two loops)
-
rnd(s) = round(s)
-
rep = repeat
-
beg = beginning
-
MC = main colour
Special stitches:
Magic ring: An adjustable loop you work the first round into, then pull closed for a neat, gap-less center.
Petal (5-dc shell): Work (sc, 5 dc, sc) into one space. This creates the “ray” of the sunburst motif.
Corner: Work (3 dc, ch 2, 3 dc) into one stitch or space to turn a crisp 90-degree corner.
Pattern Notes
A few things worth knowing before you dive in:
-
The beginning ch-3 counts as the first dc unless told otherwise.
-
Join each round with a sl st to the first stitch.
-
Weave in ends as you go — you do not want to save them all for the end with twelve squares.
-
This project is worked in pieces, then seamed: squares → panels → gusset → handles.
The Sunburst Square Pattern
This four-round motif is the star of the whole show. Make 12 squares in total — six for the front panel, six for the back. Colors A, B, and C change from square to square (check the color combinations below), but Round 4 is always worked in Cream.
Round 1 — Color A (center)
Into a magic ring: ch 3 (counts as dc), 15 dc into the ring. Join to top of beg ch-3 and gently pull the ring closed. 16 dc
Round 2 — Color B
Join B in any st. Ch 1, sc in same st, [ch 3, skip next st, sc in next st] 7 times, ch 3, skip last st, join to first sc. 8 sc & 8 ch-3 spaces
Round 3 — Color C (the rays)
Sl st into first ch-3 sp. Ch 1, work (sc, 5 dc, sc) into the same sp and into each ch-3 sp around. Join to first sc. 8 petals
Round 4 — Cream (squaring round)
Sl st across to the center dc of any petal. Ch 3, (2 dc, ch 2, 3 dc) in same st (first corner).
Ch 1, 3 dc in center dc of next petal, ch 1, (3 dc, ch 2, 3 dc) in center dc of next petal; rep from twice more.
Ch 1, 3 dc in center dc of last petal, ch 1; join to top of beg ch-3. Fasten off. 36 dc, 4 corner spaces, 8 ch-1 spaces
Each finished side now has 9 dc with a corner ch-2 sp at each end. This creates a tidy edge for joining. Block lightly to 3 inches (7.5 cm) if needed.
Color Combinations for Your Squares
For that scattered sorbet vibe, give every square its own trio of colors. Below are the six combos for the front panel — shuffle and remix them for the back so no two neighbors match.
| Square | A (Center) | B (Mid) | C (Rays) |
| — | — | — | — |
| 1 | Cream | Pink | Mint |
| 2 | Pink | Cream | Lilac |
| 3 | Lilac | Cream | Buttercup |
| 4 | Cream | Lilac | Buttercup |
| 5 | Lilac | Buttercup | Mint |
| 6 | Mint | Pink | Lilac |
Tip: Keep Cream as Round 4 on every single square. That quiet cream frame is what lets the pastels pop and makes both panels read as one cohesive, polished piece.
Joining the Squares and Adding the Panel Border
Lay Out Your Panels
Arrange six squares into a 3-across × 2-down rectangle for the front. Repeat for the back panel. Shuffle the squares around until the colors feel evenly scattered and no identical squares sit next to each other.
Join the Squares (Cream)
With cream yarn and a yarn needle, whip stitch squares together through the back loops only. Match stitch-for-stitch along each seam (9 dc plus the corner spaces per side).
Join all rows of each panel first, then join the rows to each other. Work one continuous line through each corner so the joins lie flat. 2 panels complete
Panel Border — Cream
With the panel right-side up, join cream in any corner sp. Ch 1 and sc evenly all around: about 39 sc along each 3-square edge (top and bottom) and 26 sc along each 2-square edge (sides), working (sc, ch 2, sc) in each outer corner sp and 1 sc into each seam. Join to first sc. 130 sc & 4 corner spaces
Work the border on both panels so they finish the same size. These cream edges become your seam line when the bag is assembled.
Gusset and Zip Bands
The lilac gusset is one long strip that wraps the two sides and the base, giving the bag its boxy depth. The two zip bands sit along the top opening to carry the zipper.
Gusset — Lilac (make 1)
Ch 16.
Row 1: sc in 2nd ch from hook and in each ch across; turn. 15 sc
Rows 2 onward: ch 1, sc in each st across; turn. 15 sc
Repeat Row 2 until the strip measures about 23½ inches (60 cm). This is long enough to travel up one side, across the base, and down the other side. Fasten off.
Zip Bands — Lilac (make 2)
Ch 40.
Row 1: sc in 2nd ch from hook and in each ch across; turn. 39 sc
Rows 2 to 4: ch 1, sc in each st across; turn. 39 sc
Fasten off. Each band is approximately 9 inches (23 cm) long to match the panel top.
Handle Tabs — Lilac (make 4)
Ch 4.
Row 1: sc in 2nd ch and across; turn. 3 sc
Work in sc until the tab measures approximately 2 inches (5 cm). Fasten off, leaving a long tail for sewing. Each tab folds around a swivel clasp later.
Handles, Hardware, and Assembly
Here comes the best part — watching all your pieces turn into a real purse.
Step 1 — Box the Bag
With lilac (or cream) yarn and a yarn needle, sew one long edge of the gusset to the front panel. Start at the top of one side, down to the base, across the bottom, and up the far side. Ease gently around the lower corners so they stay square.
Sew the opposite edge of the gusset to the back panel the same way. 3 sides closed
Step 2 — Add the Zip Bands
Sew the lower edge of one zip band along the top of the front panel (and the gusset ends), and the second band along the back.
Pin the zipper between the two bands, right side up, and back-stitch it neatly in place with sewing thread so the bands meet when closed.
Step 3 — Mount the Handles
Thread each handle tab through a swivel clasp, fold it in half, and sew the ends firmly to the inside top edge. Position two tabs per side, spaced to match the handle rings (about 7 cm or 2¾ inches apart).
Clip each clasp to the bamboo handle’s ring. 4 tabs and 4 clasps complete
Step 4 — Optional D-Ring
For a crossbody option, fold a short lilac tab through a D-ring and sew it into one side seam. Attach a strap with a swivel clasp whenever you want hands-free carrying.
Lining (Optional But Lovely)
Cut cotton lining to the bag’s inner dimensions plus a 1 cm seam allowance, stitch the lining pieces into a pouch, and hand-sew it just below the zip bands.
A lining hides all your seams and stops small items from peeking through the stitches — plus it gives the whole bag a more polished, professional feel.
Finishing Touches and Care Instructions
Final Steps
-
Weave in every remaining end on the wrong side and trim close.
-
Give the whole bag a gentle steam-block so the squares sit flat and even.
-
Run a finger along each seam to check for gaps; close any with matching yarn.
-
Open and close the zipper a few times to settle the bands.
Caring for Your Purse
-
Hand wash in cool water with mild detergent. Do not wring.
-
Reshape while damp and dry flat, away from direct heat or sun.
-
Remove the bamboo handles before washing. Simply unclip the swivel clasps.
-
Do not tumble dry. Cotton can shrink and the squares may distort.
-
Store stuffed lightly with tissue to hold the box shape.
Sizing Tips for Customization
Your square count is basically a size dial — change it and everything scales along!
Bigger bag: Use a 4-across × 3-down layout (12 squares per panel) and lengthen the gusset to suit.
Smaller pouch: 2 × 2 squares per panel makes a sweet mini version perfect for evenings out.
Taller squares: Add a second cream round to Round 4 for a roomier motif. Remember to lengthen the gusset and zip bands to match.
Hook tuning: If your gauge runs loose, drop to 3.5 mm. If tight, go up to 4.5 mm to hit a 3 inch (7.5 cm) square.
Deeper bag: Start the gusset with a longer foundation chain (for example, ch 20 for approximately 4 inches or 10 cm depth).
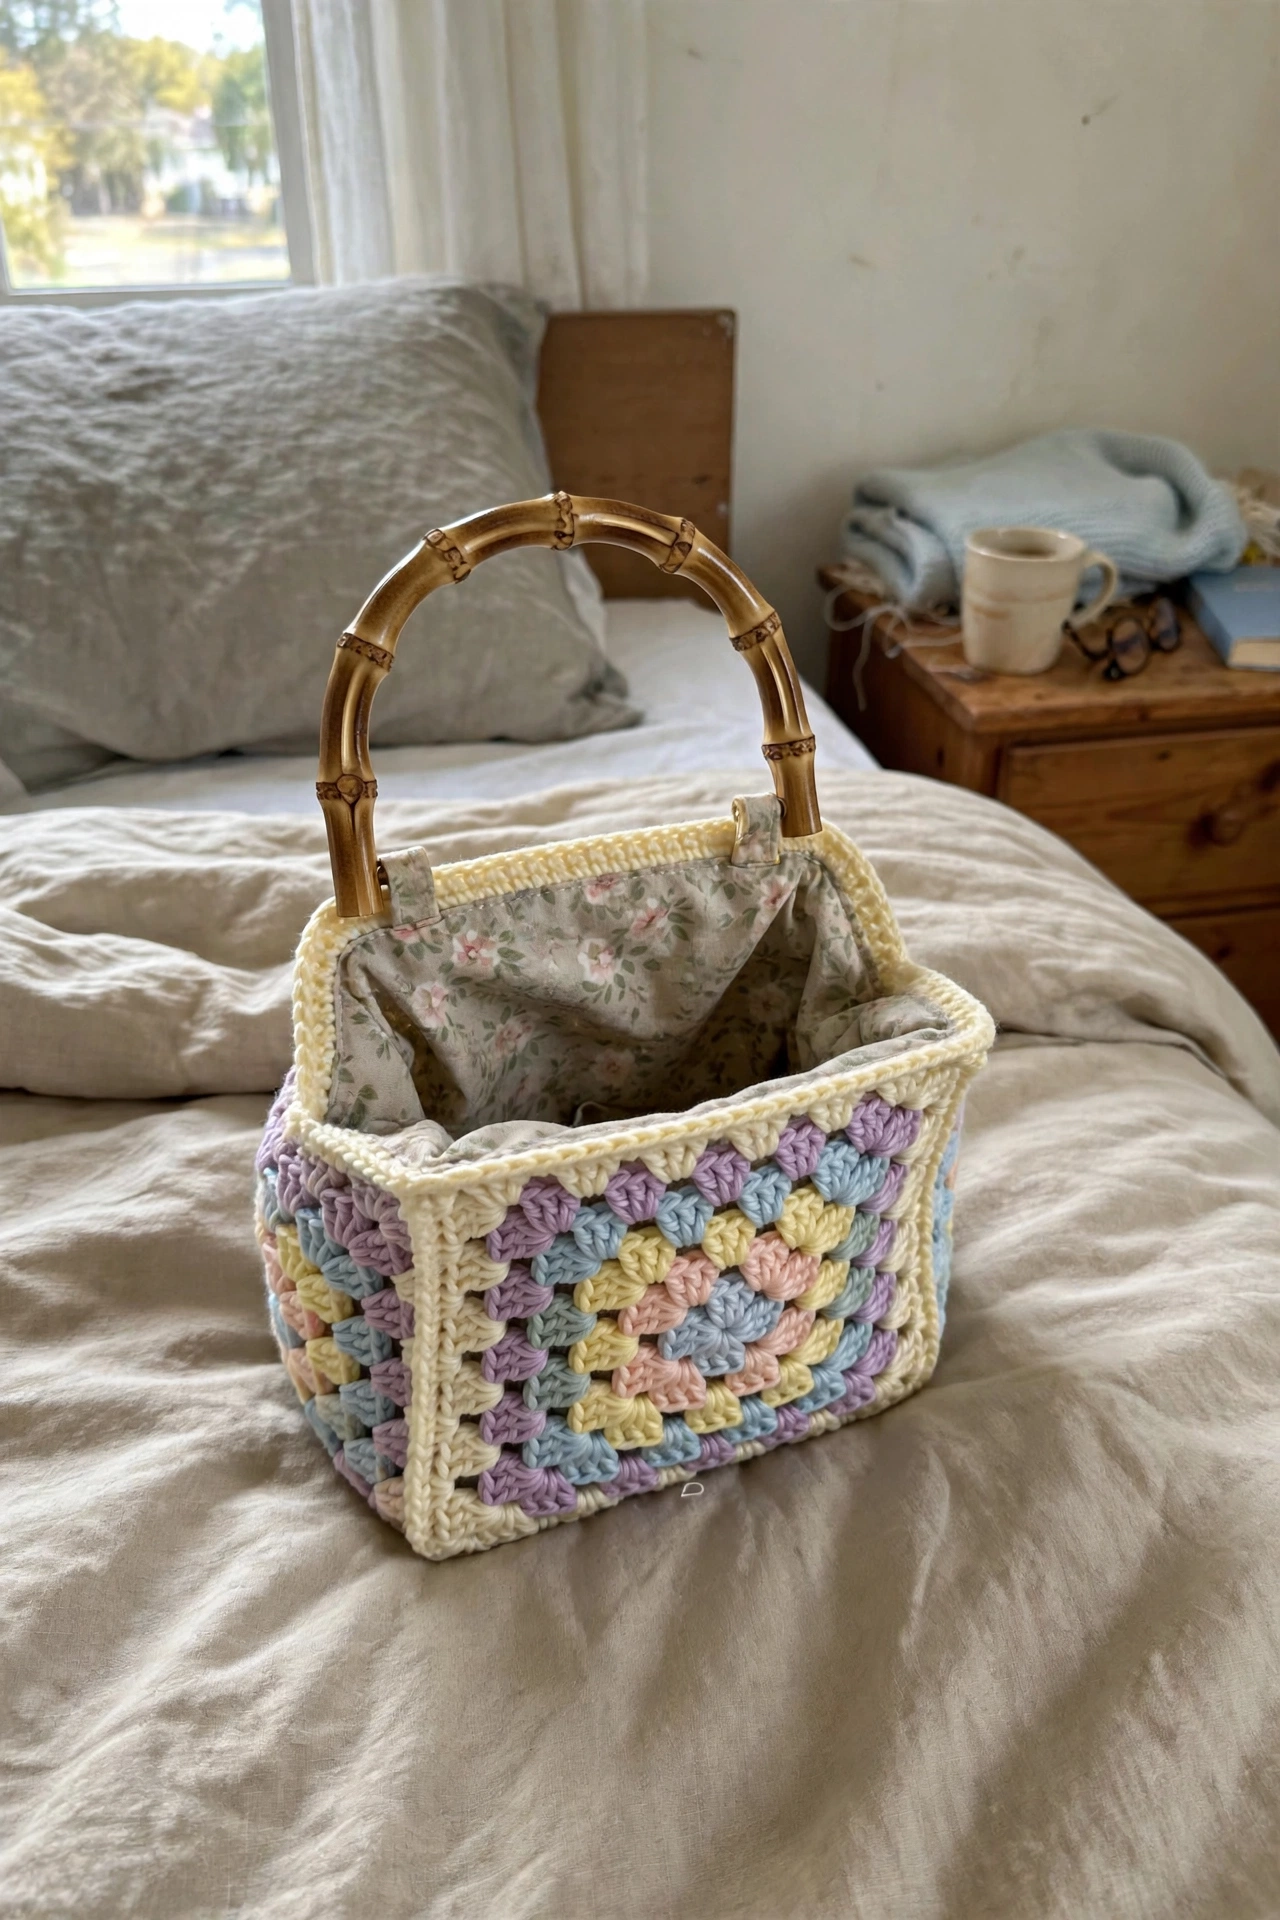
You Did It!
There is nothing quite like watching twelve little squares turn into a structured, carry-everywhere bag. Enjoy your gorgeous new purse — and happy crocheting!