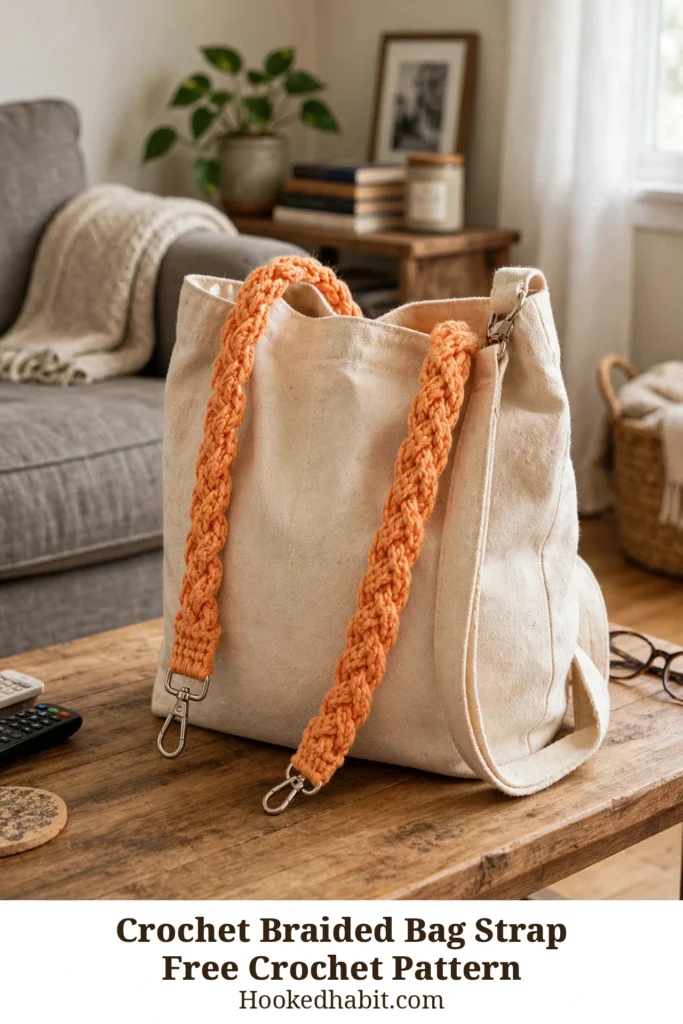
Three crocheted strips, braided wide and finished with silver swivel clasps — a sculptural little accessory that also happens to be genuinely useful. Clip it onto a tote, a crossbody, a clutch, or even a belt loop, and every bag you own gets a handmade second life.
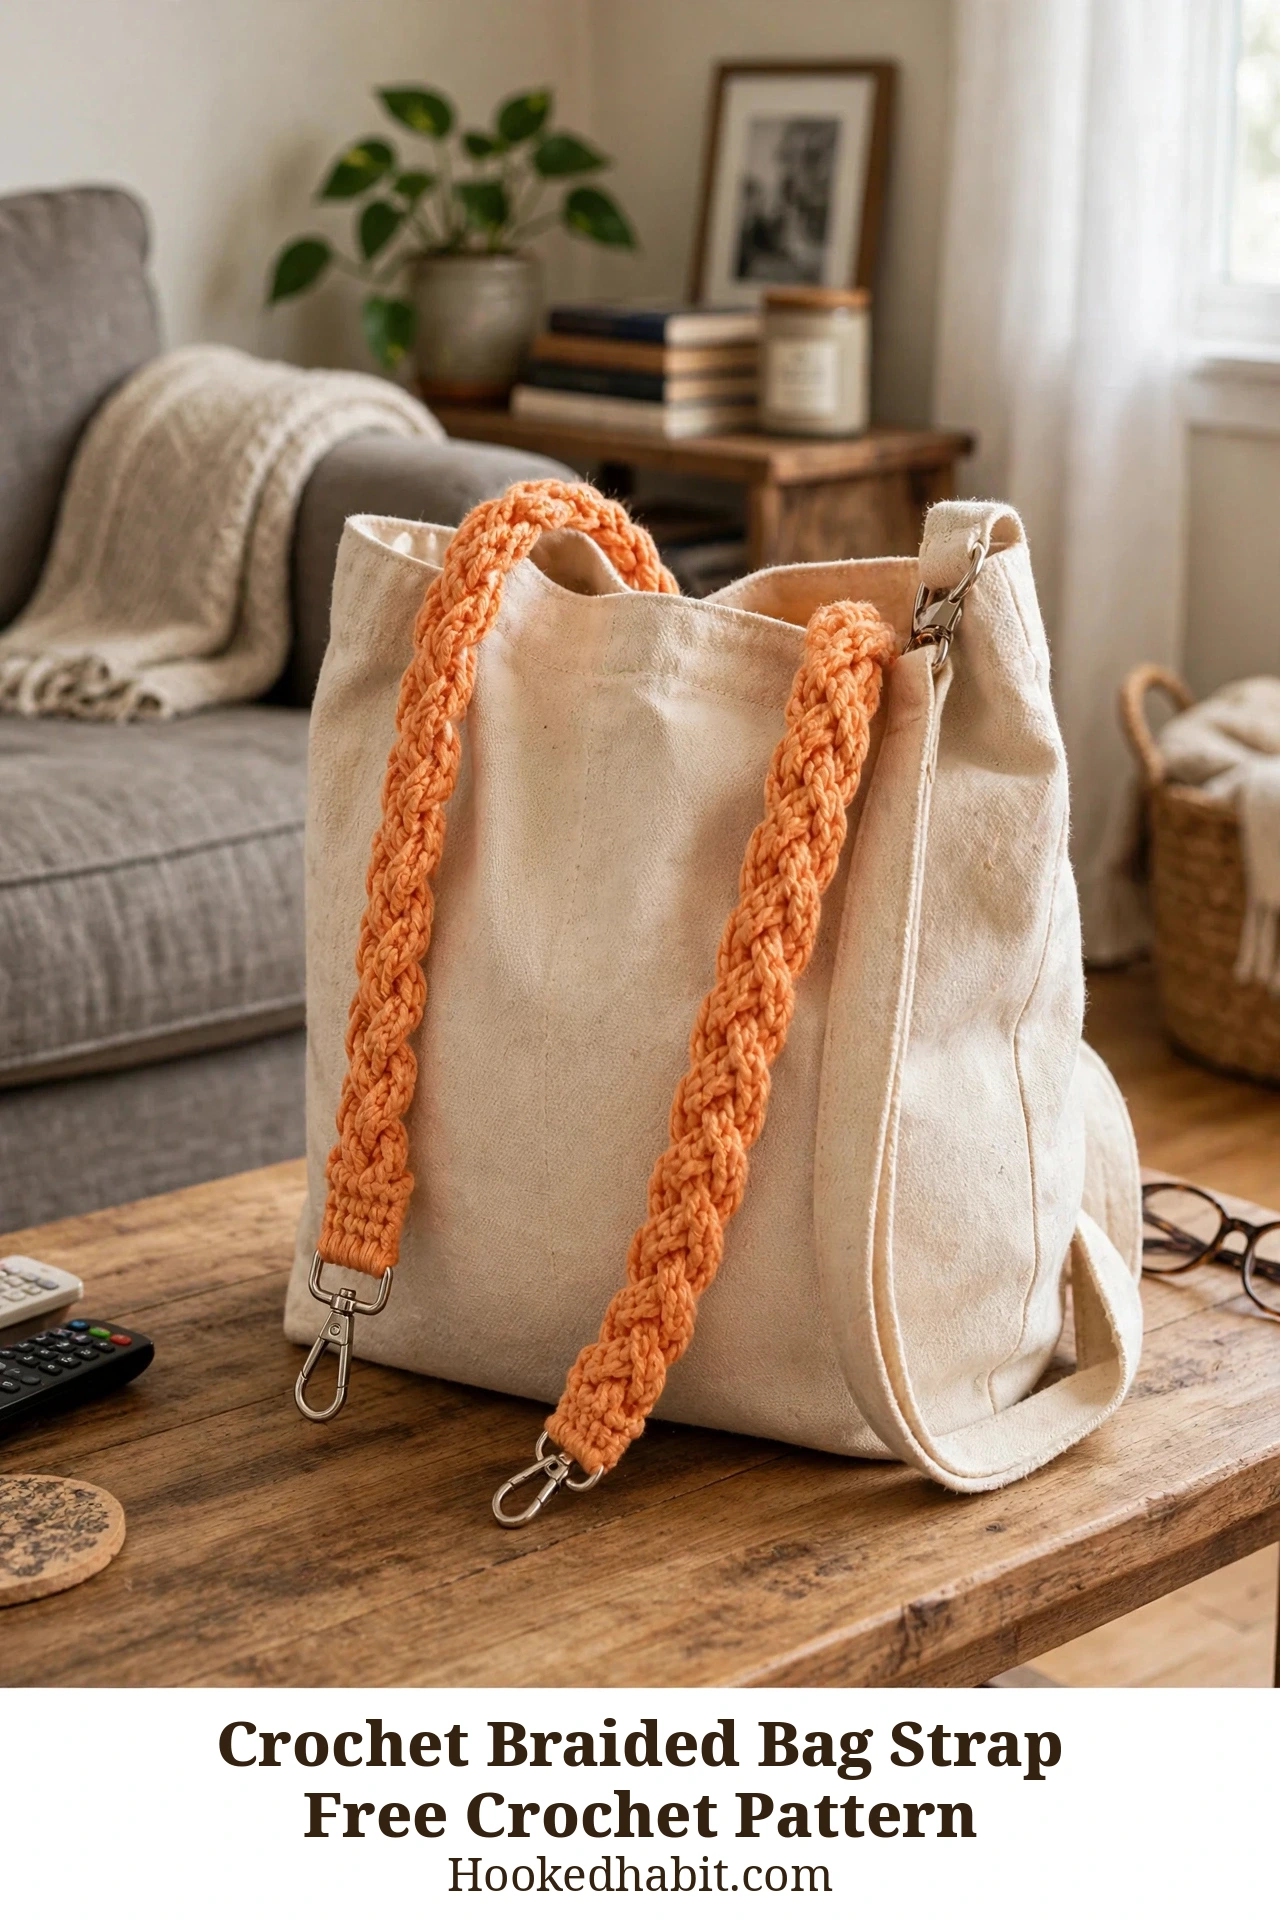
The Braided Bag Strap
Here is the thing about this strap: people will stop you and ask where you bought it, and you will get to smile and say you made it. The strips are worked in tight, firm rows, then braided together by hand into something so thick and weighty it feels substantial before you even clip it on. The result lands somewhere between heirloom craft and modern accessory — happy on a linen market bag, perfectly at home on a sleek evening pouch. If you want your handmade work to be seen, touched, and actually used every single day, this is the project.
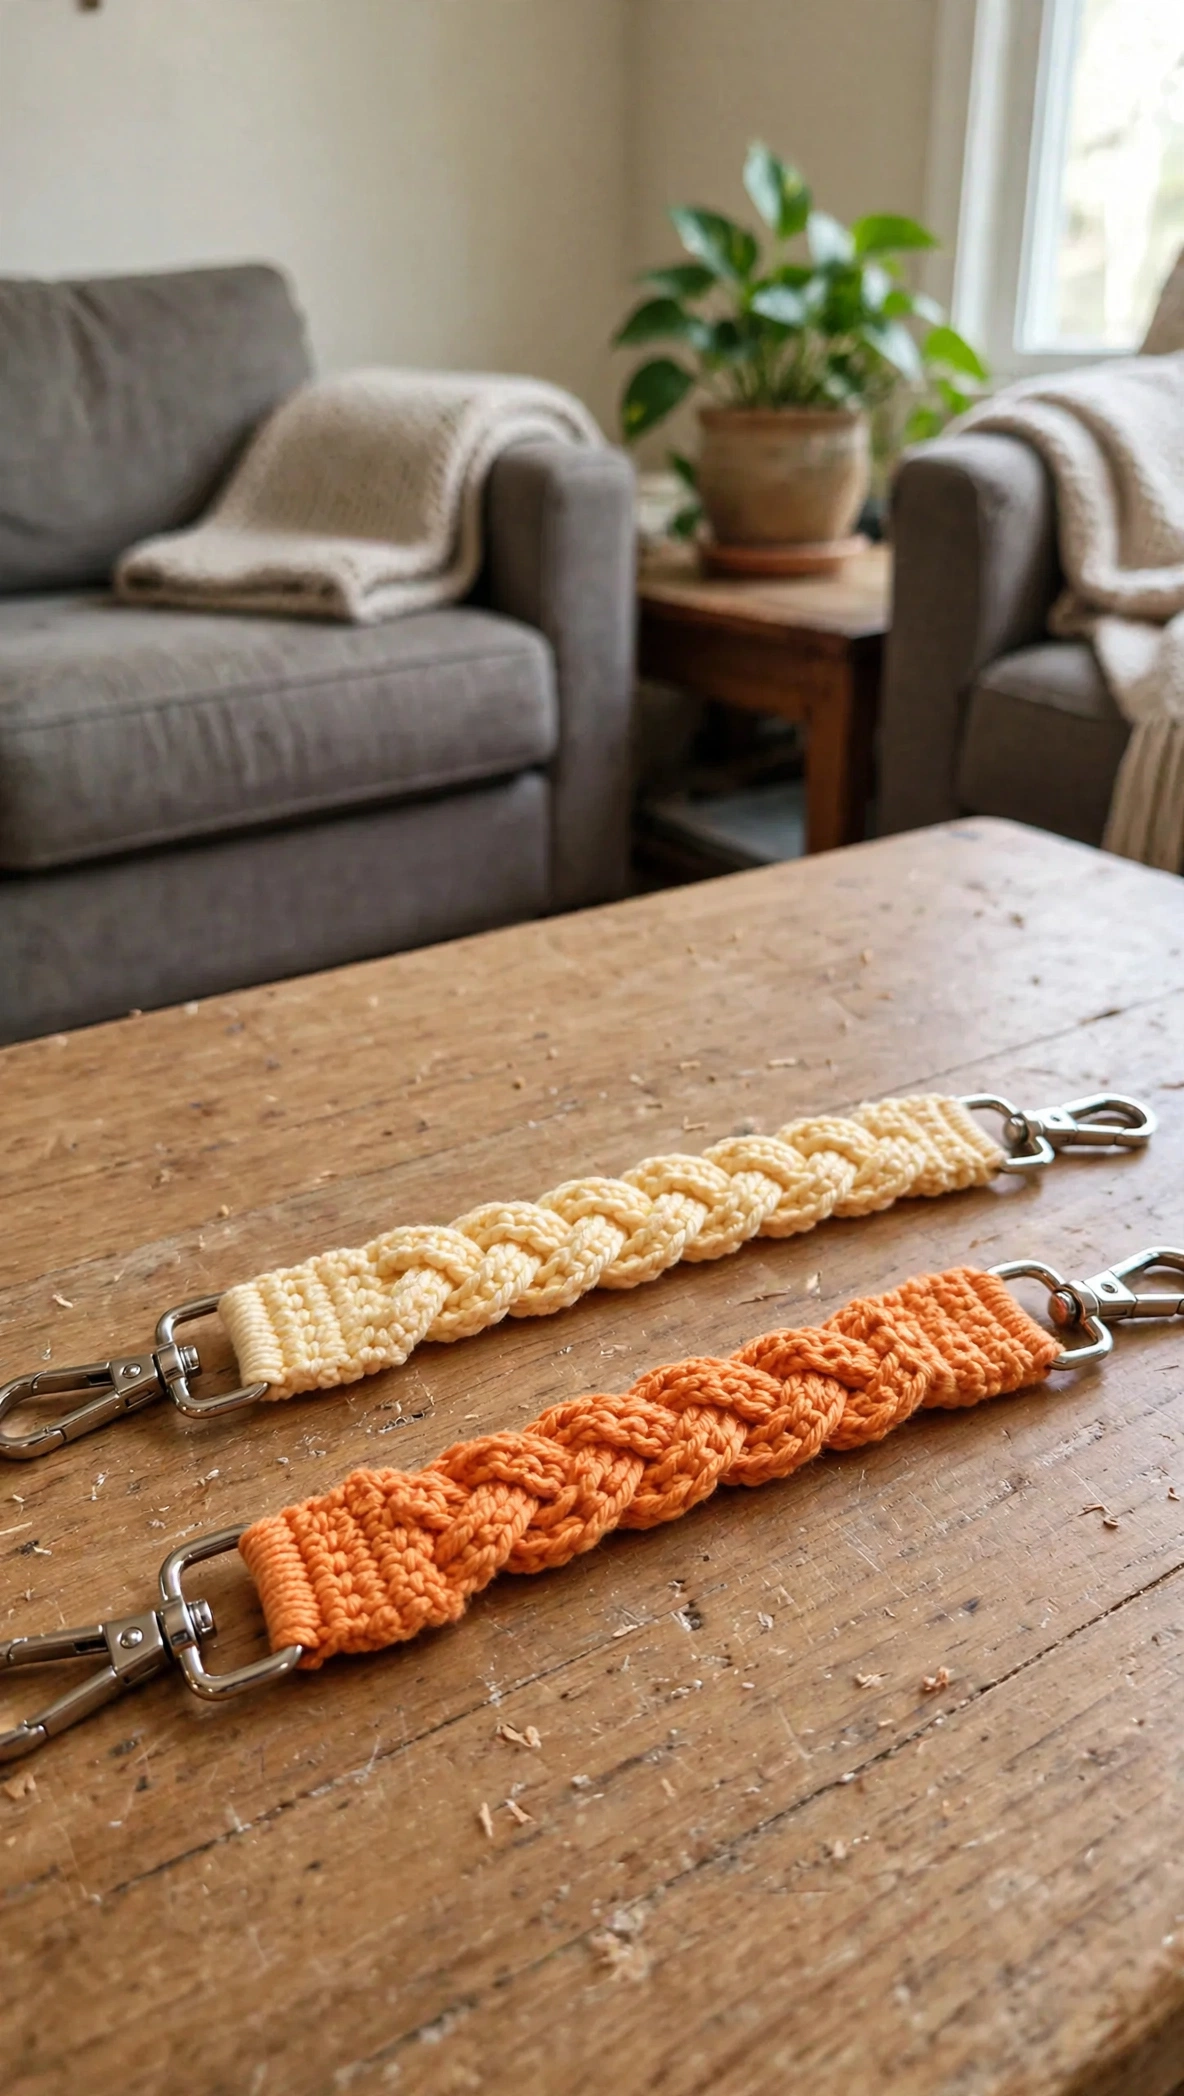
Warm gradient pairings are my favorite for this — think soft cream melting into peach across the braid, one color bleeding gently into the next. Or go the opposite direction: all three strips in one solid shade for a bold monochromatic statement, or three totally different colors for a vivid woven effect where they cross. Honestly, there are no wrong answers here, only honest ones.
Materials and Tools
Reach for a worsted weight cotton or cotton-blend yarn. The cotton keeps the braid firm and defined instead of stretching out under the weight of a full bag. The video tutorial uses a 3.5mm Tulip hook, and I would stick with that size — it builds a dense, confident fabric that holds its shape through daily wear. Cotton really is the ideal fiber for this: it does not give, does not pill easily, and presses into a clean, flat braid. Grab a stitch marker and a pair of swivel snap clasps and you have everything you need.
Stitch by Stitch
Only a handful of stitches here, and each one earns its place by building fabric sturdy enough for a working bag strap.
-
CH (Chain): Your foundation chain decides the length of each strip, so count carefully and make sure all three strips match before you start braiding.
-
SC (Single Crochet): The body of every strip, worked in plain SC rows for a tight, smooth surface that shows beautifully through the braid.
-
SL ST (Slip Stitch): Closes each strip neatly and joins the sections cleanly at the clasp ends.
-
DC (Double Crochet): Some versions of the braid detailing use DC for a hint of texture and a slightly more open rhythm across the strip.
Once you lock into the rhythm of the SC rows, the whole thing turns calm and meditative — the kind of make you can carry to a quiet afternoon and finish before the light changes.
Construction
You start with three separate flat strips, each worked back and forth in simple rows to whatever length you want. Then you lay them side by side and braid them by hand. The ends get wrapped tightly with more SC rows to encase the clasp hardware, which gives the finished strap a polished, professional look with no raw edges anywhere. If you are newer to crochet, the strips themselves are genuinely beginner-friendly — just straight rows, zero shaping — and the braiding takes no crochet skill at all. Want it longer or shorter? Just adjust your starting chain and row count.
Wearing Your Braided Bag Strap
Clip it onto a simple canvas tote for a farmers market morning, then move it to a structured leather bag for dinner out and watch the handmade texture soften the entire look. It also doubles beautifully as a camera strap, or as a replacement on a vintage crossbody that has seen better days. After this one, you will never look at a plain, lifeless bag handle the same way again.
Keeping Your Braided Strap Clean and Clasp-Ready
Cotton takes washing like a champ. A gentle cold-water hand wash with a mild soap keeps the strap fresh without wrecking the braid, and laying it flat on a clean towel to dry — pressing the braid into shape while it is still damp — keeps everything even and curl-free. Skip the wringing and twisting, which can loosen the braid over time, and store the strap unclipped and coiled loosely in a drawer instead of hanging it under tension. If you worked yours in cream or another pale shade, a light blocking with cool water every few months keeps it looking bright and crisp.
Every time you clip on a strap you made yourself, you are choosing craft over convenience — and that choice shows in the most beautiful way.
Tutorial by: Hookedhabit.