Introduction
Okay, my fellow yarn lovers — this is your official permission slip to crack open those pastel skeins you’ve been hoarding for “the right project.” You know exactly which ones I’m talking about. They’ve been sitting in your stash looking pretty, just waiting for something worthy of all that soft lavender and minty freshness.
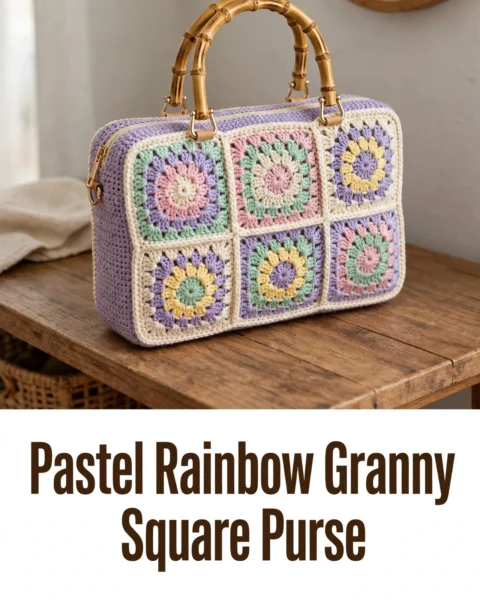
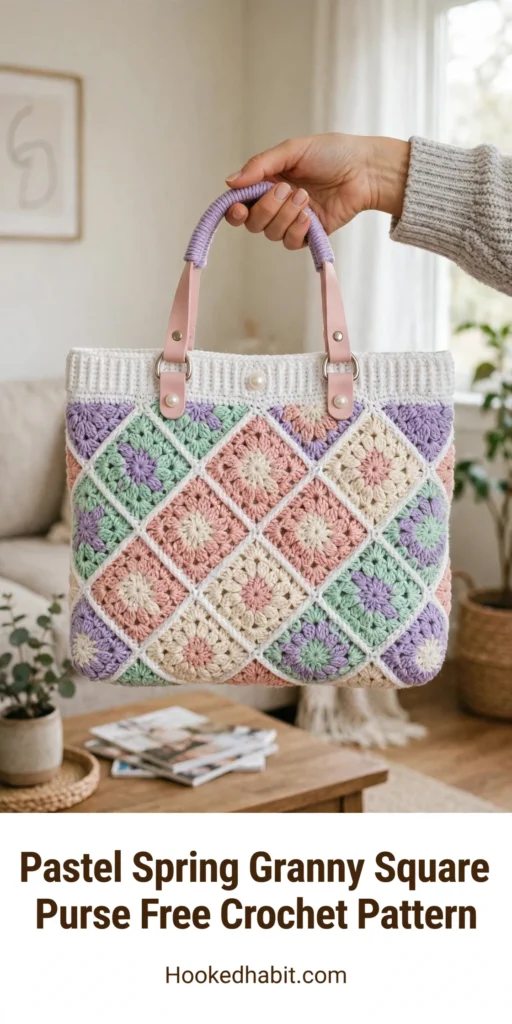
Well, meet that project. Instead of the usual grid, the squares sit on the diagonal, creating a diamond lattice that looks way more complicated than it really is. You’ll make classic granny squares, join them on the diagonal, work a crisp ribbed band for the top, and add darling hardware details.
Real talk: this one’s intermediate. You want to be comfy with granny squares in the round and a couple of joining techniques. But if you’ve already made a granny square blanket or scarf or two? You’re totally ready. I’ll walk you through the whole thing, step by step.
Why This Granny Square Purse Pattern Works So Well
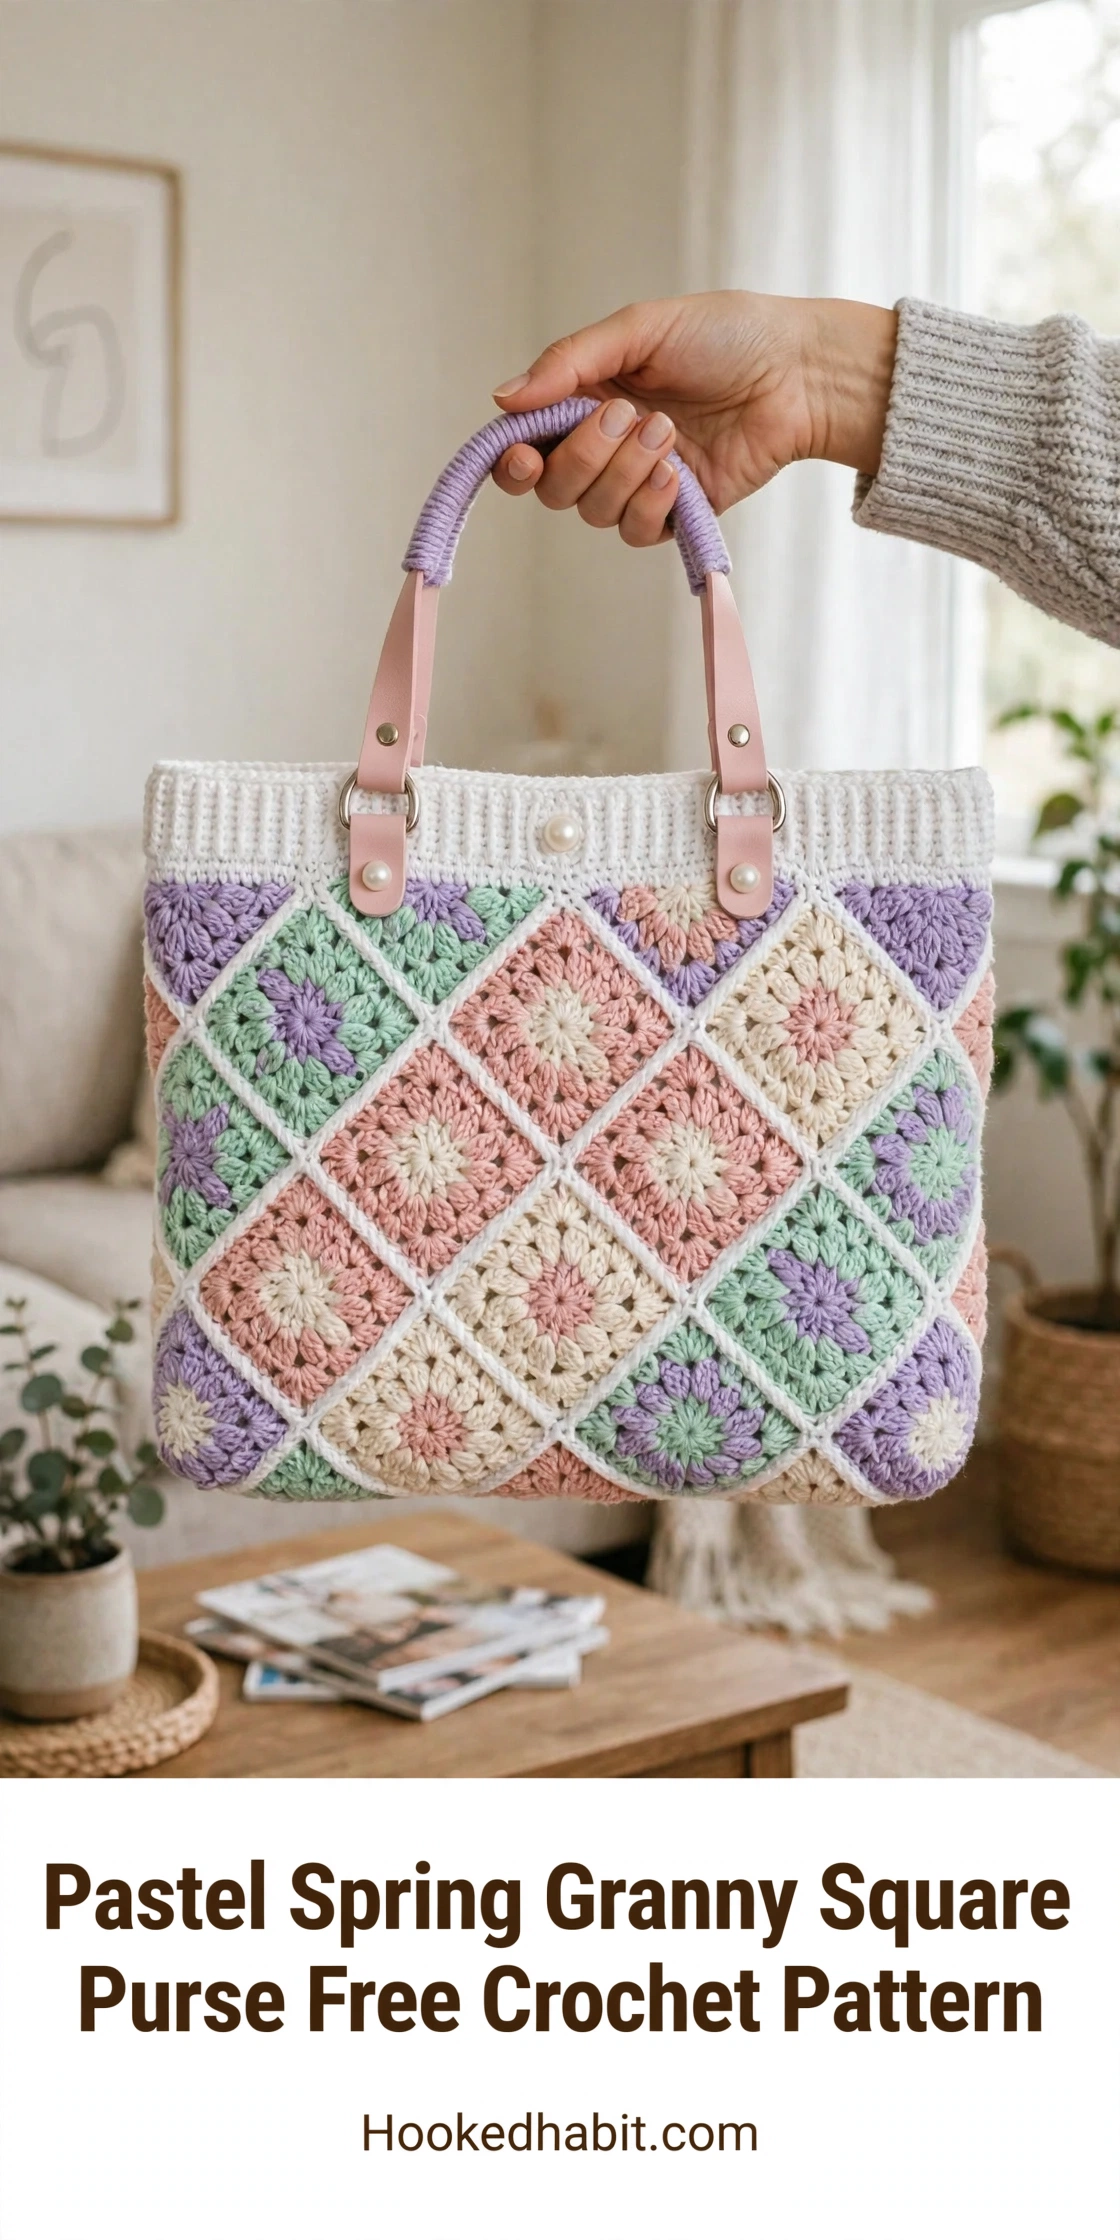
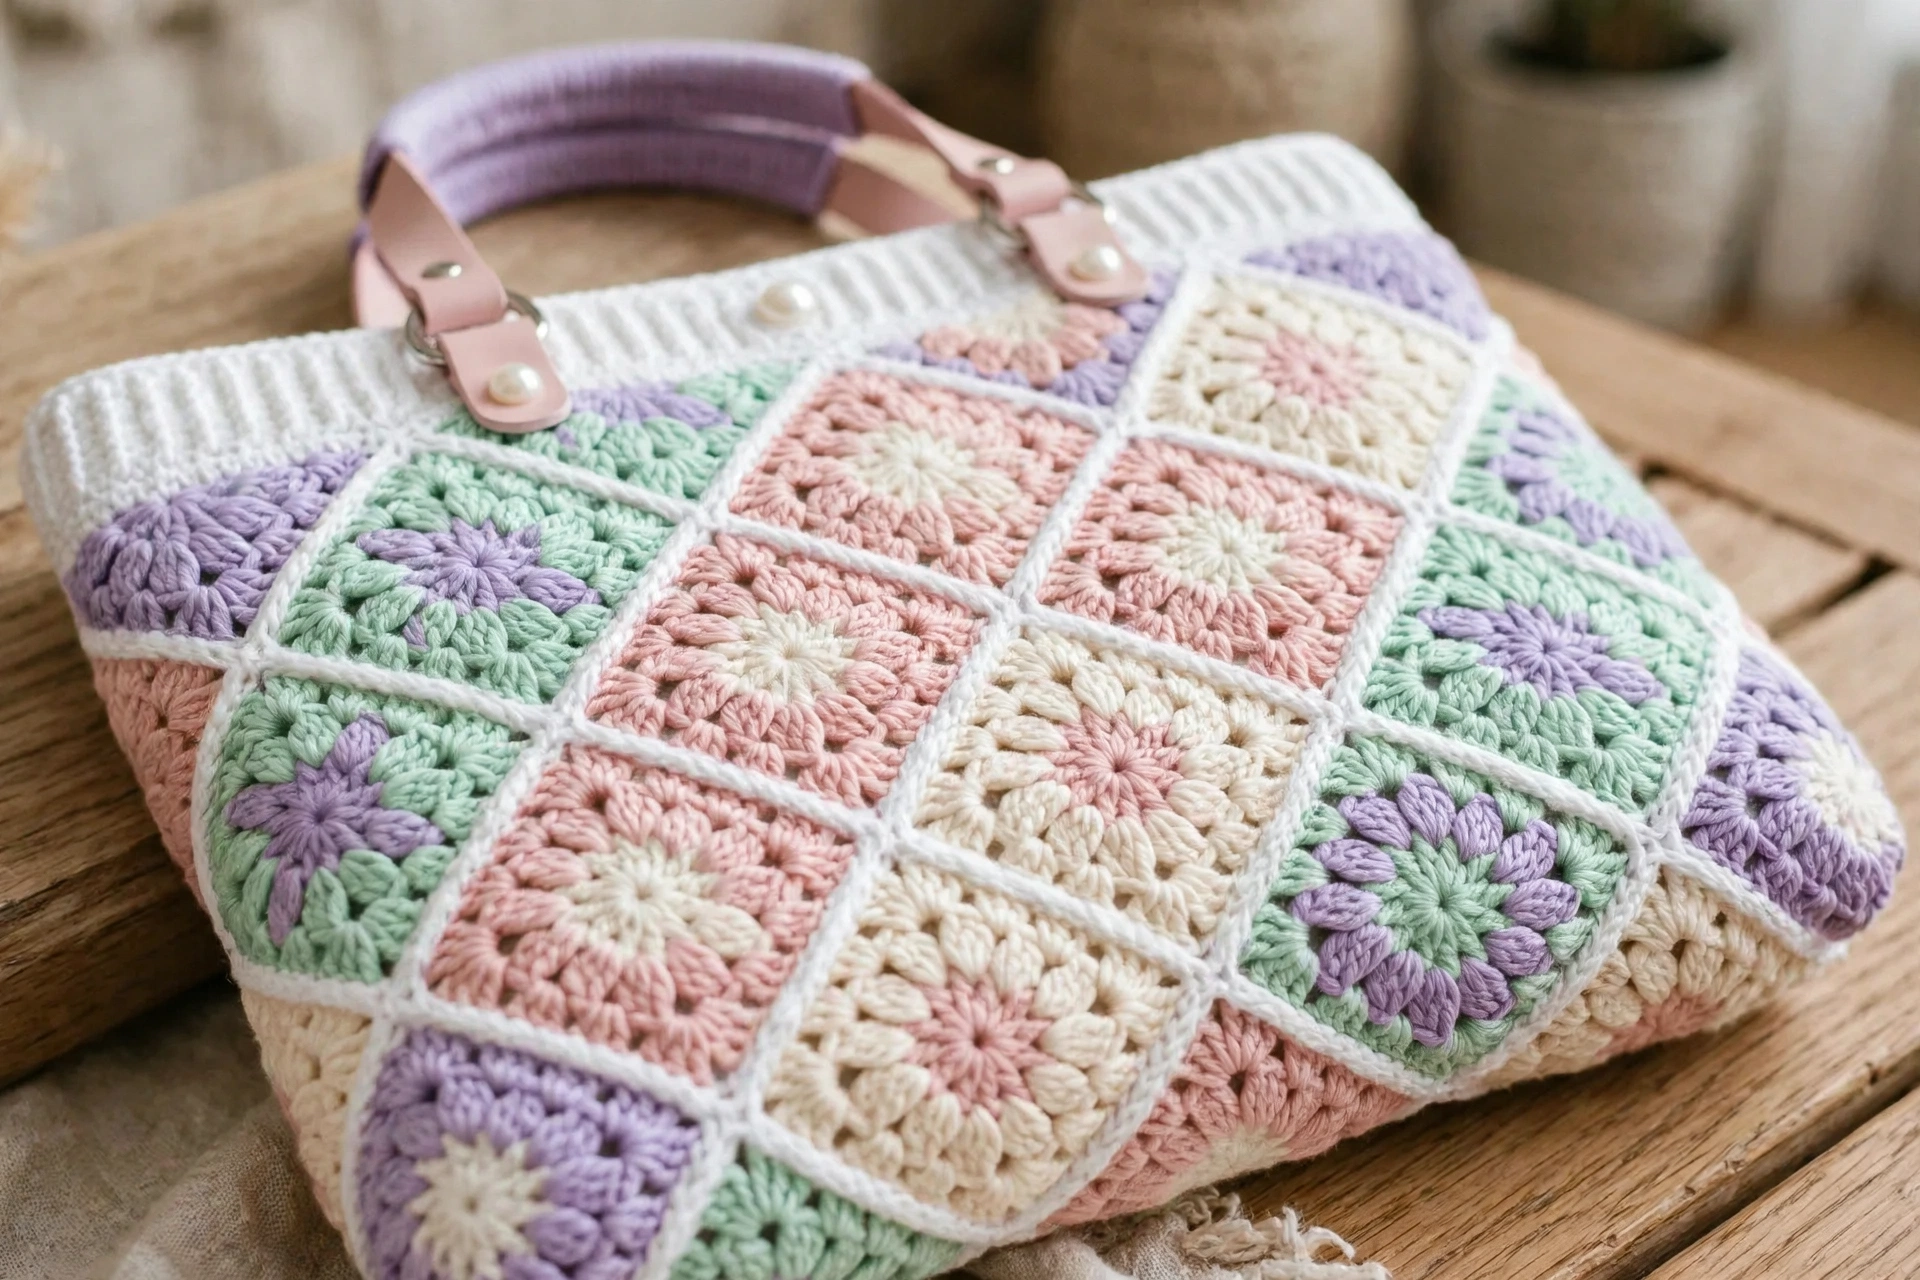
The whole trick here is setting classic granny squares at a 45-degree angle. Skip the basic grid and suddenly you’ve got this gorgeous diamond pattern sweeping across the front and back. The white border on every square keeps the lines clean so those pastel centers really pop.
And can we talk about the structure? With a plastic canvas insert at the bottom plus an optional fabric lining, this bag actually stands up on its own — zero floppy-tote syndrome. It looks polished enough for everyday wear.
Then there’s the ribbed top band, which adds such a professional finish. Finish it off with blush pink faux leather strap tabs, a lavender wrapped handle, and pearl button details — and you’ve got a bag you’ll reach for constantly.
Materials You Will Need
Pull out everything on this list before you start. Round up every supply before your hook touches yarn — it makes the whole make so much smoother.
Yarn (DK weight, light weight #3, cotton or cotton blend):
- Color A: White, approximately 180 yards (165 m)
- Color B: Lavender, approximately 80 yards (73 m)
- Color C: Mint Green, approximately 80 yards (73 m)
- Color D: Blush Pink, approximately 80 yards (73 m)
- Color E: Cream, approximately 80 yards (73 m)
Total yarn needed: approximately 500 yards (457 m)
Hook: US size E-4 (3.5 mm) crochet hook
Notions:
- Yarn needle for weaving ends
- Scissors
- 2 blush pink faux leather strap tabs, approximately 5 inches long by 0.75 inches wide, with pre-punched holes
- 4 silver rivet sets (2 per strap tab)
- 1 lavender wrapped rope handle, approximately 12 inches finished length, with D-rings at each end
- 2 silver D-rings, 0.75 inch
- 4 pearl shank buttons, approximately 0.5 inch (12 mm) diameter
- Stitch markers
- Tapestry needle
- Fabric lining (optional but recommended): 2 pieces cotton fabric 14 inches by 12 inches, plus 1 piece 4 inches by 12 inches for gusset
- Bag bottom stiffener: plastic canvas or foam board cut to 13 inches by 3 inches
- Sewing needle and thread to match lining
- Rivet setter tool
Yarn Suggestions:
Lion Brand 24/7 Cotton is a great pick for this project in Ecru, White, Lavender, Mint, and Blush. That 100% mercerized cotton keeps its shape and lets the granny square texture shine.
Another solid pick is Paintbox Yarns Simply DK — its acrylic-cotton blend has dependable yardage and crisp stitch definition.
You can also hold Scheepjes Catona (fingering or sport weight) double throughout for roughly the same DK gauge, with a huge range of pastel colorways to choose from.
Substitution tip: any smooth DK weight yarn with a tight twist will give you beautifully crisp stitches. Fluffy or hairy yarns will hide that open cluster texture. And if you want the bag to hold its shape with no stiffener, 100% cotton beats 100% acrylic.
Gauge
Gauge is a big deal on this one — the whole bag depends on all 32 squares coming out the same size.
Granny square gauge: One completed granny square (4 rounds) = 4 inches by 4 inches (10 cm by 10 cm), blocked.
Ribbing gauge: 16 single crochet (sc) by 20 rows = 4 inches by 4 inches (10 cm by 10 cm) in single crochet ribbing.
If your squares are larger than 4 inches, go down a hook size. If your squares are smaller than 4 inches, go up a hook size.
Finished Dimensions
- Bag body: approximately 13 inches wide by 11 inches tall (33 cm by 28 cm), excluding handles
- Top ribbed band: approximately 13 inches wide by 2 inches tall (33 cm by 5 cm)
- Overall height with handle loop: approximately 17 inches (43 cm)
- Depth (side gusset): approximately 3 inches (7.5 cm)
Skill Level and Time Estimate
This pattern sits at intermediate level. You’ll want to be confident with granny squares in the round, the join-as-you-go method, a diagonal layout, ribbing in rows, and attaching hardware like strap tabs, rivets, and buttons.
No advanced shaping here — but the assembly order and diagonal placement deserve your full attention.
Plan on 12 to 16 hours total for the squares, joining, ribbing, and finishing.
Abbreviations
Quick glossary before we dive in — every abbreviation, explained in plain English:
- beg: beginning
- ch: chain (wrap yarn over hook, pull through loop on hook)
- ch-sp: chain space (the gap created by chains in previous rows)
- dc: double crochet (yarn over, insert hook, pull up loop, yarn over, pull through 2 loops, yarn over, pull through remaining 2 loops)
- hdc: half double crochet
- rnd: round
- RS: right side
- sc: single crochet (insert hook, pull up loop, yarn over, pull through both loops)
- sk: skip
- sl st: slip stitch (insert hook, yarn over, pull through stitch and loop on hook)
- sp: space
- st(s): stitch(es)
- WS: wrong side
- yo: yarn over
- BLO: back loop only (insert hook under only the back loop of the stitch)
- FLO: front loop only
- JAYG: join-as-you-go
- 3dc-cl: 3 double crochet cluster (see special stitch below)
Special Stitches
3dc-cl (3 Double Crochet Cluster)
This little cluster is what builds the petal-and-flower-center texture in every square.
Step 1: Yarn over, insert hook into next stitch, yarn over, pull up a loop, yarn over, pull through 2 loops on hook (first dc incomplete, 2 loops remain on hook).
Step 2: Yarn over, insert hook into same stitch, yarn over, pull up a loop, yarn over, pull through 2 loops on hook (second dc incomplete, 3 loops remain on hook).
Step 3: Yarn over, insert hook into same stitch, yarn over, pull up a loop, yarn over, pull through 2 loops on hook (third dc incomplete, 4 loops remain on hook).
Step 4: Yarn over, pull through all 4 loops on hook. One 3dc-cl made.
Granny Corner
Work (3dc-cl, ch 2, 3dc-cl) all into the same corner ch-2-sp. That’s what makes the signature corner bump of each granny square.
JAYG Join (Join-As-You-Go)
When beginning a corner or side ch-2 on a new square that touches a finished square, replace the ch 2 with: ch 1, slip stitch into the corresponding ch-2-sp or joining point on the neighboring finished square, ch 1. This creates a flat, invisible seam between squares without sewing.
Important Pattern Notes
Give these a quick read before you start:
- Work every granny square in the round with the right side always facing — no turning at the end of rounds.
- In the finished bag the squares sit on the diagonal (rotated 45 degrees), so each one shows as a diamond when the bag stands upright.
- You’ll need 32 granny squares total: 12 for the front panel, 12 for the back panel, and 8 for the two side gussets (4 squares each side, in a vertical strip 1 square wide by 4 squares tall).
- Color assignment: Each granny square uses one pastel color (B, C, D, or E) for rounds 1 and 2, and Color A (White) for rounds 3 and 4.
- Chain-3 at the beginning of a round of double crochet counts as 1 dc throughout this pattern.
- Don’t skip blocking. Pin each wet square to a foam mat at exactly 4 inches by 4 inches and allow to dry completely. It makes JAYG joining so much easier and more accurate.
Granny Square Instructions (Make 32 Total)
Here’s how the pastel centers break down:
- 8 squares with Color B (Lavender) center
- 8 squares with Color C (Mint Green) center
- 8 squares with Color D (Blush Pink) center
- 8 squares with Color E (Cream) center
Round 1
Using your assigned pastel color, ch 4. Join with sl st to first ch to form a ring.
Ch 3 (counts as first dc). Work 2 incomplete dc into ring (the ch-3 serves as the first leg, so only 2 additional incomplete dc are needed before the final pullthrough). Yarn over, pull through all 3 loops. Ch 2. (3dc-cl into ring, ch 2) 3 times. Join with sl st to top of ch-3.
You now have 4 clusters and 4 ch-2 corner spaces.
Round 2
Sl st into first ch-2 corner sp. Ch 3 (counts as dc). Work 2 incomplete dc into same corner sp (to complete a 3dc-cl). Ch 2. 3dc-cl into same corner sp (first Granny Corner made). Ch 1. (Granny Corner in next ch-2 sp, ch 1) 3 times. Join with sl st to top of ch-3.
You now have 4 corners, 4 ch-1 side spaces, and 8 clusters total.
Round 3 (Switch to Color A, White)
Fasten off pastel color. Join Color A with sl st to any corner ch-2 sp.
Ch 3. Work 3dc-cl to complete first corner cluster. Ch 2. 3dc-cl into same sp (first corner made). Ch 1. 3dc-cl into next ch-1 side sp. Ch 1. (Granny Corner in next corner ch-2 sp, ch 1, 3dc-cl into ch-1 side sp, ch 1) 3 times. Join with sl st to top of ch-3.
You now have 4 corners, 8 side clusters, 16 clusters total, 4 corner ch-2 sps, and 8 ch-1 side sps.
Round 4 (Color A, White)
Continue with Color A. Ch 3. Complete first corner cluster. Ch 2. 3dc-cl into same sp (Granny Corner). Ch 1. (3dc-cl into next ch-1 sp, ch 1) twice. (Granny Corner in next corner ch-2 sp, ch 1, (3dc-cl into next ch-1 sp, ch 1) twice) 3 times. Join with sl st to top of ch-3.
You now have 4 corners with ch-2 sps, 12 side clusters, 3 clusters per side between corners, and 20 clusters total.
Fasten off, leaving a 6-inch tail for weaving. Block each square to 4 inches by 4 inches before assembly.
Checkpoint: Once all 32 granny squares are blocked, each should measure exactly 4 inches by 4 inches. Line several up side by side to confirm your sizing stays consistent before proceeding.
Color Layout for Front and Back Panels
For each panel (front and back), you’ll arrange 12 squares on the diagonal — a 4-column by 3-row diagonal grid. Count left to right and top to bottom in diagonal rows:
- Diagonal Row 1 (top of panel, 1 square): Color D (Blush Pink) or Color B (Lavender)
- Diagonal Row 2 (2 squares): Color B (Lavender), Color C (Mint Green)
- Diagonal Row 3 (3 squares): Color C (Mint), Color E (Cream), Color D (Blush)
- Diagonal Row 4 (3 squares): Color E (Cream), Color D (Blush), Color B (Lavender)
- Diagonal Row 5 (2 squares): Color D (Blush), Color C (Mint)
- Diagonal Row 6 (bottom, 1 square): Color B (Lavender) or Color E (Cream)
One rule: never let two same-color squares share an edge (corner-to-corner touches are fine). Treat this layout as a starting point and shuffle things around as you like.
For the side gussets, join 4 squares into a vertical column (1 square wide, 4 squares tall, also set on the diagonal), keeping the four pastel colors balanced across the 8 gusset squares.
Assembly: Joining Squares with JAYG
Step 1: Arrange all 32 blocked squares face-up on a flat surface in the final layout. Front panel: 12 squares. Back panel: 12 squares. Left gusset: 4 squares. Right gusset: 4 squares.
Step 2: Begin with the front panel. Join squares in diagonal rows from top to bottom. Work round 4 of each new square using the JAYG method at every shared edge.
Step 3: JAYG method in detail: When a square shares one edge with a finished neighbor, on round 4 of the new square, replace each ch 2 at a shared corner with ch 1, sl st into corresponding corner ch-2 sp of finished neighbor, ch 1. Replace each ch 1 at a shared side sp with sl st into corresponding ch-1 side sp of finished neighbor. Continue working round 4 on the new square normally on all other sides.
Step 4: When joining squares that share two edges (interior squares), work both shared edges using JAYG simultaneously during round 4.
Step 5: Complete the front panel, then the back panel (using the same layout, mirrored if desired), then each side gusset strip.
Step 6: Join the side gusset strips to the front panel. Hold one gusset strip against the right side edge of the front panel, matching corner ch-2 sps edge to edge. Using Color A and a yarn needle or crochet hook, sl st or sc through both layers along the shared edge. Repeat for the left gusset and both edges of the back panel.
Checkpoint: After assembly, the body of the bag (without the top band) should measure approximately 13 inches wide by 11 inches tall by 3 inches deep.
Top Ribbed Band
You’ll crochet the top band flat in BLO single crochet rows, then join it to the top of the finished bag. The result is ribbing with lovely horizontal ridges.
The total top opening circumference is approximately 32 inches.
Band Instructions
Foundation chain: Ch 9.
Row 1 (RS): Sc in 2nd ch from hook and in each ch across. Turn. (8 sc)
Row 2 (WS): Ch 1, sc in BLO of each st across. Turn. (8 sc)
Repeat Row 2 until the strip measures 32 inches (81 cm) in length, or long enough to encircle the top opening of your assembled bag.
At approximately 32 inches, the strip will require approximately 160 rows at the stated row gauge.
Fasten off, leaving a long tail for seaming.
Joining the Band
Fold the strip in half along its length (meeting the two short ends) and sl st the short ends together to form a continuous loop. Attach the band to the top edge of the assembled bag by holding the band with its seam aligned with a side gusset seam, right sides together, and working sc through both the band edge and the top edge of the bag all the way around. Adjust spacing evenly.
Checkpoint: After attaching the top band, the total bag height (body plus band) should measure approximately 13 inches. The band should stand upright and fold over cleanly without bunching.
Finishing Steps
Strap Tab Attachment
Position one faux leather strap tab on the front of the bag, centered horizontally, with the tab’s lower edge touching the upper edge of the crochet body. The tab itself lies against the white ribbed band. Using the rivet setter tool, attach the tab through the bag band and the pre-punched holes in the leather tab. Attach a second rivet approximately 0.5 inch above the first. Repeat for the second strap tab on the back of the bag.
Handle Attachment
Thread the D-ring end of the lavender wrapped rope handle through the slot or ring at the top of each strap tab (front and back). That gives you a short handle loop sitting over the top opening.
Pearl Button Attachment
Sew one pearl button to the center front of the ribbed band, approximately 1 inch from the top edge of the band, centered horizontally. Sew a second pearl button to the center back in the same position. They’re purely decorative. If you want a functional closure, work a ch-5 button loop on the inside facing band edge aligned with the buttons.
Lining (Recommended)
Cut two lining pieces: 14 inches by 12 inches each for front and back. Cut two side gusset lining pieces: 4 inches by 12 inches each. Cut one bottom lining piece: 14 inches by 4 inches.
With right sides together, sew the lining pieces together using a 0.5-inch seam allowance. Attach the bottom piece. Keep the top open. Slip the plastic canvas bottom stiffener between the bag base and the lining before closing. Insert the lining into the bag, wrong side of lining against wrong side of crochet. Fold the top edge of the lining under by 0.5 inch and hand-sew the folded edge to the inside of the top band using a whip stitch.
Weave in all yarn ends securely.
Blocking Your Finished Bag
Wet-block all 32 squares one by one before assembly. Dunk each in cool water, press out the excess in a towel, and pin to a foam mat at exactly 4 inches by 4 inches. Let them dry fully.
Once the bag is assembled and finished, give the outside a light spritz of cool water, stuff it with plastic bags or a towel to hold the rectangular shape, and let it dry flat.
Do not steam-block faux leather hardware or pearl buttons.
Size Customization Tips
Smaller bag (approximately 10 inches by 8.5 inches): Use 3-round granny squares instead of 4-round squares. Each 3-round square will measure approximately 3 inches by 3 inches.
Larger tote (approximately 16 inches by 14 inches): Add a round 5 to every granny square, following the same increase pattern. Each square will measure approximately 5 inches by 5 inches. Increase the number of squares per panel to 4 columns by 4 rows (16 squares per panel).
Adjusting depth: Add or remove 1 square per gusset strip to increase or decrease the bag depth by 4 inches per square.
Care Instructions
Wash it by hand in cool water with a gentle yarn-safe detergent — no wringing. Dry it flat, shaping it over a bag form if you like. Machine wash only if every yarn label says it’s safe, and skip the tumble dryer. Keep the iron away from the faux leather tabs and pearl buttons. Store it stuffed with tissue paper so it holds its shape.
You Did It!
Thanks for stitching this Pastel Spring Granny Square Purse with me! I hope it becomes your new favorite carry. There’s just something about those diagonal squares — and with those hardware details, it’s gone from weekend project to true wardrobe staple.