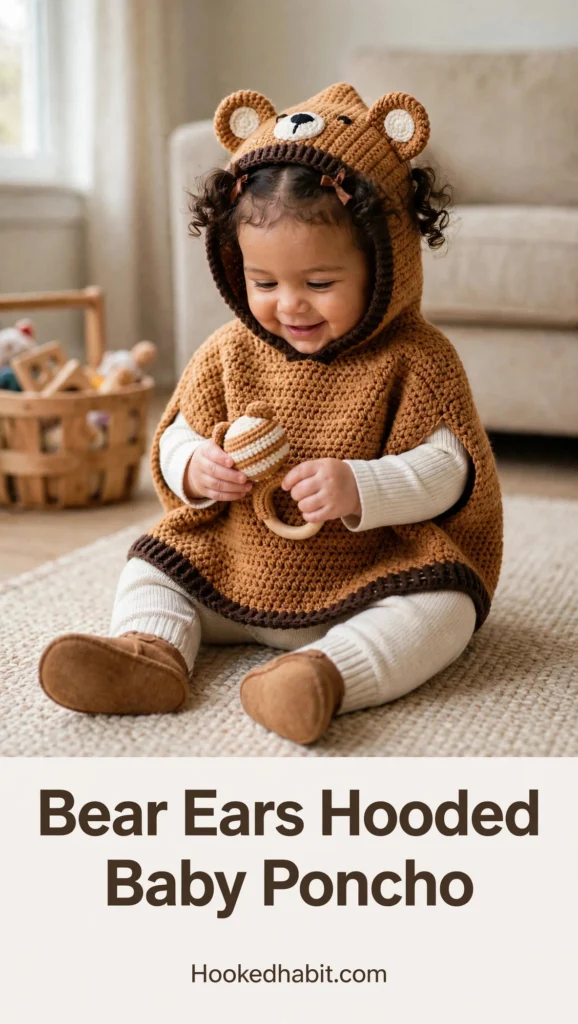
There’s nothing that melts my heart quite like a cozy little baby all bundled up in something handmade. Around our house, this one earned the nickname “Little Bear,” and its page in my project notebook is soft with use and covered in little sketches. A while back, a friend asked if I could make something special for her grandson’s first fall season — something cozy and sweet that he could wear again and again, not just once. I grabbed my old notebook, the one covered in notes and little yarn samples, and started sketching tiny bear ears on top of a simple hood shape. And here we are!
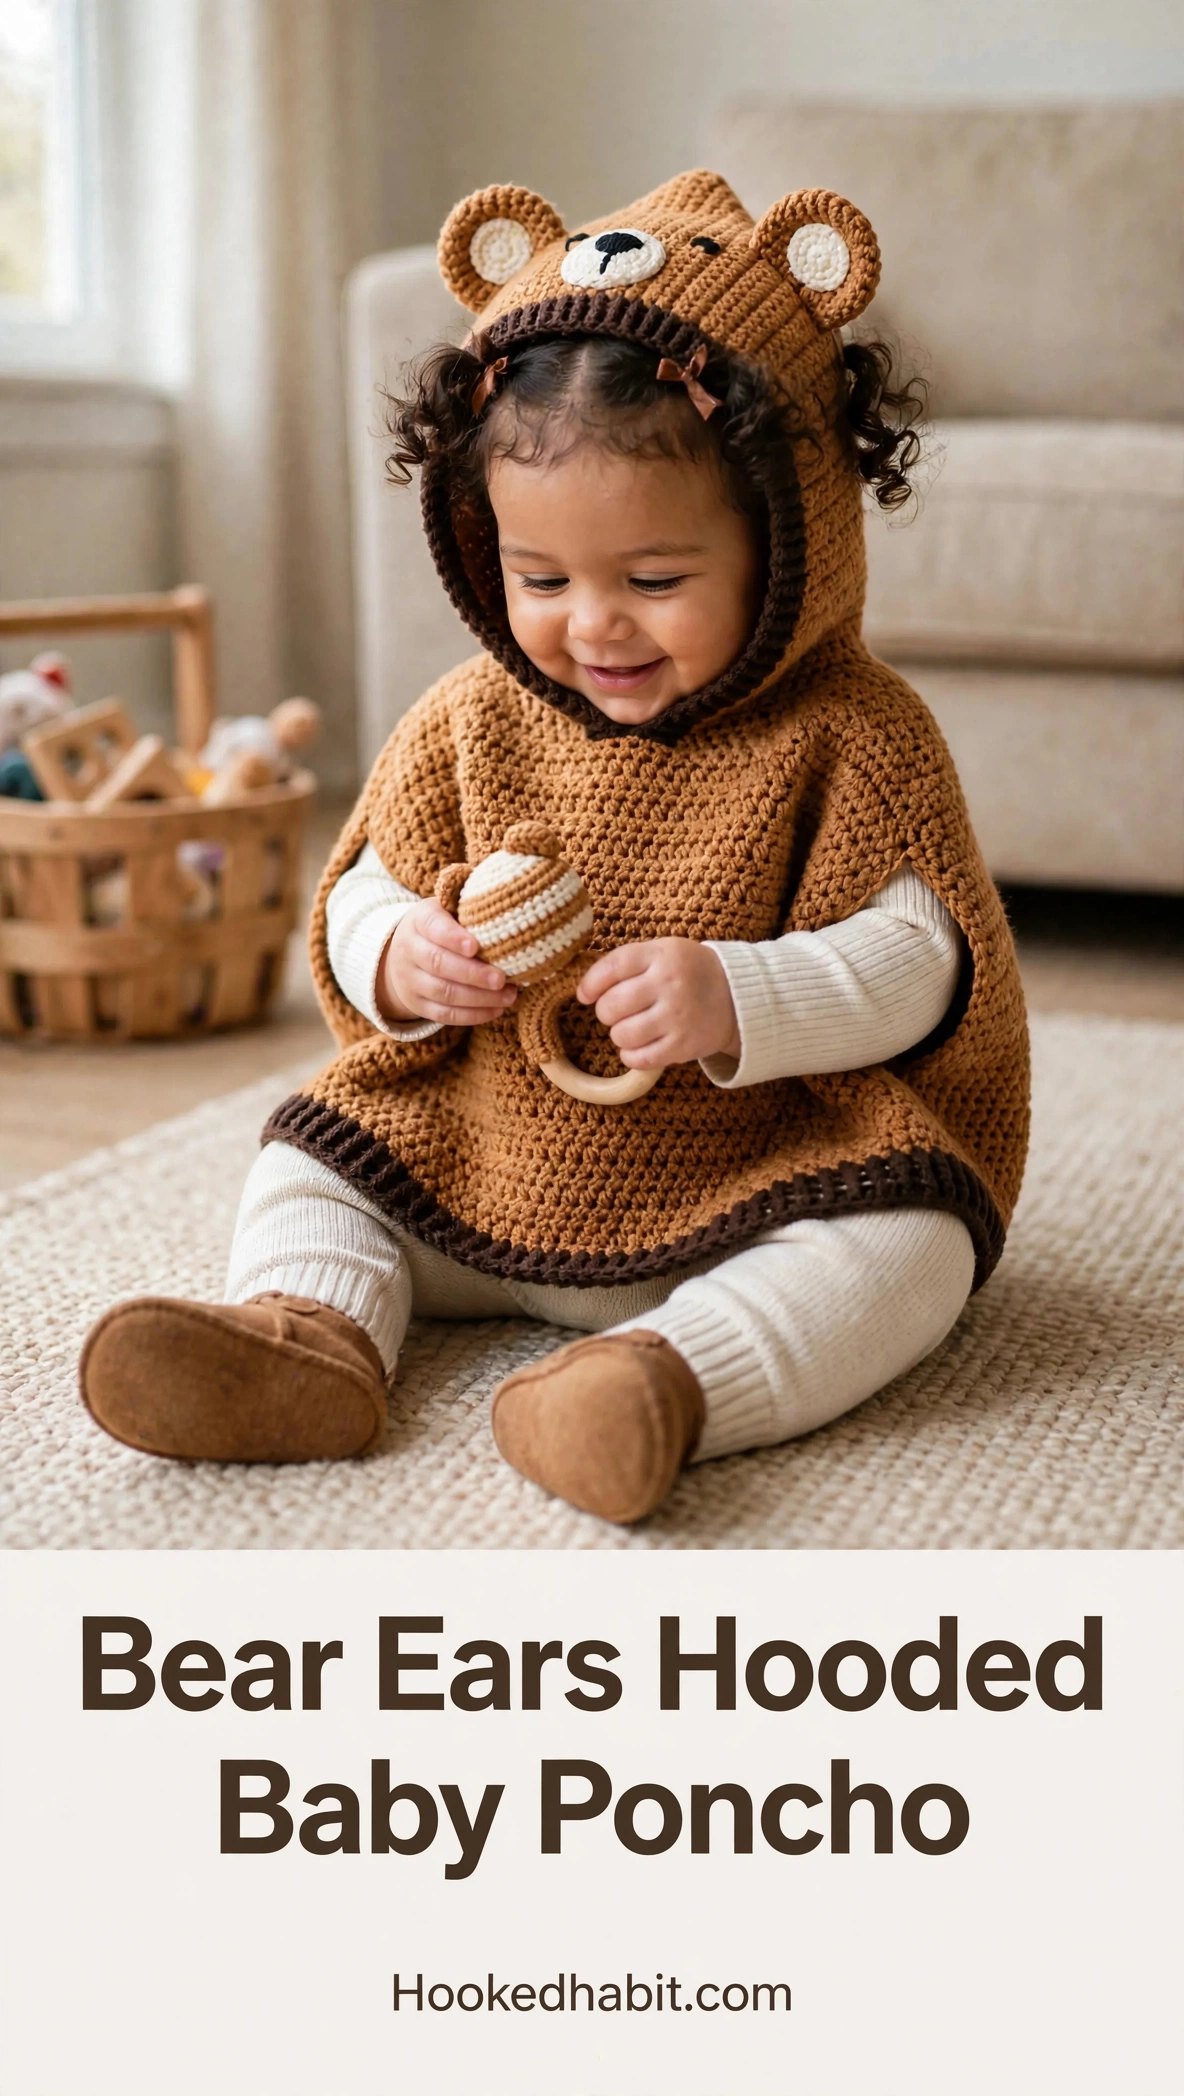
There is nothing cozier than wrapping your little one in something handmade, and this hooded baby poncho does just that — while turning them into the sweetest little bear you ever did see. It is all simple single crochet, with a clever four-corner increase trick that lets the body flare out just right. If you can crochet a rectangle and work in the round, this project is absolutely within your reach.
Why This Bear Poncho Works So Well
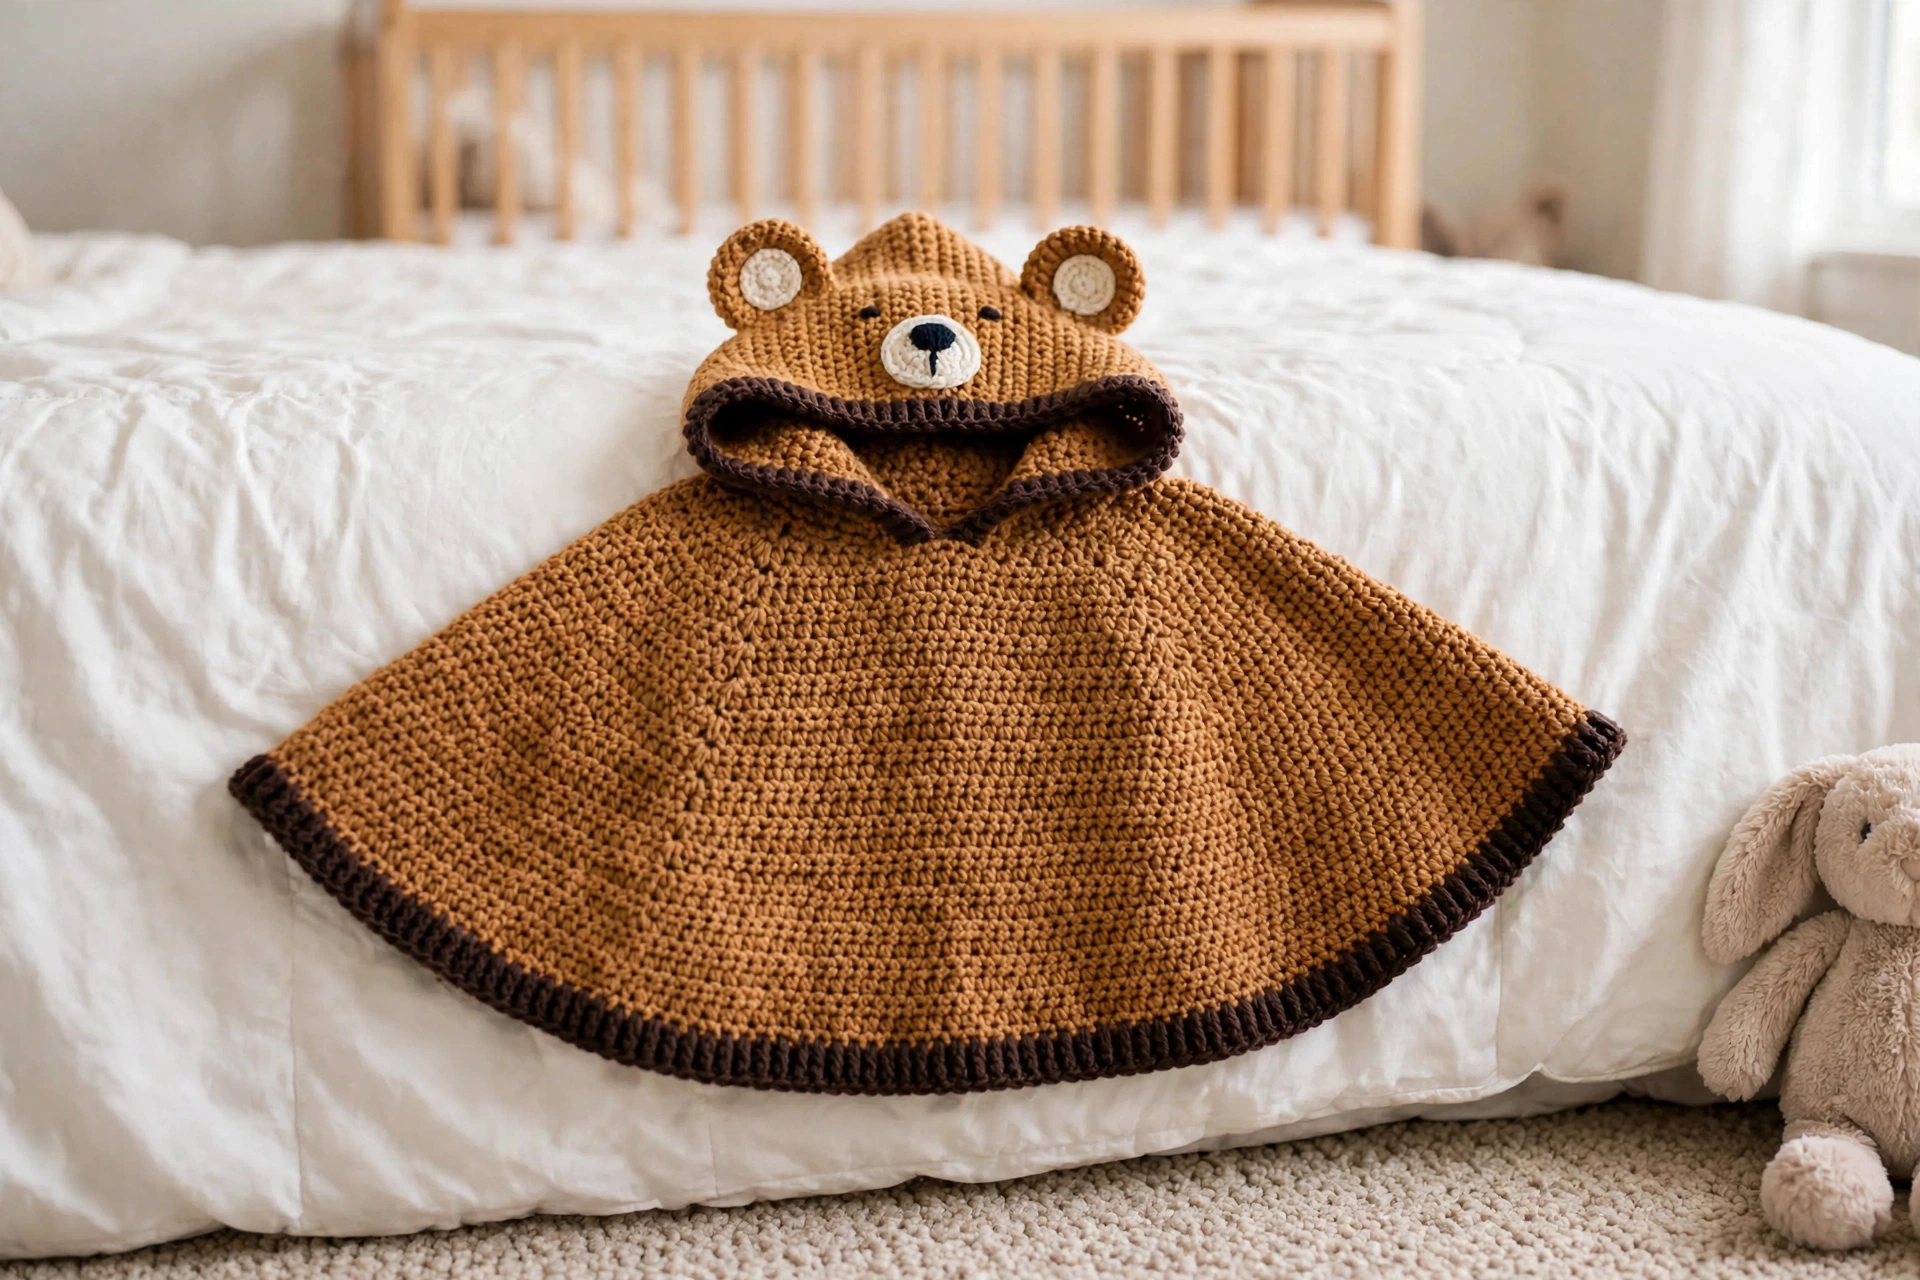
The construction is cleverer than it looks, friend. You begin with the hood, which is simply a flat rectangle folded and seamed at the top — no fussy shaping, no short rows, no head-scratching decreases. Then you pick up stitches along the neck edge and work the poncho body downward in rounds, where four increase points create that lovely trapezoid shape that drapes over tiny shoulders without a bit of bunching or pulling.
Working the whole piece in single crochet (sc) gives the fabric wonderful structure and warmth. This is no lacy, drapey poncho — it is a cozy, sturdy wrap that will keep a baby truly warm on chilly days. That dense fabric also helps the bear ears stand up proud and gives the embroidered face a smooth little canvas.
And those ears are the sweetest part — simple circles with a contrasting inner-ear detail, folded and stitched into a darling little cup shape. The face is nothing more than basic embroidery, nothing fancy at all, but oh, the effect is pure charm.
Skill Level
I would call this one an intermediate pattern. You will want to be comfortable working in the round, joining rounds, increasing evenly, and switching colors for the edging — plus shaping a curved hood, working a flat increase sequence, and adding a bit of basic embroidery.
If you are a confident beginner ready to stretch your wings, this is a lovely next step. The stitches themselves are nice and simple — the real fun is keeping track of your increases and following the construction in order.
Finished Measurements
This pattern is written for size 6 to 12 months.
-
Hood circumference at face opening: approximately 14 inches (35.5 cm)
-
Hood depth from front to back: approximately 7 inches (18 cm)
-
Poncho width at hem when laid flat: approximately 18 inches (45.5 cm)
-
Poncho length from back of hood neck to hem: approximately 11 inches (28 cm)
I have included size customization tips at the end if you need to go smaller or larger.
Materials You Will Need
Yarn:
-
Yarn A (Main Color): Medium weight (Category 4) yarn in warm caramel brown, approximately 350 to 400 yards (320 to 365 meters)
-
Yarn B (Contrast Color): Medium weight (Category 4) yarn in dark chocolate brown, approximately 50 to 60 yards (45 to 55 meters)
-
Yarn C (Accent Color): Medium weight (Category 4) yarn in off-white or cream, approximately 15 yards (14 meters)
-
Small amount of black yarn or embroidery floss for face details
Hooks:
-
US size J-10 (6.0 mm) for main fabric
-
US size I-9 (5.5 mm) for edging, optional if your edging pulls tight
Notions:
-
4 stitch markers
-
Yarn needle for seaming and embroidery
-
Scissors
Yarn Suggestions
Look for a smooth, machine-washable Category 4 yarn in warm brown tones for the main color — something soft and cozy that will keep a little one comfortable. A classic 100% acrylic, machine-washable yarn in honey and chocolate tones works beautifully and makes this an easy-care garment for busy parents.
If you prefer a slightly loftier fabric, a DK yarn held double behaves as Category 4 and achieves gauge with the J-10 hook.
I would steer clear of highly textured or fuzzy yarns like boucle or mohair blends, since you need clear stitch definition for the shaping to show properly. For a baby garment, a smooth, machine-washable fiber is the way to go.
Gauge
16 sc x 18 rows = 4 inches (10 cm) in single crochet, worked in rows, using Yarn A and US J-10 (6.0 mm) hook, blocked.
Gauge matters here. The hood needs to fit a baby’s head snugly and comfortably. Before you begin, crochet a gauge swatch of at least 20 stitches by 22 rows. Block it the way you plan to block the finished poncho. Measure only the interior stitches, not the edges.
Row gauge counts just as much as stitch gauge here, since it sets both the hood depth and the poncho length. If your swatch is too small, go up a hook size. If it is too large, go down.
Abbreviations
-
ch: chain
-
sc: single crochet (insert hook, yarn over, pull up a loop, yarn over, pull through both loops)
-
sl st: slip stitch
-
inc: increase (work 2 sc into the same stitch)
-
sc2tog: single crochet two together (insert hook into next stitch, yarn over, pull up a loop, insert hook into following stitch, yarn over, pull up a loop, yarn over and pull through all 3 loops)
-
st(s): stitch(es)
-
rnd: round
-
RS: right side
-
WS: wrong side
-
pm: place marker
-
rem: remaining
-
rep: repeat
-
MC: main color (Yarn A)
-
CC1: contrast color 1 (Yarn B, dark brown)
-
CC2: contrast color 2 (Yarn C, off-white)
Special Stitches
Surface Slip Stitch Edging
With right side facing and a new length of CC1, insert your hook through the fabric from front to back at your starting point. Draw up a loop of CC1. Working from right to left along the edge, insert your hook through the next stitch or row end, yarn over with CC1, and draw through both the fabric and the loop on your hook. Continue this way to create a clean surface chain along the edge. Fasten off and weave in ends.
Pattern Instructions
Section 1: The Hood
The hood is worked flat in rows, then folded and seamed at the top to create the rounded crown.
Foundation: Using Yarn A and J-10 hook, chain 57.
Row 1 (RS): Sc in 2nd ch from hook and in each ch across. Turn. (56 sc)
Rows 2 through 32: Ch 1, sc in each st across. Turn. (56 sc)
Fasten off, leaving a long tail of at least 18 inches for seaming.
Checkpoint: Your hood piece should be a rectangle measuring approximately 14 inches wide by 7 inches tall. If your measurements are significantly off, check your gauge before continuing.
Hood Assembly
Fold the rectangle in half so that the short ends (Row 1 edge and the fastened-off edge) meet at the top. You now have a folded piece approximately 7 inches wide and 7 inches tall. The fold at the bottom forms the back of the hood. The two open short ends meeting at the top will become the crown.
Using the long tail and your yarn needle, whip stitch across the top edge where the two short ends meet. This seam forms the crown of the hood. Fasten off and weave in all ends securely.
The long open edge is the back neckline. The curved top is the rounded crown. The open face-shaped edge is the front of the hood, which will receive CC1 edging later.
Section 2: The Poncho Body
The body is worked by picking up stitches along the bottom neck edge of the completed hood, then working outward in rounds with four increase points to create a flat, expanding poncho.
Picking Up Stitches:
With RS facing, join Yarn A with sl st to the bottom-left corner of the neck opening.
Setup Round: Ch 1, work 56 sc evenly around the entire neck opening edge (28 sc across the front panel of the hood, 28 sc across the back panel). Sl st to first sc to join. Do NOT turn. (56 sc)
Marker Placement: Place a stitch marker in st 1, st 15, st 29, and st 43. These are your four corner increase points. In every increase round, you will work inc in the stitch before each marker and inc in the stitch after each marker. After each round, move markers to the center stitch of the increase group.
Poncho Body Rounds
Round 1: Ch 1, turn. Sc in each st to 1 st before first marker, inc in next st, sc in marked st, inc in next st, [sc in each st to 1 st before next marker, inc in next st, sc in marked st, inc in next st] 3 times, sc in each rem st, sl st to first sc to join. (64 sc)
Round 2: Ch 1, turn. Sc in each st to 1 st before first marker, inc, sc in marked st, inc, [sc to 1 st before next marker, inc, sc in marked st, inc] 3 times, sc in each rem st, sl st to join. (72 sc)
Round 3: Repeat increase pattern. (80 sc)
Round 4: Repeat increase pattern. (88 sc)
Round 5: Repeat increase pattern. (96 sc)
Round 6: Repeat increase pattern. (104 sc)
Round 7: Repeat increase pattern. (112 sc)
Round 8: Repeat increase pattern. (120 sc)
Round 9: Repeat increase pattern. (128 sc)
Round 10: Repeat increase pattern. (136 sc)
Round 11: Repeat increase pattern. (144 sc)
Round 12: Repeat increase pattern. (152 sc)
Round 13: Repeat increase pattern. (160 sc)
Round 14: Repeat increase pattern. (168 sc)
Round 15: Repeat increase pattern. (176 sc)
Round 16: Repeat increase pattern. (184 sc)
Round 17: Repeat increase pattern. (192 sc)
Round 18: Repeat increase pattern. (200 sc)
Do not fasten off yet.
Checkpoint: After Round 18, the poncho should measure approximately 10 to 11 inches from the base of the hood to the current working edge when laid flat.
Section 3: Hem Border
Fasten off Yarn A. Join CC1 with sl st to any stitch.
Hem Border Round 1: Ch 1, sc in each st around, sl st to first sc to join. (200 sc)
Hem Border Rounds 2 and 3: Ch 1, sc in each st around, sl st to join. (200 sc each round)
After 3 total border rounds in CC1, fasten off. Weave in ends.
Section 4: Face Opening Edging
With RS facing the front of the hood, join CC1 with sl st at the bottom-right corner of the face opening.
Work surface slip stitches along the entire face opening edge, working from right to left around the curved opening. Work approximately 1 sl st per row end along the sides and 1 sl st per stitch along the top. Adjust spacing as needed to keep the edge flat without puckering. Fasten off and weave in ends.
Section 5: Bear Ears (Make 2)
Each ear has two layers: an outer ear in Yarn A and an inner ear circle in CC2.
Outer Ear (Make 2, in Yarn A):
Using Yarn A and J-10 hook, make a magic ring.
Rnd 1: 6 sc into ring, sl st to first sc to join. (6 sc)
Rnd 2: Ch 1, inc in each st around, sl st to join. (12 sc)
Rnd 3: Ch 1, [sc in next st, inc in next st] 6 times, sl st to join. (18 sc)
Rnd 4: Ch 1, [sc in next 2 sts, inc in next st] 6 times, sl st to join. (24 sc)
Rnd 5: Ch 1, sc in each st around, sl st to join. (24 sc)
Fasten off, leaving a long tail for sewing.
Inner Ear Circle (Make 2, in CC2):
Using CC2 and J-10 hook, make a magic ring.
Rnd 1: 6 sc into ring, sl st to join. (6 sc)
Rnd 2: Ch 1, inc in each st around, sl st to join. (12 sc)
Rnd 3: Ch 1, [sc in next st, inc in next st] 6 times, sl st to join. (18 sc)
Fasten off, leaving a tail for sewing.
Ear Assembly:
Center one CC2 inner circle on top of one Yarn A outer ear, both right sides facing up. Using the CC2 tail and yarn needle, whip stitch the inner circle to the outer ear around its entire perimeter. Repeat for the second ear.
Fold each completed ear in half along its diameter, outer ear facing out. Whip stitch the flat base closed for 4 to 5 stitches to create a slight cup shape. Leave the center base open so the ear can be sewn flat onto the hood.
Ear Placement:
Position both ears on top of the hood, approximately 1.5 inches from the crown seam, centered between the middle of the hood and each side. The base of each ear should sit approximately 1 inch apart from the crown seam. Pin in place and check symmetry before sewing. Using Yarn A and yarn needle, whip stitch each ear firmly to the hood. Fasten off and weave in ends.
Section 6: Face Embroidery
Work all face embroidery with black yarn or embroidery floss on the front panel of the hood.
Eyes: Position two eyes approximately 2 inches apart, centered horizontally, and approximately 2.5 inches down from the crown seam. Make small, tight satin stitch ovals approximately 0.5 inches wide.
Nose: Center the nose approximately 1 inch below the eyes. Work a small inverted triangle in satin stitch, approximately 0.75 inches wide at the base.
Smile: From the bottom center of the nose, embroider a small curved backstitch smile approximately 0.5 inches on each side.
Size Customization Tips
For 12 to 18 months: Chain 61 (work 60 sts). Work 36 rows for the hood. Work 20 increase rounds for the body.
For 18 to 24 months: Chain 65 (work 64 sts). Work 40 rows for the hood. Work 22 increase rounds for the body.
For 0 to 6 months: Chain 53 (work 52 sts). Work 28 rows for the hood. Work 16 increase rounds for the body.
Finishing and Blocking
Weave in all remaining yarn ends securely, going in at least two directions through the fabric.
Fill a basin with lukewarm water and submerge the poncho completely. Gently squeeze water through the fabric. Do not wring or twist. Lift the poncho out supporting its full weight, squeeze out excess water, and roll in a clean dry towel.
Lay flat on a blocking mat or dry towel. Shape the hood to its correct rounded form and smooth the poncho body outward evenly. Allow to dry completely before moving.
Care Instructions
Machine wash cold on a gentle cycle in a mesh laundry bag. Lay flat to dry. Do not tumble dry if using acrylic. Do not bleach or dry clean.
A Few Final Tips
Take your time placing those ears. I always pin them on and step back for a good look before sewing a single stitch — good symmetry makes all the difference in how polished the finished poncho looks.
Do not fret over the face embroidery — it is very forgiving. If embroidery is not your favorite, keep the features simple; even two tiny dots for eyes and a little triangle nose will look utterly adorable.
And please do not stress about perfect stitch counts. If you are off by a stitch or two at the end of a round, it truly will not show — this poncho is wonderfully forgiving thanks to that dense single crochet fabric.
Thank you ever so much for choosing this pattern — happy crocheting!



