Introduction
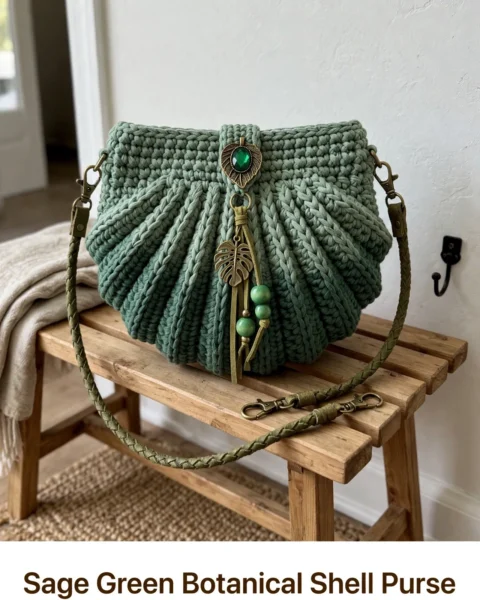
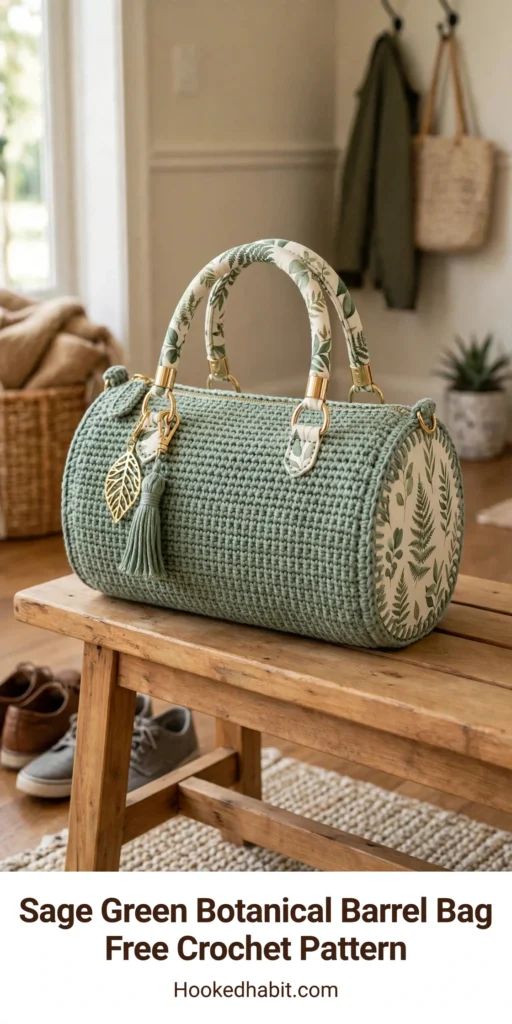
Stop everything — this is the bag you are making next. If you’ve been hunting for a handbag that actually keeps its shape, looks straight out of a boutique window, and still works up with nothing fancier than single crochet, the Sage Green Botanical Barrel Bag is your moment. This design is tailor-made for confident beginners who are ready to level up from flat projects to their very first structured accessory. That barrel shape holds way more than you’d guess, the handles get a chic fabric wrap, and the botanical end panels deliver the fresh, garden-inspired look everyone is obsessed with right now. Make one for yourself, then immediately start a second — this is gift gold, and it comes together faster than you’d ever expect.
About This Barrel Bag Pattern
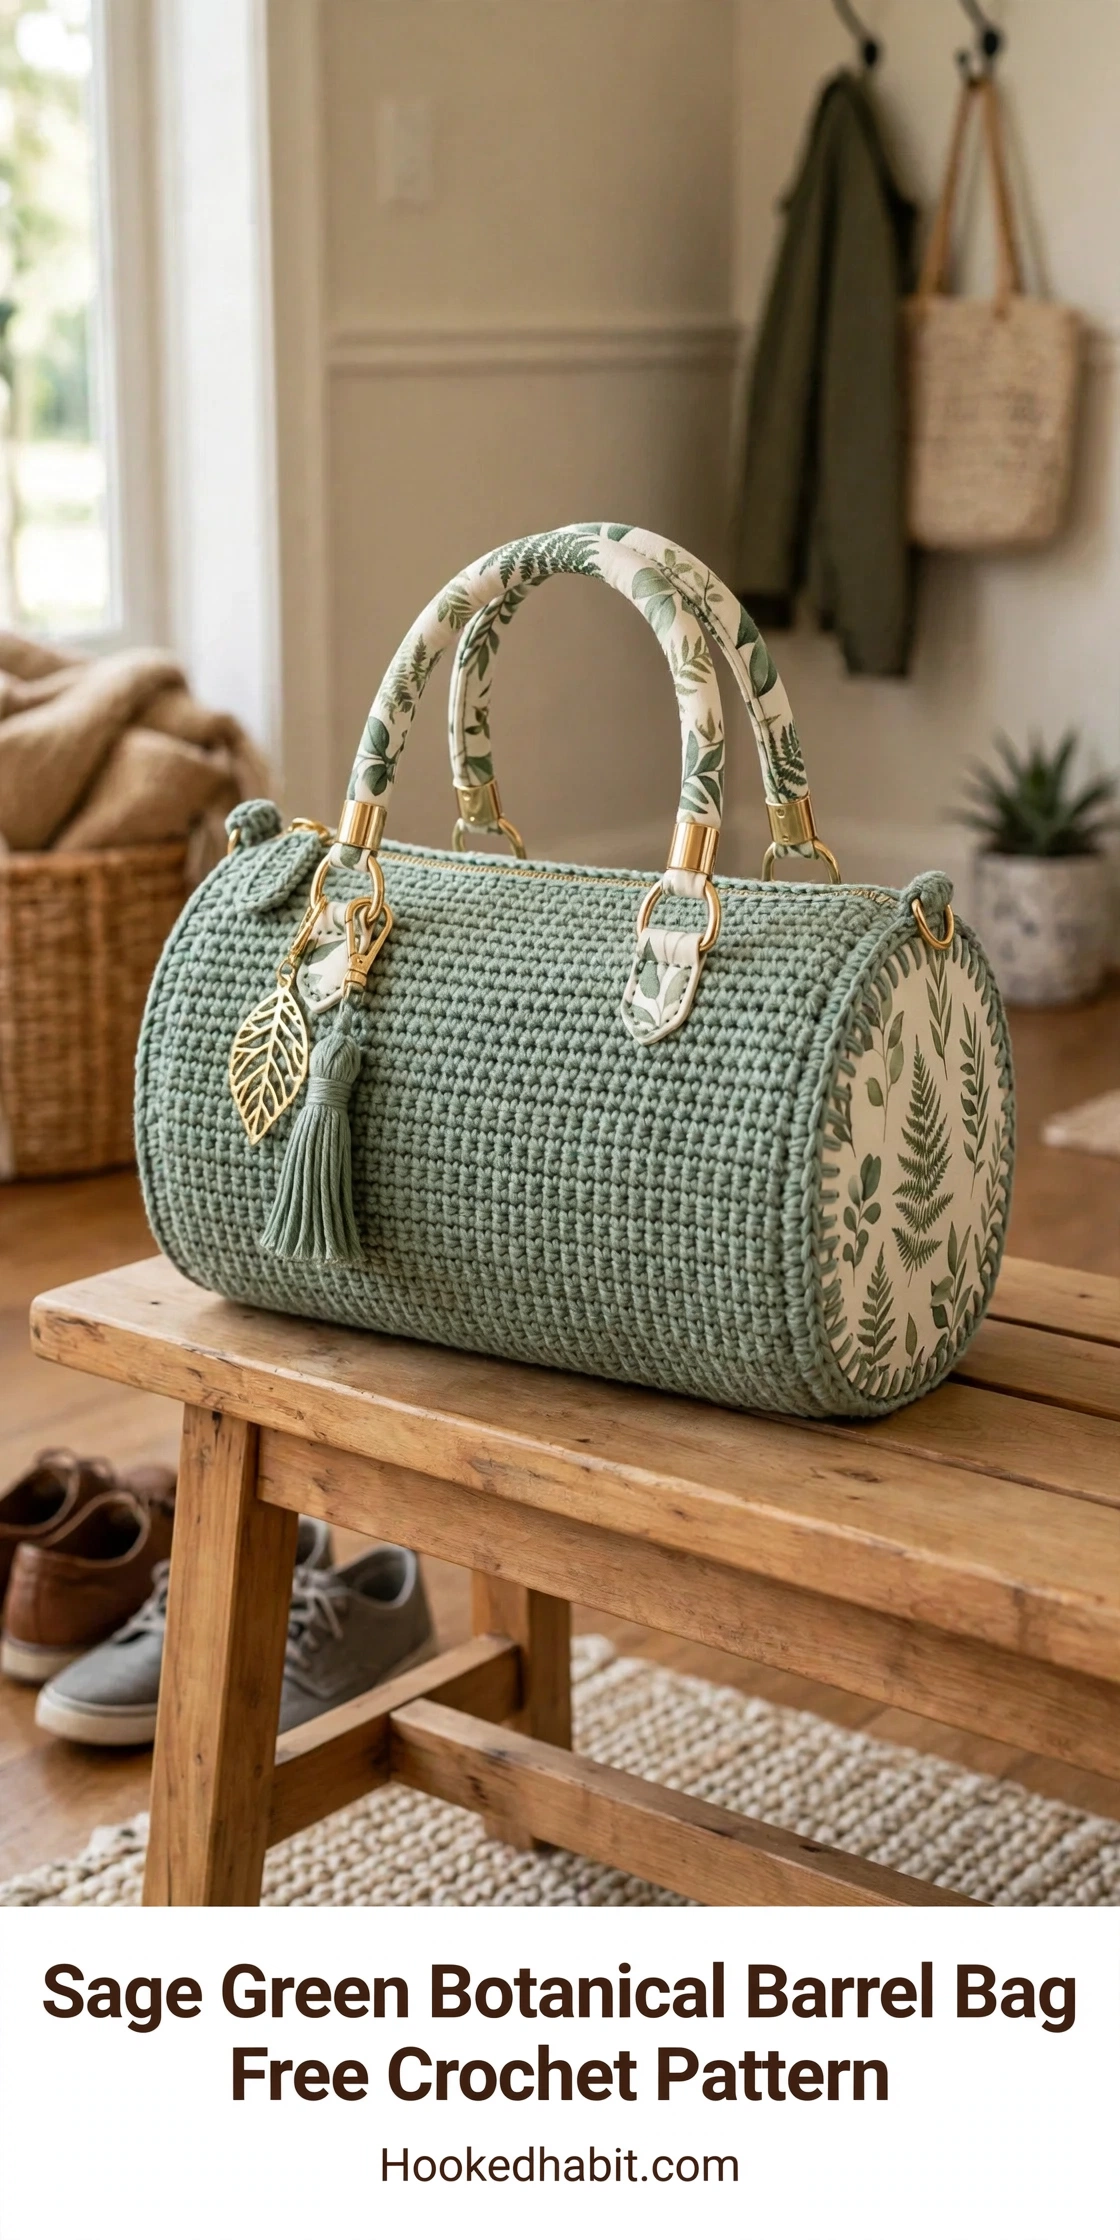
Here’s the deal: this whole purse is worked in continuous rounds, so you never join at the end of a round and there’s no seam line sneaking down your work. You crochet the body first, then make two circular end panels and stitch them in place. The payoff is a structured, boutique-worthy bag that looks like it cost a fortune. The textured crochet body paired with botanical fabric end panels is such a killer combo — and once you add the fabric-wrapped handles, gold hardware, a secure zipper closure, plus a tassel and leaf charm, you’ve got a genuine statement piece.
Skill level: confident beginners through intermediate crocheters. If single crochet in the round and basic increases are in your toolkit, you are one hundred percent ready for this one.
Materials You Will Need
You know the drill — pull everything out before your hook touches yarn. It makes the whole project run so much smoother. Here’s the full rundown:
Yarn:
- DK weight or light worsted cotton yarn, 350 to 450 yards total
- The sample uses a beautiful sage green, but this pattern looks gorgeous in any solid color
Hook:
- 4.0 mm crochet hook (US G/6)
Notions and Hardware:
- 12 inch (30 cm) zipper
- Fabric for lining the interior
- Fabric for wrapping the handles (botanical print recommended)
- Two bag handles with hardware
- Decorative tassel and charm (optional but lovely)
- Tapestry needle for weaving ends and sewing pieces together
- Scissors
- Stitch marker
Gauge:
18 single crochet stitches and 20 rounds equals 4 inches (10 cm) square
Don’t skip the swatch, I know it’s tempting. Five minutes with your hook now beats finding out later that your bag is a totally different size than planned. Coming in with too many stitches per inch? Size up your hook. Too few? Size down.
Stitch Guide and Abbreviations
Everything here uses US crochet terms. Here’s your quick cheat sheet for every stitch and abbreviation in this pattern:
ch = chain. Wrap yarn over hook and pull through the loop on your hook. This creates one chain stitch.
sl st = slip stitch. Insert hook into stitch, yarn over, and pull through both the stitch and the loop on your hook in one motion. Used for joining and moving yarn position.
sc = single crochet. Insert hook into stitch, yarn over and pull up a loop (2 loops on hook), yarn over and pull through both loops. This is your main stitch for the entire bag.
inc = increase. Work 2 single crochet stitches into the same stitch. This adds one stitch to your count.
dec = decrease. Insert hook into next stitch and pull up a loop, insert hook into following stitch and pull up a loop (3 loops on hook), yarn over and pull through all 3 loops. This removes one stitch from your count.
BLO = back loop only. Instead of inserting your hook under both loops at the top of a stitch, insert it under only the back loop (the one farther from you).
MR = magic ring. Also called magic circle or adjustable ring. This technique creates a tight, closed center for working in the round.
A quick note for my left-handed makers: feel free to mirror your work’s orientation. The stitch counts stay exactly the same, so just follow along as written.
Pattern Instructions
Okay, the fun part — let’s hook this bag into existence!
Body of the Bag
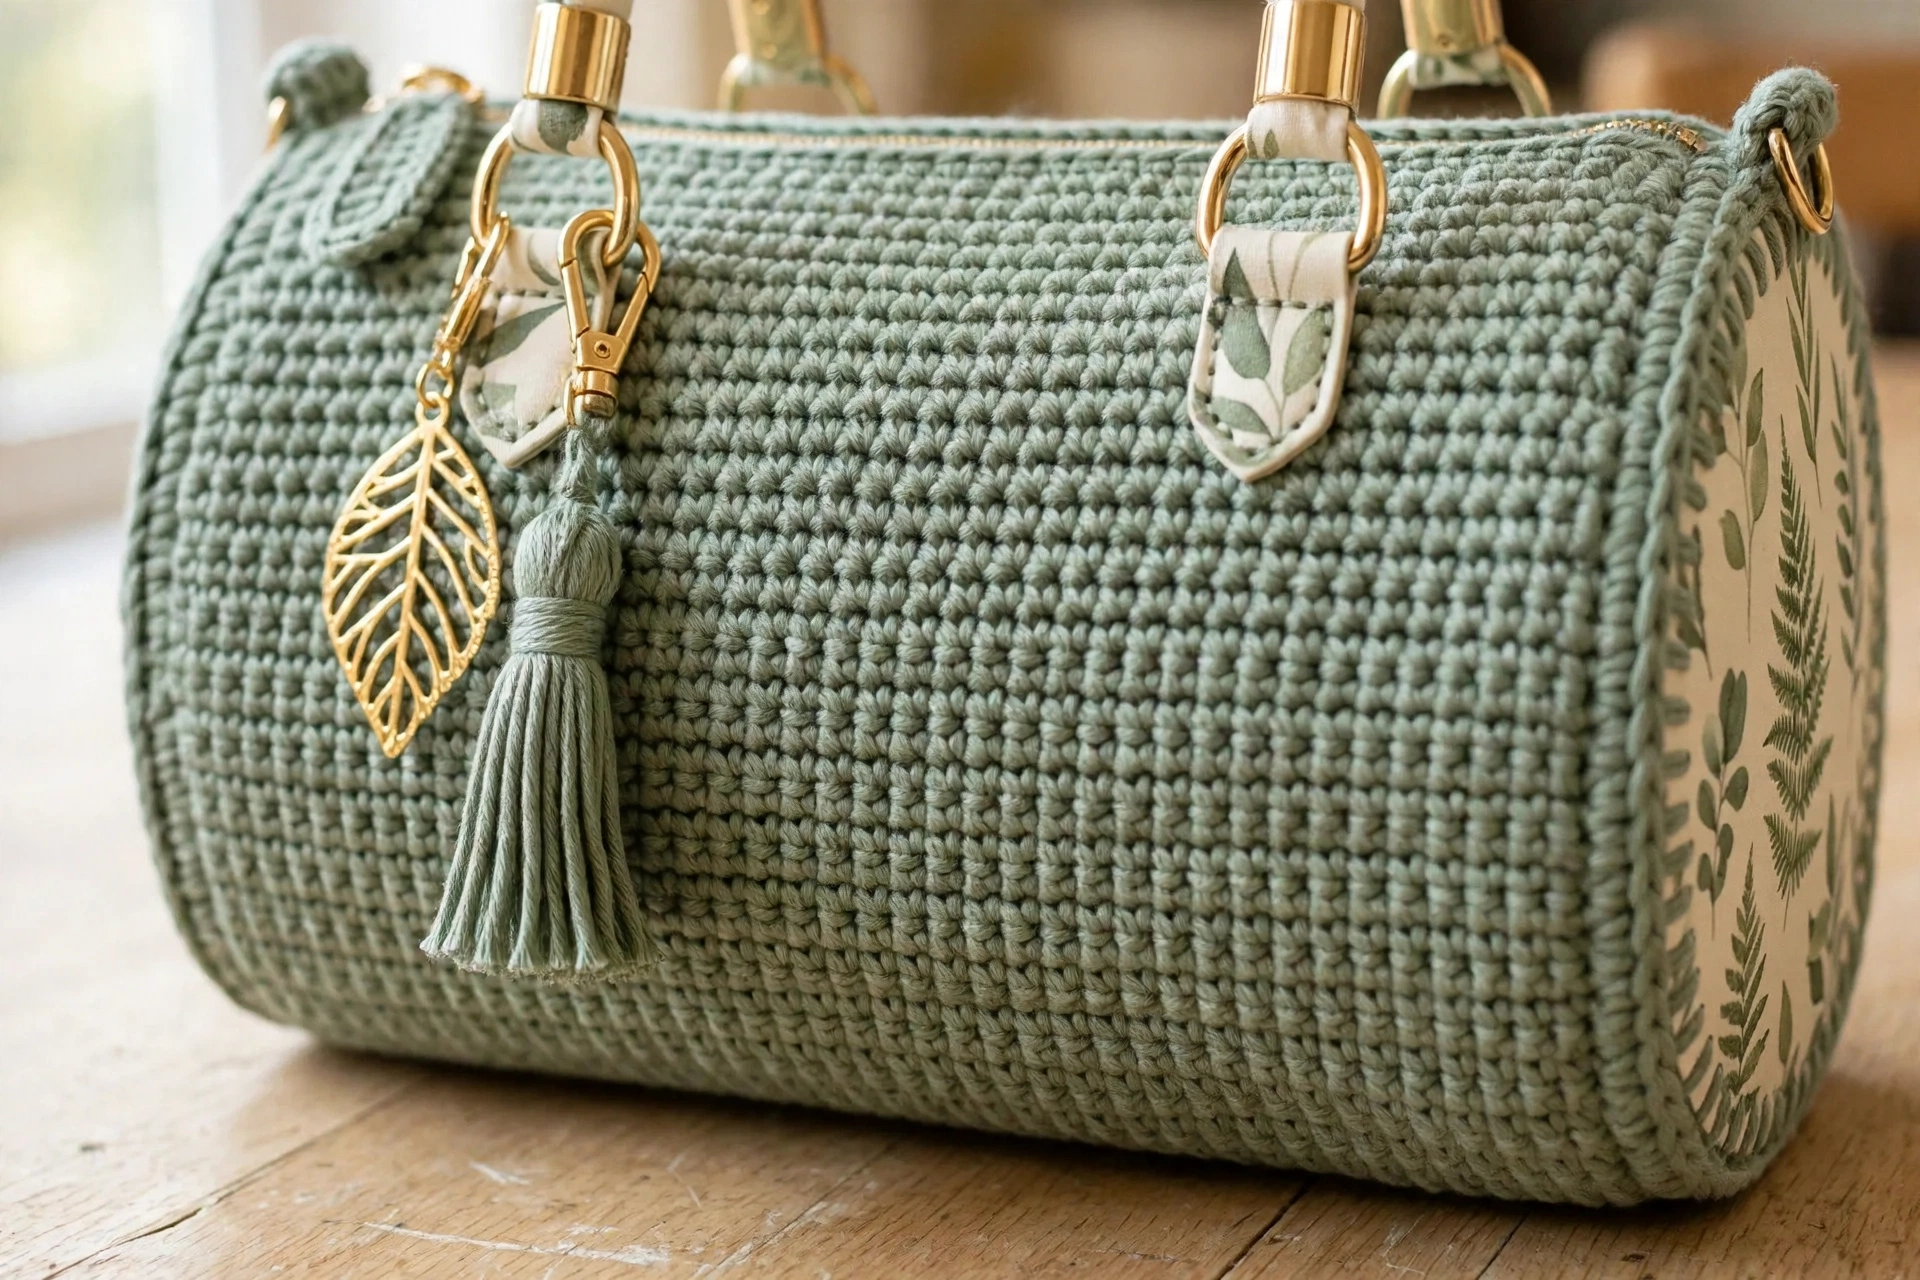
The body is one long spiral, with no joining at the end of each round. Pop a stitch marker in at the start of each round so you always know where you are.
Foundation: Chain 41.
Round 1: Single crochet in the 2nd chain from the hook and across the entire chain. When you reach the last chain, work 3 single crochet into that final chain stitch. This creates your turn to work along the opposite side of the foundation chain. Continue with single crochet across the other side of the chain, working 38 single crochet stitches. Work 2 single crochet in the final chain to complete the oval. (82 stitches)
Rounds 2 through 18: Single crochet around, working one single crochet in each stitch. (82 stitches)
Continue working even rounds until your body measures approximately 11 inches (28 cm) in length. Give it a quick measure here — this little check-in keeps everything on target.
Heads up: right now you’re looking at a long tube, and yes, it might seem a little deflated. Totally normal! Once those round end panels go on and you add the internal structure, everything snaps together beautifully.
End Panels (Make 2)
These rounds close off each end of the barrel. You’ll work from the center outward with a magic ring.
Round 1: Create a magic ring. Work 6 single crochet into the ring. Pull the tail to close the ring tightly. (6 stitches)
Round 2: Increase in every stitch around. (12 stitches)
Round 3: Single crochet in the next stitch, increase in the following stitch. Repeat from * to * around. (18 stitches)
Round 4: Single crochet in the next 2 stitches, increase in the following stitch. Repeat from * to * around. (24 stitches)
Round 5: Single crochet in the next 3 stitches, increase in the following stitch. Repeat from * to * around. (30 stitches)
Round 6: Single crochet in the next 4 stitches, increase in the following stitch. Repeat from * to * around. (36 stitches)
Round 7: Single crochet in the next 5 stitches, increase in the following stitch. Repeat from * to * around. (42 stitches)
Round 8: Single crochet in the next 6 stitches, increase in the following stitch. Repeat from * to * around. (48 stitches)
Round 9: Single crochet in the next 7 stitches, increase in the following stitch. Repeat from * to * around. (54 stitches)
Round 10: Single crochet in the next 8 stitches, increase in the following stitch. Repeat from * to * around. (60 stitches)
Fasten off, leaving a long tail for sewing. Weave in the starting tail from your magic ring.
Repeat to make a second identical panel.
Assembly and Finishing
This is the transformation stage, and honestly? It’s my favorite part. Take your time here — these finishing touches are what take the bag from cute to boutique.
Attaching the End Panels
Position one circular end panel at one opening of the body tube. The right sides should face outward. Using your tapestry needle and the long tail you left, whip stitch or mattress stitch the panel to the body, working through both pieces evenly around the entire circumference.
Repeat with the second panel on the other end.
Quick tip: pin or clip the panel in place first so it stays centered while you sew. It keeps things even, prevents puckering, and gives you that clean, professional finish.
Installing the Zipper and Lining
Before inserting your zipper, you may want to add a fabric lining to the interior of your bag. It shields the crochet from wear, stops small bits from poking through the stitches, and adds structure to the finished bag.
Cut your lining fabric to fit the interior dimensions of your completed bag body. Hand sew or machine stitch the lining together, then slip it inside the crocheted body with wrong sides together.
Position your 12-inch zipper along the top opening of the bag. Hand sew the zipper tape to the crochet fabric, taking care to keep your stitches small and even. The zipper should sit at the top edge where the body meets near the handles.
Wrapping and Attaching Handles
These wrapped handles are the bag’s signature moment. To make the wrapped handles, wind coordinating fabric strips around each handle and secure the ends with fabric glue or a few stitches.
Attach the wrapped handles to your bag using the hardware rings or loops. Position them evenly on either side of the zipper opening.
Adding the Tassel and Charm
Whip up a simple yarn tassel in the same sage green, or grab a premade one. Attach it to one of the handle rings along with a decorative charm — the sample’s gold leaf charm plays off the botanical theme so perfectly.
Notes and Tips for Success
Every bag comes out a little different — your yarn, tension, hook, and finishing all play a part, and honestly that’s part of the handmade charm. Small tweaks along the way are totally fine if they get you closer to the finished look you want.
Yarn talk: cotton is the hero here because it holds its shape and drapes beautifully. Skip anything super soft or stretchy, or your bag might sag once it’s loaded up.
Want it even sturdier? Slide some plastic canvas or fabric-covered cardboard into the bottom and sides before you add the lining.
And color-wise — don’t feel locked into sage green just because it’s in the name. This design is gorgeous in basically any solid color, and the pink version in the extra photos proves it. Just pick a fabric that flatters your yarn for the end panels and handle wraps.
Care Instructions
Want it looking gorgeous for years? Treat it gently:
- Hand wash in cool water with a mild soap
- Don’t wring or twist it
- Reshape it while it’s still damp
- Lay it flat to dry, away from direct sunlight
Skip the machine washer and dryer — they’ll warp the shape and wreck the hardware.
License Information
If this barrel bag ends up on your hook, I have a feeling it’s going to be one of those projects you brag about — the kind that looks way more advanced than it actually is. The real challenge? Picking which color to make first. Happy hooking!